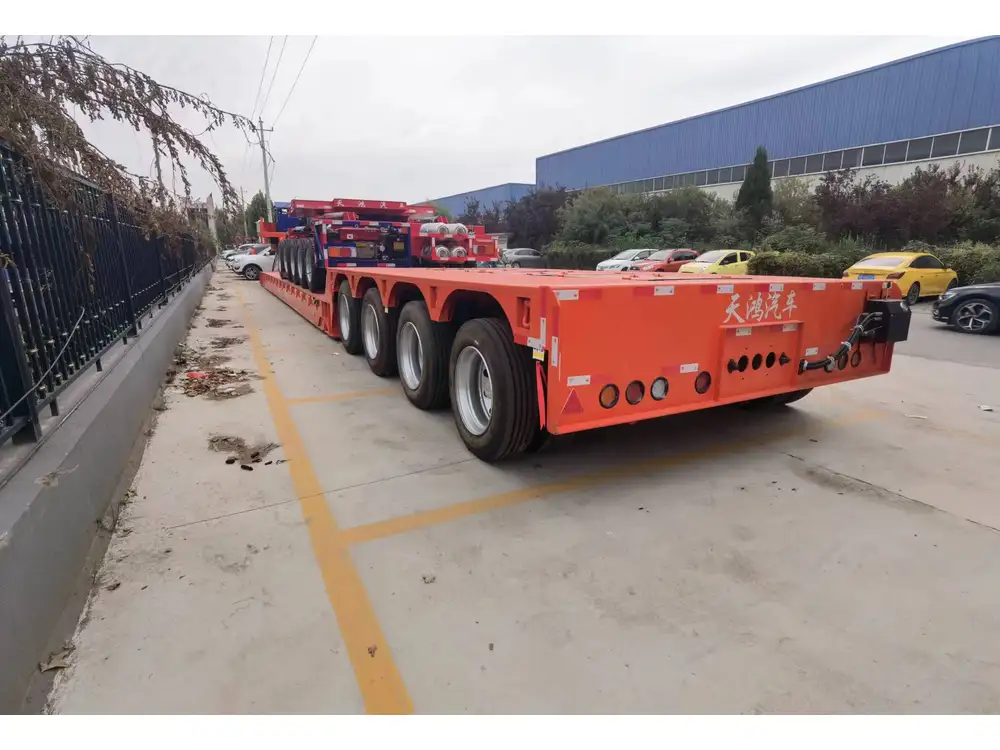
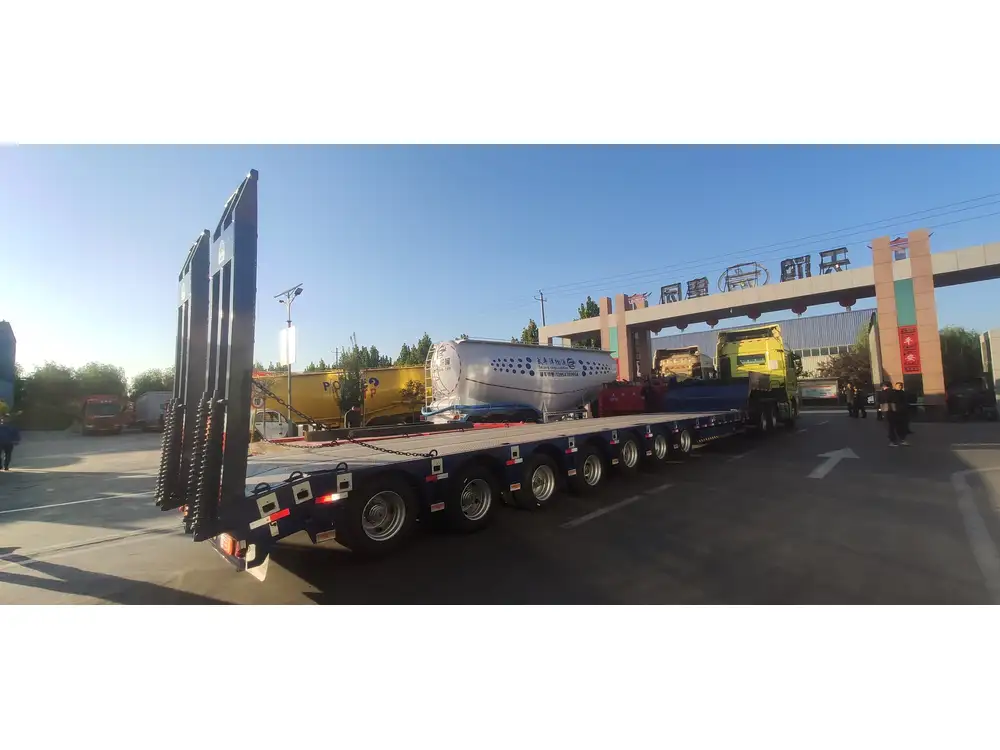
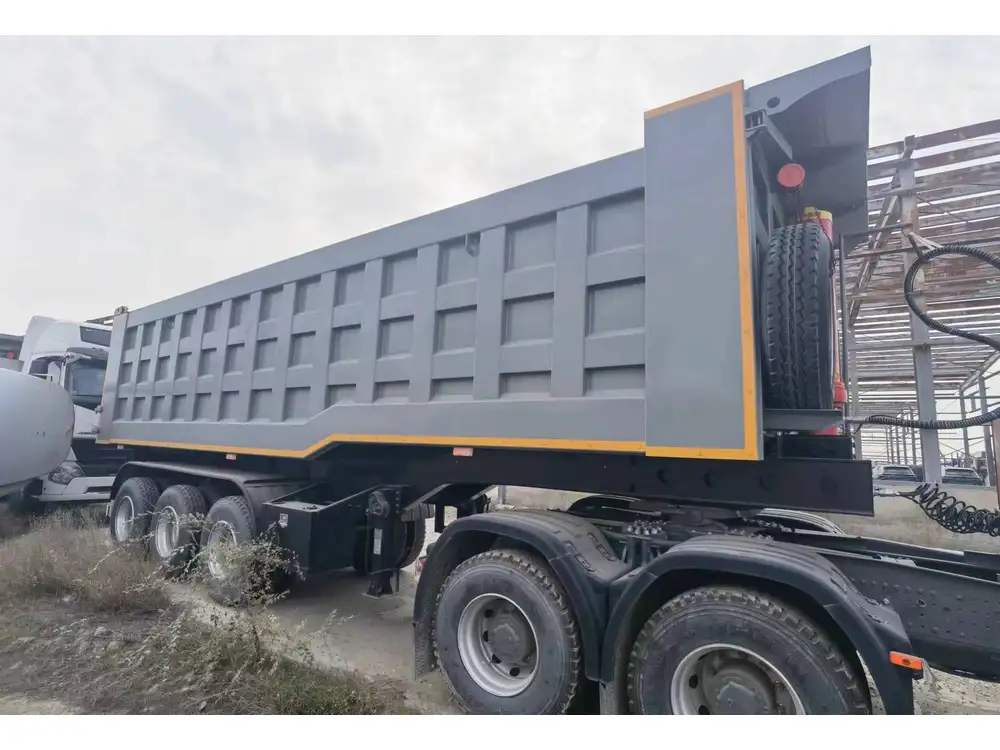
Painting a dump trailer isn’t just about aesthetics; it’s an essential maintenance task that protects your investment. A well-painted trailer can resist rust, withstand the elements, and ensure longevity—ultimately saving you money and enhancing your productivity. Here, we present a comprehensive, step-by-step guide on how to paint your dump trailer effectively.
Table of Contents
- Understanding the Importance of Painting Your Dump Trailer
- Materials Required for Painting
- Preparing the Dump Trailer for Painting
- Painting Techniques for a Sturdy Finish
- Curing and Finishing Touches
- FAQs on Painting Dump Trailers
1. Understanding the Importance of Painting Your Dump Trailer
Before diving into the actual painting process, it’s crucial to understand why painting your dump trailer matters:
- Corrosion Resistance: A good paint job acts as a barrier against moisture and corrosive agents.
- Increased Resale Value: A well-maintained and freshly painted trailer can fetch a higher price in the market.
- Professional Appearance: A clean, painted trailer enhances your business’s professional image.
- Enhanced Visibility: Bright colors can improve visibility, especially in low-light conditions.

2. Materials Required for Painting
Here’s a list of essential materials you’ll need to effectively paint your dump trailer.
Tools and Supplies
| Material | Purpose |
|---|---|
| Pressure washer | To remove rust and old paint |
| Sandpaper | For surface preparation and smoothing |
| Primer | To seal the surface and improve paint adhesion |
| Industrial paint | Weather-resistant paint suitable for trailers |
| Paint sprayer or roller | For applying paint quickly and evenly |
| Paint brushes | For detail work and hard-to-reach areas |
| Masking tape | To protect parts that should not be painted |
| Safety goggles | Essential for eye protection |
| Gloves | To protect your hands from paint chemicals |
| Drop cloth or newspaper | To protect the flooring in your workspace |
3. Preparing the Dump Trailer for Painting
Proper preparation is the foundation of any successful paint job, and when it comes to a dump trailer, it becomes even more critical.

Step 1: Cleaning the Surface
Start by thoroughly cleaning the trailer. Use a pressure washer to remove dirt, grease, and old paint. Ensure all surfaces are free from contaminants.
- Tip: Allow the trailer to dry completely before moving to the next step.
Step 2: Remove Rust and Old Paint
Inspect the trailer for rusty spots or areas with peeling paint. Use sandpaper or a wire brush to remove any rust. If the rust is significant, consider a rust-inhibiting primer.
| Method | Description |
|---|---|
| Sanding | Manually sanding down rust and old paint |
| Chemical | Using rust remover to dissolve rust |
| Scraping | Using a putty knife to remove flaking paint |
Step 3: Mask Off Areas
Use masking tape to cover any areas you do not want to paint, such as lights, hinges, and tires.

Step 4: Priming the Surface
Once the surface is clean and dry, apply a coat of primer. This step is essential for:
- Sealing the surface: Prevents moisture from penetrating.
- Creating better paint adhesion: Ensures a longer-lasting finish.
4. Painting Techniques for a Sturdy Finish
With preparation completed, it’s time to start painting. Depending on your preference or the size of the trailer, you can choose from the following techniques:
A. Using a Paint Sprayer
A paint sprayer is an excellent choice for a smooth, even coat.
- How-To:
- Dilute the paint: Follow the manufacturer’s guidelines for thinning the paint.
- Adjust the sprayer: Set it to an appropriate pressure.
- Technique: Keep the sprayer moving back and forth to avoid drips.

B. Painting with a Roller
If you’re more comfortable with a roller, it’s perfectly viable for larger flat surfaces.
- How-To:
- Use a roller tray: Pour paint into a tray for easy access.
- Apply with a roller: Use even pressure for a uniform coat, and avoid overloading the roller.
C. Detailing with a Brush
For corners, edges, and any intricate work, a paintbrush is necessary.
- How-To:
- Choose a quality brush that suits the paint type.
- Dip lightly into paint, removing excess, and apply with smooth strokes.
5. Curing and Finishing Touches
Once the paint application is complete, it’s time to allow the paint to cure, ensuring maximum durability.
- Drying Time: Allow the first coat to dry completely before applying a second coat (if necessary).
- Inspect for Flaws: After drying, inspect the surface for any missed spots or imperfections and touch up as necessary.

Safety Precautions
- Ensure good ventilation during the painting process.
- Wear appropriate protective gear to avoid paint exposure and inhalation of fumes.
6. FAQs on Painting Dump Trailers
Q1: How often should I paint my dump trailer?
A1: Depending on use and environmental conditions, repainting every 2-5 years is recommended.
Q2: What type of paint is best for dump trailers?
A2: Use high-quality industrial-grade paint designed for metal surfaces, preferably weather-resistant and rust-inhibiting.
Q3: Can I paint over old paint?
A3: Yes, if the existing paint is in good condition without major peeling or rust, it can be painted over after proper cleaning and priming.
Q4: How can I ensure the best adhesion?
A4: Proper cleaning, sanding, and priming are crucial for ensuring the new paint adheres well.
Conclusion
When it comes to painting your dump trailer, the effort invested in preparation, choice of materials, and application technique significantly impacts the final result. Not only does a fresh coat of paint improve the aesthetics of your trailer, but it also plays a crucial role in extending its lifespan and maintaining its value. By following this comprehensive guide, you can ensure that your dump trailer stands out on the road, remains protected from the elements, and serves you well for many years to come.


