Testing air brakes is a critical procedure that ensures the safety and efficiency of semi-trailers. Properly functioning air brakes allow trucks and trailers to operate safely under various conditions, preventing accidents and costly failures. This article will guide you through the process of testing air brakes on semi-trailers in a shop setting, providing detailed steps, necessary tools, and common troubleshooting techniques.
Understanding Air Brake Systems
Before delving into how to test air brakes, it’s essential to understand the components of an air brake system. An air brake system primarily consists of:
| Component | Description |
|---|---|
| Air Compressor | Pressurizes the air needed for the braking system. |
| Air Reservoir | Stores the compressed air until required for braking. |
| Brake Chambers | Converts the air pressure into mechanical force to apply the brakes. |
| Slack Adjusters | Automatically adjust the brake shoes’ distance from the drums. |
| Brake Pads/Shoes | Friction material that slows down or stops the wheels via brake drums. |
Preparation for Testing
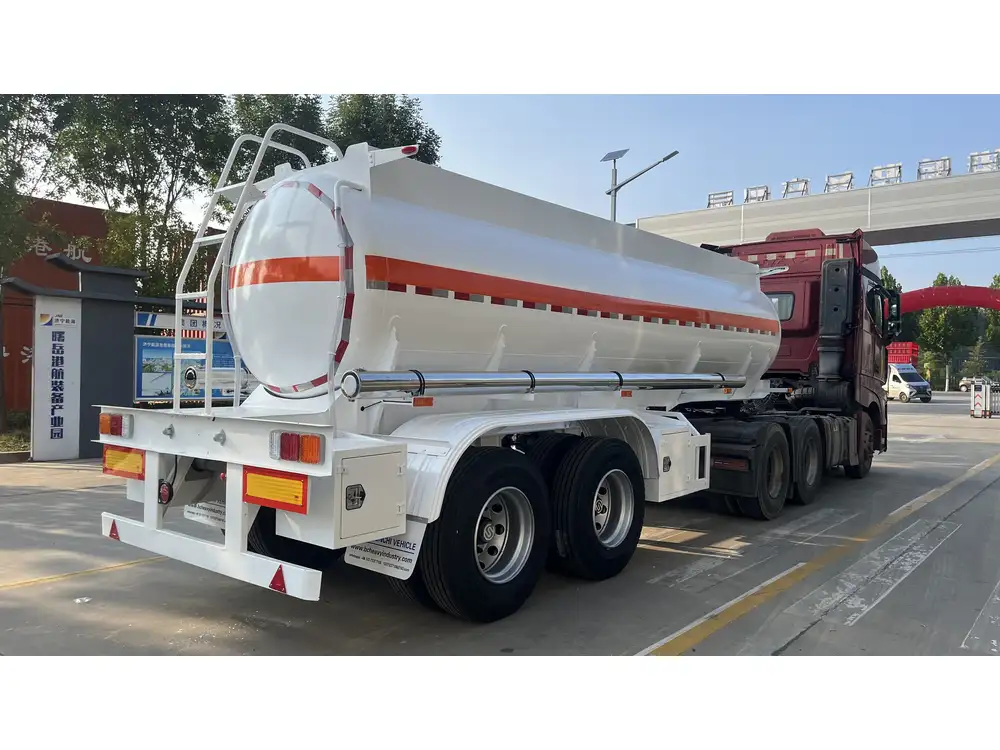
Safety First
- Personal Protective Equipment (PPE): Equip yourself with gloves, goggles, and any other required protective gear.
- Shop Safety: Ensure the shop’s work area is clean and organized to reduce risks during testing.
- Vehicle Safety Check: Before testing, conduct a thorough inspection of the semi-trailer. Check for leaks, damaged hoses, and ensure that the vehicle is securely parked.
Required Tools
- Air gauge
- Hose assembly
- Wrenches
- Digital multimeter (if needed)
- Quick disconnect fittings
- DOT-approved brake testing equipment
Steps to Test Air Brakes
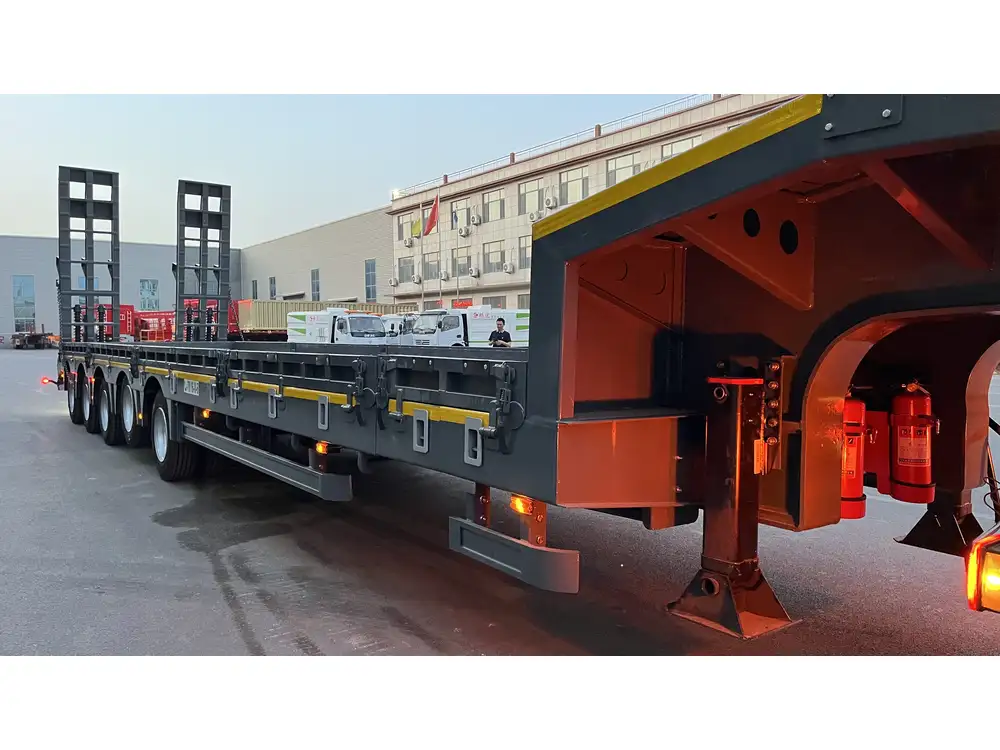
Step 1: Visual Inspection
Begin by conducting a visual inspection of the entire air brake system. Look for any signs of wear and tear, rust, or corrosion especially around brake chambers, hoses, and fittings.
- Check for air leaks: Listen for hissing sounds or spray soapy water on suspected leak points.
- Inspect the brake pads and shoes for wear patterns that indicate uneven wear or misalignment.
Step 2: Charge the System
- Start the tractor unit and let the air compressor build pressure until it cuts off (usually between 100 to 120 psi).
- Observe the air pressure gauge. Ensure the air pressure reaches the required levels for safe testing.
Step 3: Test for Air Leaks
- Turn off the engine and observe the air pressure gauge.
- After the engine shuts down, check if the pressure drops significantly.
- Acceptable Leak Rate: A drop of more than 3 psi in one minute indicates a potential issue.
- Use a spray bottle with a soapy solution to precisely locate leaks if any.
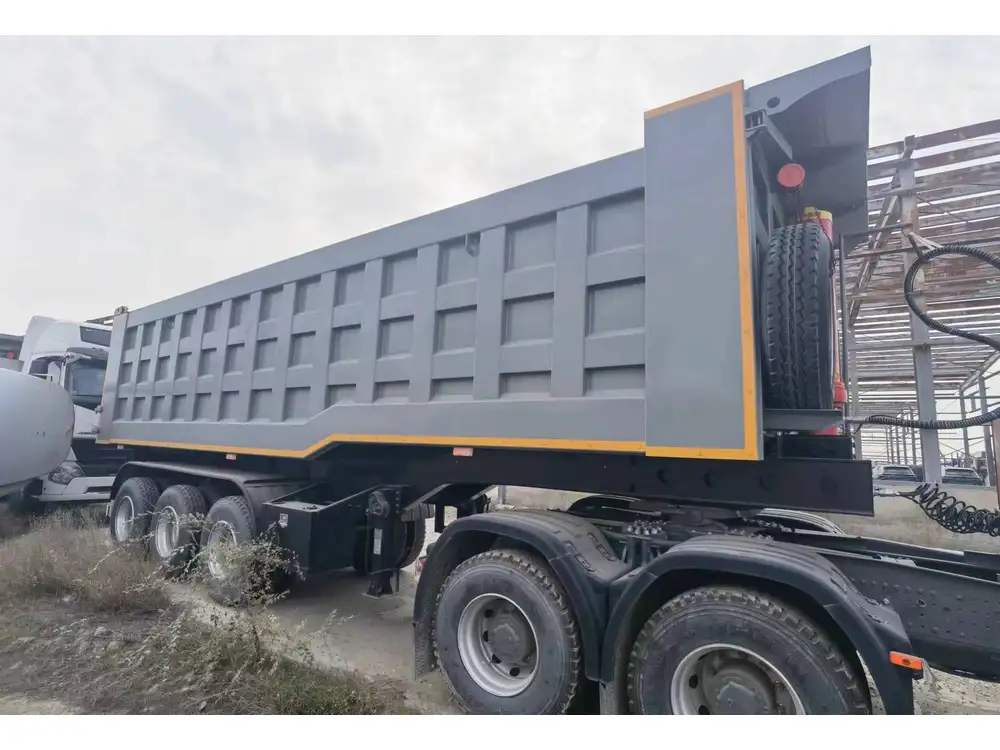
Step 4: Apply the Brake Pressure Test
With the air system charged, perform a brake pressure test:
- Step on the brake pedal: This action activates the brake chambers.
- Note any abnormal sounds, vibrations, or slippage.
Dynamic Test: While stationary, fully apply the brakes and hold for a minimum of three minutes.
- Check if the brake pads sufficiently grip the drums.
Step 5: Perform the Brake Adjustment Test
Check the brake adjusters:
- Manually adjust the brake slack adjusters to keep the correct spacing between the shoes and drum.
- Ensure they meet the specifications.
Simulate the brake conditions to confirm they engage properly.
Step 6: Emergency Brake Test
- Disconnect the trailer from the tractor unit.
- Charge the air system and then activate the emergency brake.
- Observe the brakes’ response to ensure they lock correctly.
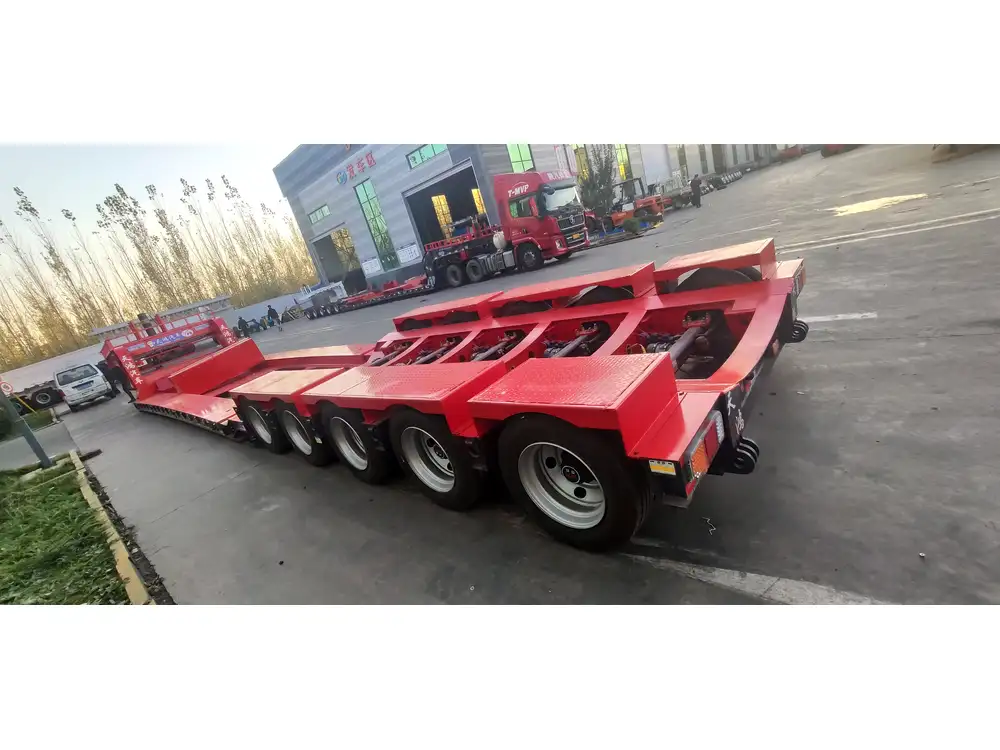
Step 7: Final Checks
- Start the tractor unit.
- With the air system replenished, apply the brakes gently and check responsiveness.
- Ensure the system releases smoothly.
Common Issues and Troubleshooting
| Issue | Possible Cause | Solution |
|---|---|---|
| Poor braking response | Low air pressure or leaks | Check air supply and seal leaks. |
| Air leaks detected | Cracks or damage in hoses | Replace damaged hoses and fittings. |
| Brake warning light illuminates | Faulty sensor or low air pressure | Inspect the sensor; check air supply. |
| Uncomfortable vibrations | Worn components or misaligned brake pads | Inspect the installation and replace worn parts. |
| Inconsistent brake performance | Slack adjusters malfunctioning | Adjust or replace slack adjusters as required. |
Preventative Maintenance Tips
- Routine Inspections: Regularly check and maintain your brake systems, particularly before long hauls.
- Brake Fluid Checks: Maintaining the right levels of brake fluid can contribute to effective braking.
- Training and Guidelines: Ensure all drivers and maintenance personnel are trained to understand air brake systems and their operational guidelines.
Regulatory Compliance
Ensuring that air brakes are functioning properly doesn’t only affect safety; it also influences compliance with regulations. In the United States, the Federal Motor Carrier Safety Administration (FMCSA) outlines specific requirements that truck operators must comply with.
Comprehensive Inspections
Each vehicle must undergo a thorough inspection, including the brakes, before it can be legally allowed on the road. Non-compliance can lead to investigations, fines, or even the termination of business operations.
Conclusion
Understanding how to effectively test air brakes on semi-trailers in shops is essential for safety, efficiency, and compliance. Following the above procedures, using the right tools, and conducting regular inspections will ensure that your air brake systems remain in optimal condition, thereby supporting the safe operation of semi-trailers. Adhering to preventive maintenance and addressing any potential issues promptly is crucial in extending the lifespan of your braking system and ensuring the safety of drivers and other road users.


