
Flatbed trailers are a staple in the transportation industry, widely recognized for their versatile functionality and strong structural integrity. Whether you’re an aspiring artist wanting to depict this iconic vehicle, a student tackling a drawing project, or an engineer needing a detailed illustration for a specification sheet, knowing how to draw a flatbed trailer can be both practical and rewarding. In this guide, we delve into the art and technique of flatbed trailer drawing, enhancing your skills through step-by-step instructions, comprehensive tips, and vital techniques.
Understanding the Structure of a Flatbed Trailer
Before we dip into the drawing process, it is essential to familiarize ourselves with the anatomy of a flatbed trailer. This knowledge will serve as a solid foundation, ensuring your drawing is realistic and accurate.
Components of a Flatbed Trailer
| Component | Description |
|---|---|
| Deck | The flat surface where cargo is placed; usually made of wood or steel. |
| Frame | The structure that supports the deck; typically a robust metal skeleton. |
| Axles | Components that allow the trailer to rotate and carry weight; usually fitted with wheels. |
| Suspension System | The system ensuring a smooth ride; absorbs shock and maintains stability. |
| Landing Gear | The supports at the front of the trailer used for stability when uncoupled from the truck. |
| Brake System | The mechanism that slows down or stops the trailer; includes air brakes in most models. |
| Lights | Safety equipment that signals the presence and status of the trailer to other road users. |
Visual Reference
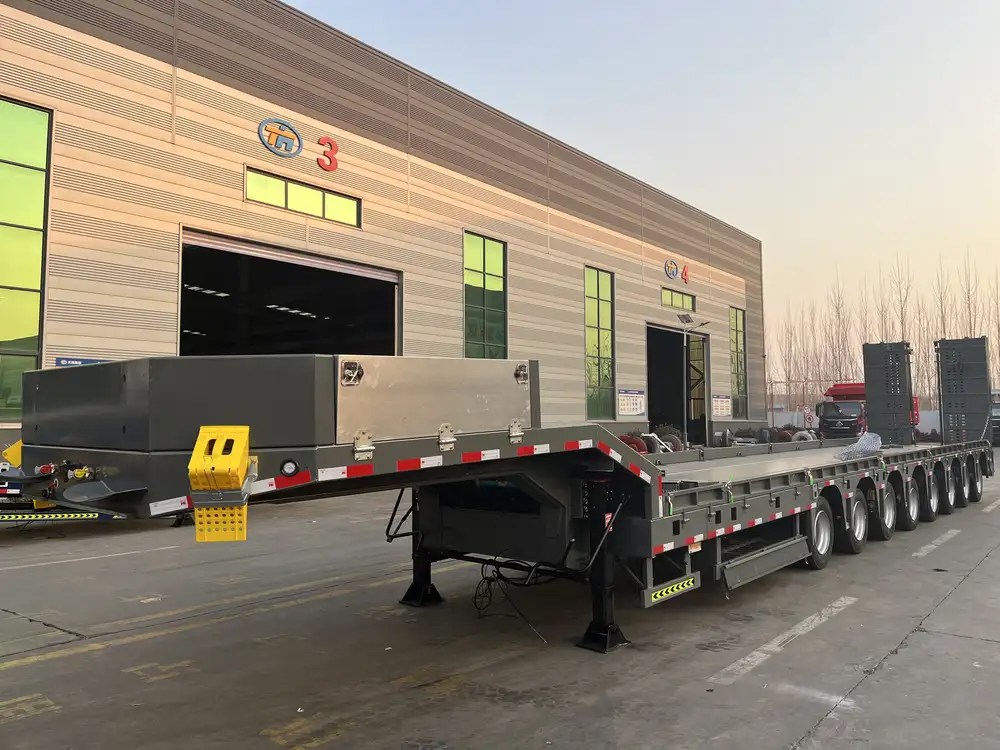
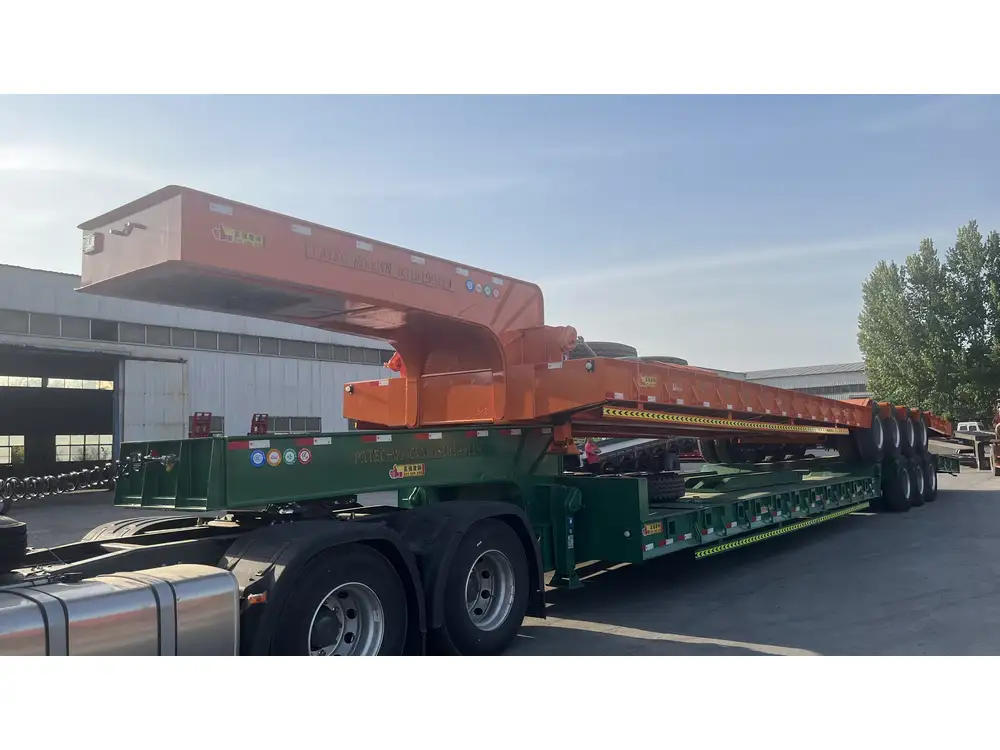
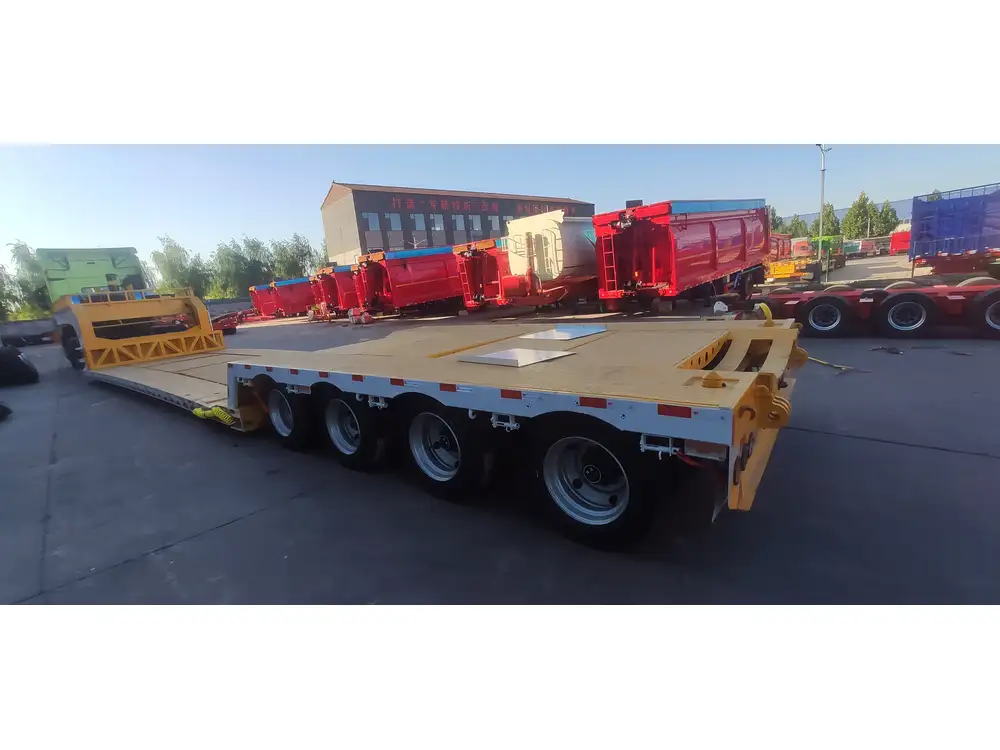
Though words can give an overview, visual reference is invaluable. Studying diagrams, photographs, or real-life examples of flatbed trailers will deepen your understanding. Notice details such as proportions, shadowing, and how various components interact with one another. Use this knowledge to envision the trailer in three dimensions, enhancing your ability to depict it accurately.
Essential Materials for Drawing
Before plunging into the drawing process, gather the necessary tools and materials. Here’s a recommended list to get you started:
- Pencil: A range of pencils (from H to B grades) for sketching and detailing.
- Eraser: Both standard and kneaded erasers for precise corrections and shading.
- Paper: Sketching paper, or if you prefer more durability, cardstock.
- Ruler: For straight edges and measuring dimensions accurately.
- Coloring Tools: Colored pencils, markers, or watercolors for adding detail.
- Reference Images: Collect a folder of images showcasing different angles and types of flatbed trailers.
Step-by-Step Process of Drawing a Flatbed Trailer
Step 1: Basic Shapes and Outline
Begin by sketching basic geometric shapes that represent the main components of the flatbed trailer.
Outline the Deck: Start with a long rectangle for the trailer’s deck. Ensure that the length is significantly greater than the height to represent its flat nature accurately.
Add the Frame: Sketch two rectangles (longer than the deck) parallel to each other beneath the deck to indicate the frame. This will later be refined to show more structural detail.
Sketch the Axles: Draw two parallel lines beneath the frame to represent the axles. Ensure these lines are equidistant from the ends.
Add Wheels: At the ends of the axles, draw circles to represent tires. Keep proportion in mind; a typical flatbed trailer may have multiple wheels.
Step 2: Refinement of Details
Now that you have a basic outline, it’s time to refine your drawing.
Add Deck Planks: Using straight lines, illustrate the planks on the flatbed’s deck. Pines, steel sheets, or composite materials can be depicted through varying textures and spacing.
Incorporate Structural Details: Depict support beams aligned under the deck and reinforce the frame with visible crossbeams and joints.
Define the Landing Gear: At the front of the trailer, illustrate the landing gear with ample detail, ensuring to capture its mechanical aspects.
Draw the Suspension: Include details of suspension springs, showing how they connect to the axles and frame, which aids in realism.
Step 3: Detailing and Textures
In this stage, infuse your drawing with life through textures and reliable shading.
Texturing the Deck: Different surfaces like wood and steel have distinct textures. Use techniques such as cross-hatching and stippling to simulate material differences realistically.
Shading the Trailer: Determine your light source and apply shading accordingly. Areas under the deck, around the axles, and beneath the landing gear would be darker.
Add Lights and Other Features: Illustrate any reflective lights, brake systems, or tool boxes that may be present, emphasizing their functionality.
Step 4: Final Touches and Coloring
With the main drawing complete, shift focus to the finishing touches.
Outline with Ink: Use fine liners to trace over important lines. This step accentuates key features while allowing you to erase pencil lines without losing detail.
Add Color: If desired, use colored pencils or markers to add depth. Consider using muted tones for realistic appearances or vibrant colors for artistic expression.
Background Elements: Incorporate elements like road markings, trailers, or surrounding landscape to contextualize your drawing and enhance interest.
Troubleshooting Common Challenges
Drawing a flatbed trailer may come with its own set of challenges. Here are common hurdles and solutions:
1. Proportions and Perspective
Challenge: Getting the proportions correct can be difficult, particularly with the trailer’s length and width.
Solution: Use a ruler or a grid system. Break down the trailer into sections. Measure lengths compared to known dimensions (like a wheel’s diameter) for accurate scaling.

2. Complexity of Details
Challenge: Adding intricate details can overwhelm the drawing.
Solution: Simplify by focusing on one section at a time. Don’t hesitate to leave some details out as long as your drawing still communicates the trailer’s nature.
3. Consistency with Shading
Challenge: Inconsistent shading can diminish the 3-dimensional effect.
Solution: Establish a consistent light source. Use the same technique of shading throughout, maintaining the same pressure for consistency.
4. Texture Realism
Challenge: Texturing can lead to flatness without depth.
Solution: Layer textures gradually. Experiment with different techniques for different materials for an authentic look.
Tips to Enhance Your Drawing Skills
Practice Regularly: The more you draw, the more comfortable you become with the nuances of perspective and scale.
Study Real Trailers: Observe real flatbed trailers whenever possible. Take notes on their proportions, colors, and operation.
Use Online Resources: Leverage platforms like YouTube for tutorial videos that cater specifically to flatbed trailers.
Seek Feedback: Sharing your drawings with a community can provide valuable insights and constructive criticism.
Conclusion
In conclusion, mastering the art of drawing a flatbed trailer involves understanding its structure, meticulous observation, and practice. By following the systems laid out in this guide—beginning with basic shapes, refining details, applying textures and colors—you can capture the essence of flatbed trailers with accuracy and artistry. Remember, every artist’s journey is unique, filled with learning experiences. Keep practicing, and soon your drawings will reflect not just a flatbed trailer, but your unique interpretation and creativity in representing the sophistication of this vital piece of engineering.
Embark on your drawing journey today, and let your artistic skills unfold on the canvas as you accurately depict the robust beauty of flatbed trailers. Happy drawing!

