Understanding Semi-Trailer Brake Systems
Types of Brake Systems in Semi-Trailers
When it comes to semi-trailer brake systems, there are primarily two types: air brakes and hydraulic brakes. Each system has its own mechanism and advantages, affecting how brake adjustments are performed.
Air Brakes: These are the most common type in commercial trucking. The system operates using compressed air to engage the brakes. Given its complexity and numerous components (such as brake chambers, slack adjusters, and valves), understanding air brake systems is crucial for an effective adjustment.
Hydraulic Brakes: More prevalent in smaller vehicles, hydraulic systems utilize fluid pressure instead of air. Adjustments here often revolve around the brake fluid levels and components rather than air pressure settings.
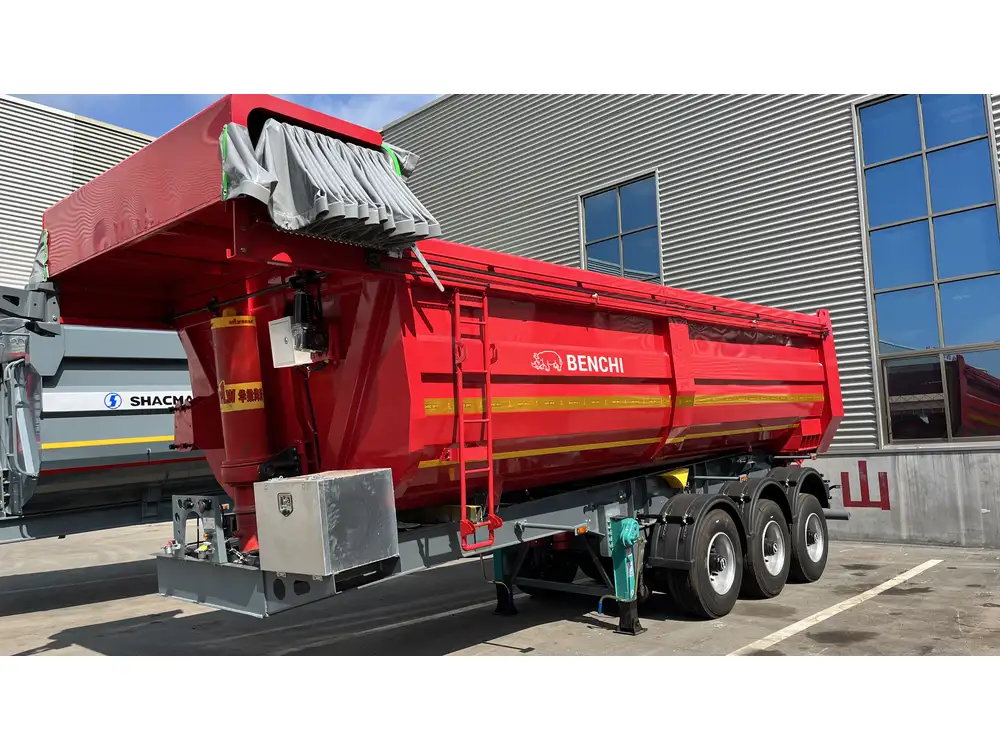
Key Components of Brake Systems
To fully grasp how to adjust semi-trailer brakes, one must be familiar with the following components:
| Component | Function |
|---|---|
| Brake Chambers | Convert air pressure into mechanical force |
| Slack Adjusters | Maintain proper distance between brake shoes and drums |
| Brake Drums | House the brake shoes and allow them to press against them to create friction |
| S-cam | Engages or disengages the brake shoes during braking |
| ABS Sensors | Prevent wheel lock-up during hard braking |
Signs You Need to Adjust Your Semi-Trailer Brakes
Brakes are a crucial safety feature. Ensuring they are properly adjusted is vital. Here are some clear indicators:
- Increased Stopping Distance: If you notice longer distances to come to a stop, your brakes may need adjustment.
- Uneven Brake Wear: Inspect brake pads; if they’re wearing unevenly or excessively, it may be time to adjust.
- Brake Warning Lights: On-board diagnostics will alert drivers to many braking issues; heed these alerts.
- Vibration During Braking: Any unusual noise or vibration can signal improper brake alignment.
Step-by-Step Guide for Air Brake Adjustment

Tools Required
Prepare the necessary tools for brake adjustment before you start:
- Ratchet and socket set
- Wrench set
- Brake adjusting tool
- A reliable air supply source
- Safety glasses and gloves
Step 1: Prepare Your Workspace
- Park the semi-trailer on a level surface to ensure safety during adjustment.
- Engage the parking brakes and chock the wheels to prevent movement.
Step 2: Inspect the Brake Components
Before making adjustments, conduct a thorough inspection of the brake components:
- Check for any visible damages or wear in hoses, chambers, and springs.
- Confirm that the slack adjusters are functioning properly and are not too loose or tight.
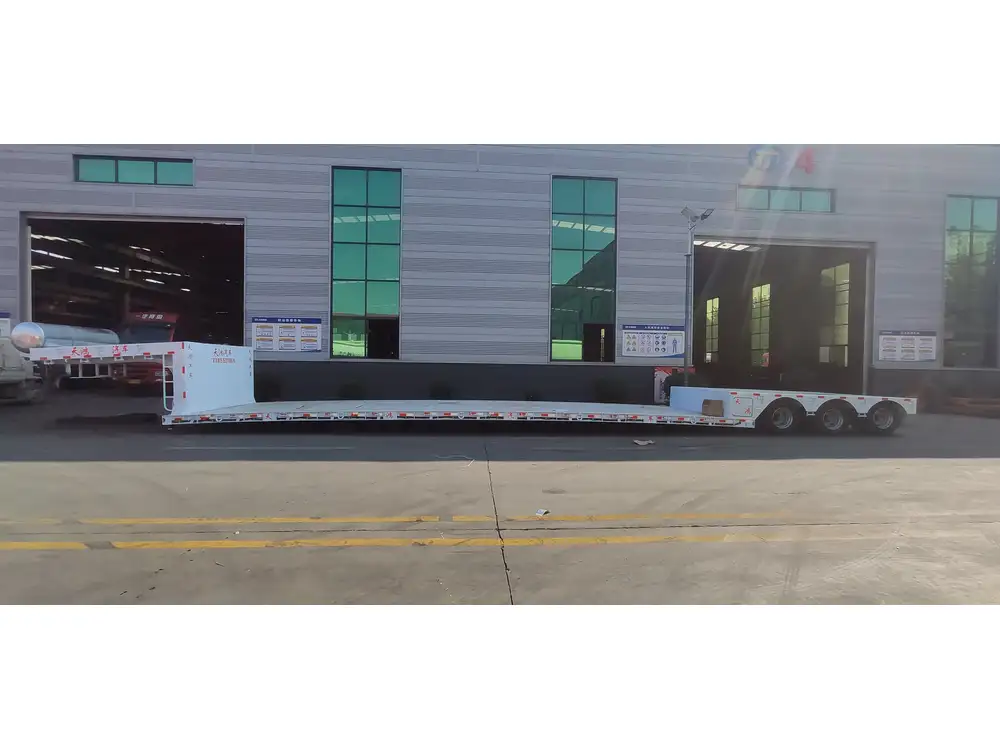
Step 3: Adjusting the Slack Adjusters
Manual Adjustment
Release Air Pressure: Let air pressure drop to 0 psi by releasing the parking brake.
Locate the Slack Adjuster: Find the slack adjuster for each wheel.
Manual Roll of the Adjuster: Turn the adjusting nut with a wrench, ideally adjusting clockwise to tighten. Each 1/4 turn typically adjusts the position of the brake shoes approximately 1/32 of an inch.
Use a Brake Adjusting Tool: An easier method involves using a brake adjusting tool to set the correct clearance. Cautiously engage the brake until you feel resistance.
Test for Clearance: After adjustment, pull the slack adjuster manually to check the shoe clearance from the drum. The normal distance should be about 1/16 inches.
Automatic Adjustment
If your system includes automatic slack adjusters, take the following steps:
- Frequent Checks: Automatic slack adjusters can sometimes fall out of calibration. Ensure they’re functioning correctly by checking every few months.
- Operating Conditions: Ensure the brakes are engaged during normal operation so that the adjusters work to prevent excess wear over time.
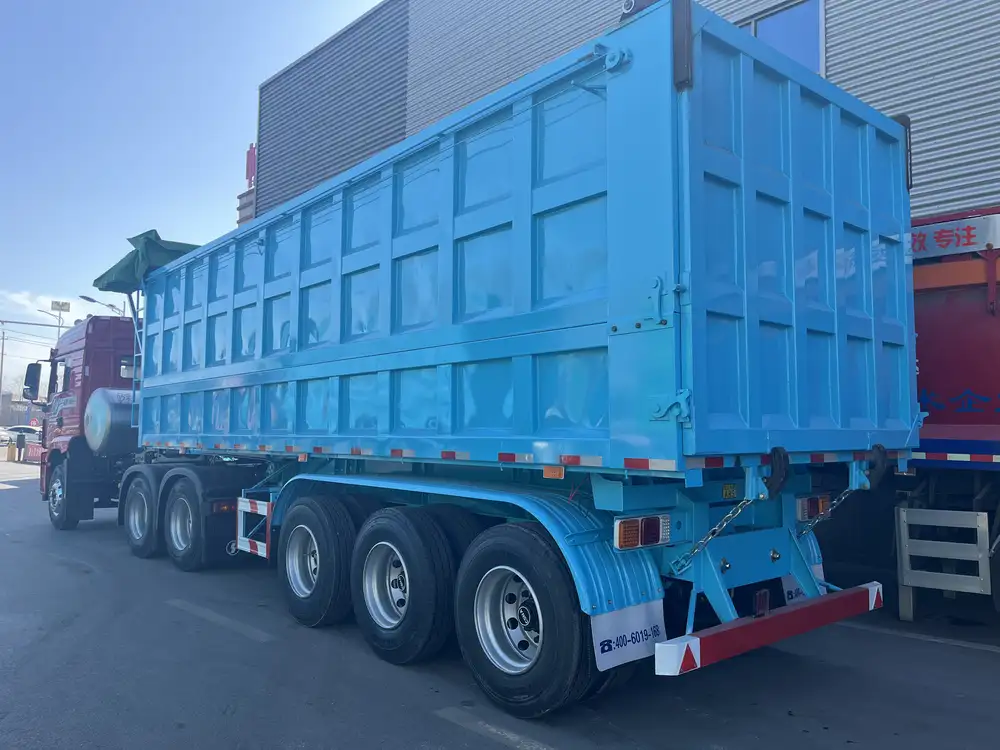
Step 4: Test the Brakes
Once adjustments are made, it’s essential to test the braking efficiency:
- Release the parking brake and slowly move the semi-trailer a few feet.
- Engage the brakes and assess responsiveness. Repeat the adjustment if necessary.
Step-by-Step Guide for Hydraulic Brake Adjustment
Tools Required
The tools for hydraulic brake adjustments include:
- Brake fluid refill kit
- Wrench set
- Brake bleed tool (if necessary)
- A reliable fluid source

Step 1: Inspect the Brake Fluid
- Before making any adjustments, check the brake fluid levels in the reservoir. Refill with recommended fluid if levels are low.
Step 2: Examine Brake Pads and Rotors
Assess the condition of your brake pads and rotors:
- Look for uneven wear or significant thinning of pads.
- Rotors should be smooth without noticeable grooves or warps.
Step 3: Adjust Brake Calipers
Locate the Caliper Adjustments: Find the adjustment screws on the caliper.
Turn the Adjusters: Use a wrench to turn the adjusters. Generally, clockwise will tighten while counter-clockwise will loosen.
Ensure Alignment: Make adjustments until the caliper is properly aligned and the brake pads engage the rotor evenly.
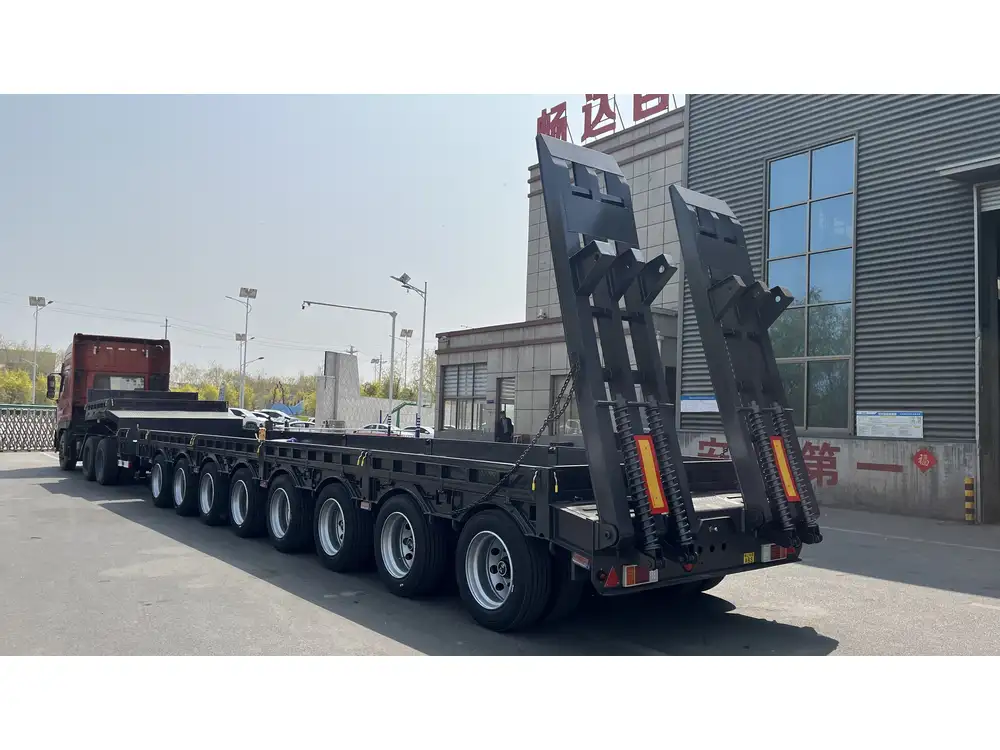
Step 4: Bleed the Brakes (If Needed)
If air has entered the hydraulic system, follow these steps:
Locate Bleed Valve: Usually found on calipers.
Pump the Brake Pedal: While someone maintains pressure on the pedal, open the bleed valve to release trapped air.
Close Bleed Valve: Tighten the valve before releasing the pedal. Check the brake fluid throughout this process.
Comparison of Air vs. Hydraulic Brake Adjustments
| Feature | Air Brake Adjustment | Hydraulic Brake Adjustment |
|---|---|---|
| Complexity | Requires understanding of multiple components | Generally straightforward |
| Adjustment Frequency | Regular checks required | Usually less frequent |
| Testing | Needs air supply tests | Brake pedal pressure tests |
| Maintenance Needs | Frequent maintenance and checks | Dependent on fluid levels and wear |
Maintenance Tips for Semi-Trailer Brake Systems
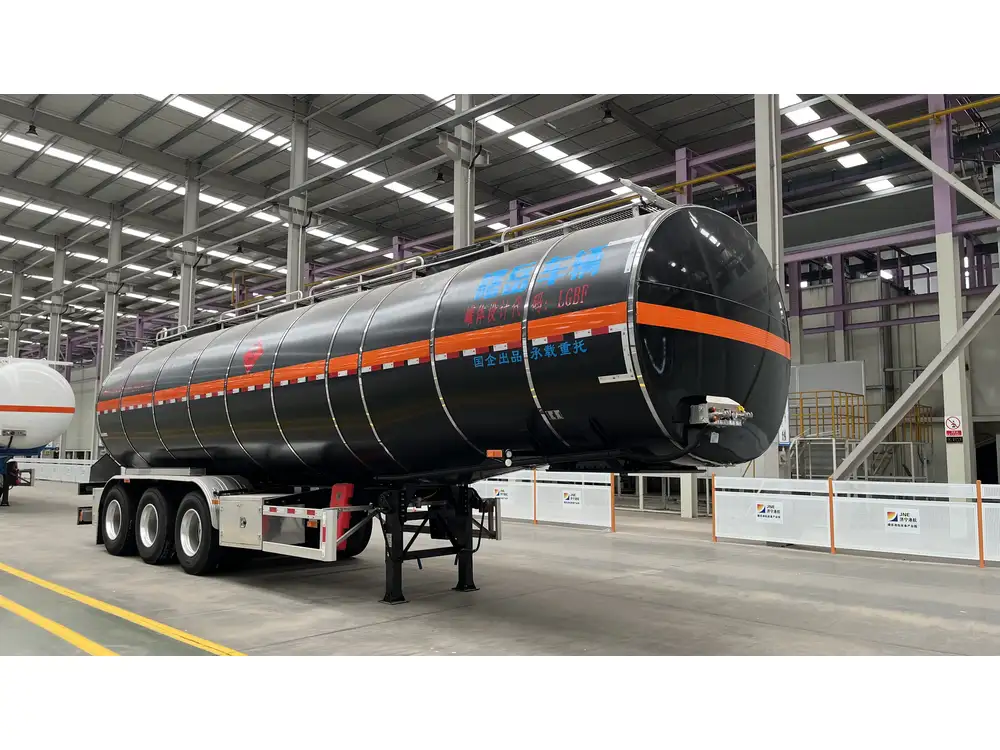
Regular Inspection Schedule
- Daily Checks: Conduct a quick inspection daily; brakes should be one of the first components you check.
- Worn Parts: Regularly replace worn brake pads, chambers, and any other deteriorating components.
- Air System Maintenance: Regular checks on the air compressor and related hoses will prevent numerous issues down the line.
Proper Usage and Behavior
- Encourage safe driving practices, such as avoiding abrupt stops, which can diminish brake lifespan.
- Educate drivers about the implications of improper braking techniques, further ensuring that they are aware of their influence on brake degradation.
Documenting Maintenance Activities
Keep a detailed log of all maintenance carried out:
- Track dates of inspections, parts replaced, and adjustments made.
- This documentation can help identify recurring issues and maintain regulatory compliance.

Conclusion
Maintaining the optimum performance of semi-trailer brakes is pivotal for safety and operational efficiency. By following the structured adjustment guides for both air and hydraulic brake systems, we not only extend the lifespan of our components but also enhance confidence while on the road. Always prioritize regular inspections, proper adjustments, and timely maintenance to ensure that your brakes perform at their best, safeguarding both freight and drivers alike.
Frequently Asked Questions (FAQs)
How often should I adjust my semi-trailer brakes?
It’s recommended to inspect and adjust brakes every 6 months or after extensive travel.What happens if I don’t adjust my brakes?
Failure to adjust can lead to reduced braking efficiency, increased stopping distances, and ultimately, unsafe driving conditions.Can I perform brake adjustments myself?
Yes, as outlined in the guides above, ensuring you have the right tools and understanding will enable effective self-adjustments.What are the risks of improperly adjusted brakes?
Improperly adjusted brakes can lead to accidents, increased wear on brake components, and potential legal ramifications for unsafe vehicles.
Resources for Further Learning
Consistently applying the knowledge shared in this guide will not only keep your semi-trailers on the road safely but will also ensure you are compliant with industry standards.


