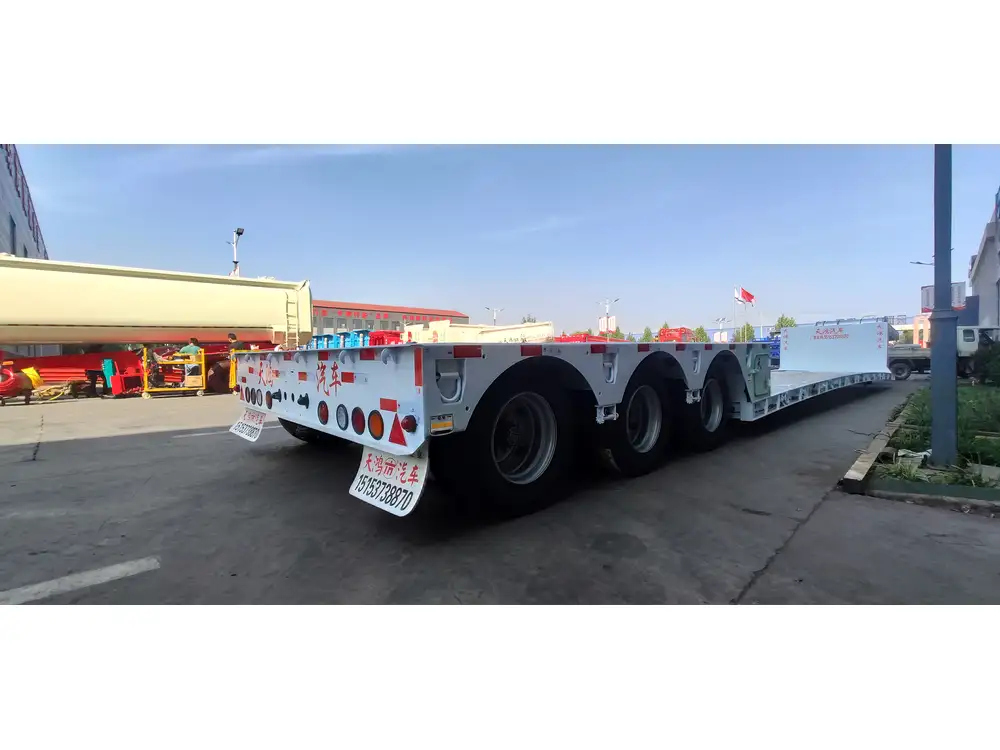
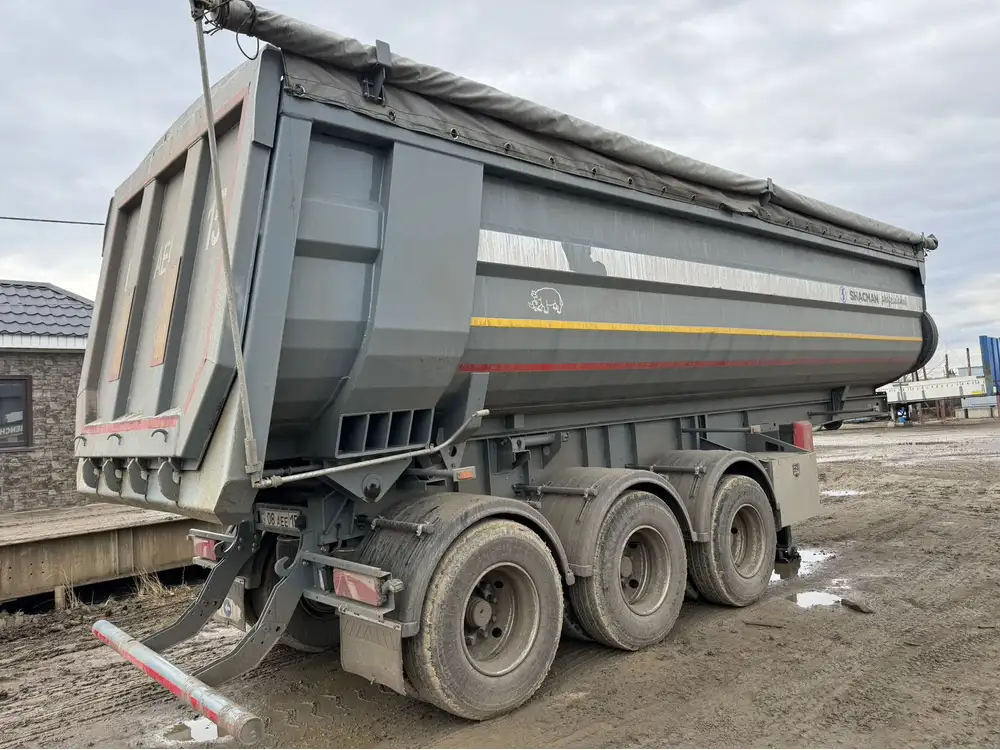
When it comes to enhancing visibility and safety while operating semi-trailers, the installation of auxiliary work lights can prove invaluable. As professional manufacturers of semi-trailers, we understand the importance of this modification for both functionality and legal compliance. This comprehensive guide will walk you through the essential steps, tips, and insights for effectively installing work lights on a semi-trailer.
Benefits of Auxiliary Work Lights
Before delving into the installation process, let’s explore the various advantages of equipping your semi-trailer with auxiliary work lights:
| Benefit | Description |
|---|---|
| Enhanced Visibility | Increased lighting during night operations or in low visibility conditions. |
| Increased Safety | Reduces the risk of accidents and enhances the safety of workers during loading and unloading. |
| Compliance with Regulations | Meets DOT regulations for commercial vehicles in various states and jurisdictions. |
| Better Operational Efficiency | Facilitates quicker load and unload times in dark conditions, leading to improved productivity. |
Necessary Tools and Equipment
To ensure a smooth installation process, gather the following tools and equipment:
- Auxiliary Work Lights: Choose LED lights for their longevity and brightness.
- Drill and Drill Bits: For mounting holes.
- Wire Strippers and Crimpers: Essential for electrical connections.
- Electrical Tape: For insulation and protection of wiring.
- Heat Shrink Tubing: Provides additional insulation to connections.
- Screwdrivers: To secure the lights in place.
- Wrenches: For securing any nuts and bolts.
- Measuring Tape: To ensure precise placement of lights.
- Safety Goggles/Gloves: For personal protection during installation.

Step-by-Step Installation Process
Follow these detailed steps to install auxiliary work lights on your semi-trailer with confidence.
1. Planning the Installation
Choosing the Right Location:
- Mounting Location: Ideal locations are typically on the rear, sides, or under the trailer frame.
- Height Consideration: Ensure the lights are mounted high enough to avoid damage but low enough to provide effective illumination.
Light Selection:
- Evaluate your operational needs—more focused beams may be necessary for loading, while widespread lights are better for visibility during transit.
2. Marking Mounting Points
- Using a measuring tape, mark the desired positions on the trailer where the lights will be installed.
- Ensure even spacing by using a level to check alignment between multiple lights.

3. Drilling Mounting Holes
- Choosing the Right Drill Bit: Select a bit that matches the screws or bolts supplied with the lights.
- Carefully drill holes in the marked locations.
- Be cautious to avoid existing wiring or structural elements within the trailer.
4. Mounting the Lights
- Secure the work lights using the provided hardware (screws, brackets, etc.) ensuring they are tightly fastened.
- For added security, apply thread lock to ensure the screws do not loosen over time.
5. Wiring the Lights

Understanding the Wiring System:
- Typical Auxiliary Light Configuration: Each light usually has a positive (+) and negative (-) wire.
Connecting the Wires:
Identify Power Source: Locate the trailer’s power source, which may involve accessing the battery or existing wiring harness.
Run the Wires: Use wire conduits to protect the wiring from wear and tear—ensure they run along the chassis, securing them every few feet with zip ties.
Strip the Wires: Use wire strippers to remove about 1/2 inch of insulation on both the auxiliary light wires and the power source wires.
Crimp Connections: Use crimp connectors to join the wires securely—red to positive and black to negative.
Insulation: Cover all connections with heat shrink tubing followed by electrical tape to prevent water ingress.
6. Testing the Lights
- Before finalizing the installation, test the lights. Turn on the power source and check for proper functioning.
- Ensure all lights illuminate correctly, and troubleshoot any issues such as short circuits or faulty connections.

7. Final Inspection and Weatherproofing
- Inspect all mounting points and wiring connections to confirm they are secure.
- Weatherproof the installation using silicone sealant around the mounting points to prevent moisture intrusion, which can corrode electrical components.
Common Challenges and Solutions
While the installation of auxiliary work lights can be straightforward, various challenges may arise. Below are potential problems and their solutions:
| Challenge | Solution |
|---|---|
| Lights Not Working | Check all wiring connections, ensuring proper crimping and secured and sealed connections. |
| Incompatible Voltage | Confirm that the lights match the voltage of the power source; use an appropriate converter if necessary. |
| Moisture Ingress | Use quality sealants and ensure all connections are tightly insulated. |
| Vibration Damage | Securely mount lights, using rubber grommets to absorb vibration impacts. |
Maintenance Tips for Auxiliary Work Lights
To maximize the lifespan and efficiency of your auxiliary work lights, consider implementing the following maintenance tips:
- Regular Inspection: Schedule periodic checks for any signs of corrosion, damage, or loose connections every few months.
- Cleaning: Keep the lights free from debris and dirt, which can impair brightness—use gentle soap and water to clean lenses.
- Update Wiring as Needed: If you experience flickering or inconsistent lighting, consider replacing corroded wires and connectors promptly.

Conclusion: Elevate Your Semi-Trailer’s Safety
By following this comprehensive guide to installing auxiliary work lights on a semi-trailer, you’re making a significant investment in enhancing safety and efficiency during operations. Properly installed and maintained auxiliary work lights not only improve visibility but also contribute to overall regulatory compliance and operational productivity.
Incorporate auxiliary work lights into your semi-trailer setup and experience remarkable improvements in safety and performance. Should you need any assistance in the installation process or wish to explore our quality semi-trailer manufacturing services, feel free to reach out to our team of experts.
This structured approach, along with comprehensive details and maintenance tips, should captivate the reader while ensuring that they feel informed and empowered to undertake the installation themselves.


