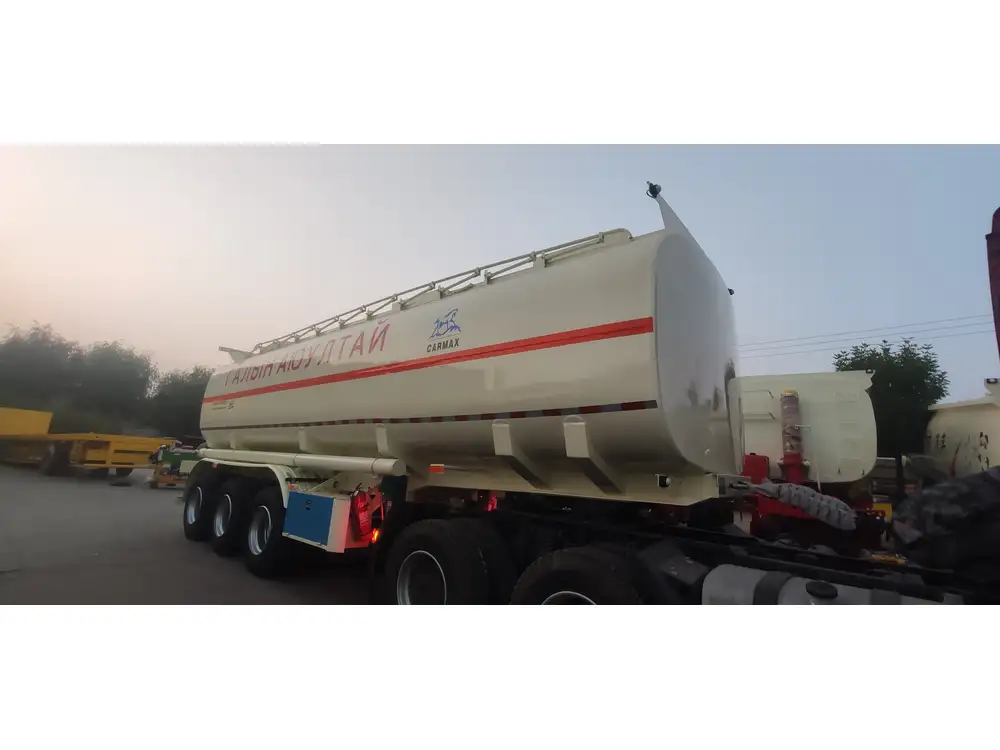
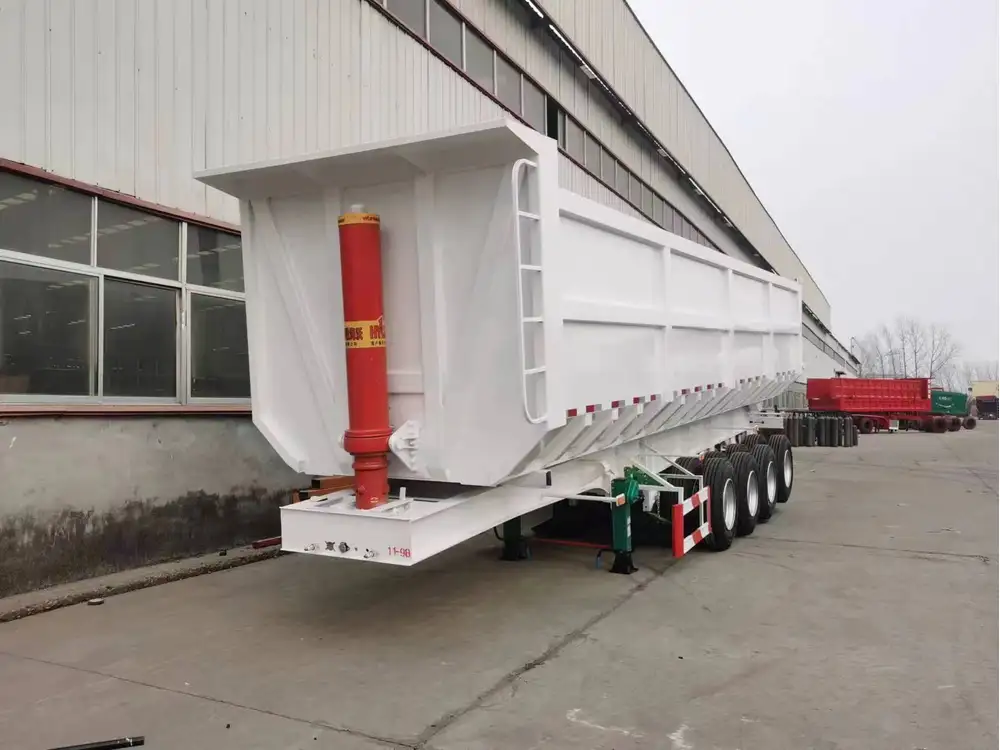
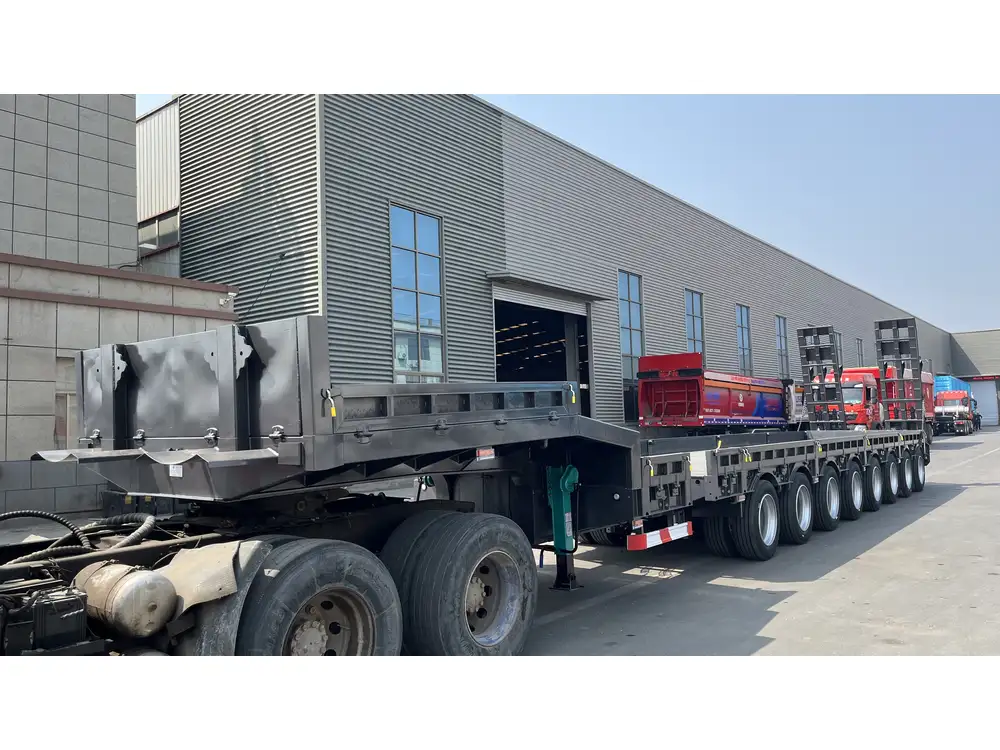
Adjusting the brakes on a semi-trailer is a critical maintenance task that ensures the safety, efficiency, and longevity of both the trailer and the cargo. Proper brake adjustment not only preserves the vehicle’s integrity but also maintains compliance with regulatory standards. This detailed guide explores the step-by-step process, common issues, and maintenance tips related to semi-trailer brake adjustments.
Understanding Semi-Trailer Brake Systems
Before delving into the adjustment process, it’s essential to familiarize ourselves with the various types of brake systems used in semi-trailers. Knowing your brake system is key to effective adjustments.
Types of Brake Systems
Air Brake Systems
- Utilize compressed air to engage and release brakes.
- Common in heavy-duty vehicles due to their ability to dissipate heat effectively.
Hydraulic Brake Systems
- Employ brake fluid to transfer force from the brake pedal to the brake pads.
- More common in lighter vehicles.
Electro-Mechanical Brake Systems
- Use electric signals to control braking.
- Gaining popularity for their precision and efficiency.

Key Components of Semi-Trailer Brakes
- Brake Drums: House the brake shoes and are attached to the wheels.
- Brake Shoes: Press against the brake drum to create friction.
- Slack Adjusters: Adjust brake shoes’ distance from the drum.
- Chambers: Convert air pressure into mechanical force to engage the brakes.
Step-by-Step Guide to Adjusting Semi-Trailer Brakes
Properly adjusting the brakes involves several crucial steps designed to fine-tune the braking system for optimal performance.
Safety Precautions
Before starting, ensure safety by following these precautions:
- Wear Appropriate Gear: Use gloves and safety glasses.
- Secure the Vehicle: Park on a flat surface and use wheel chocks.
- Deactivate Air Supply: Release the air pressure before beginning.

Tools Required
- Wrench set
- Brake adjustment gauges
- Torque wrench
- Screwdriver
- Flashlight
- Ruler or measuring tape
Procedure for Air Brake Adjustment
Inspect the Brake System
- Start by examining the entire brake assembly for signs of wear or damage.
- Look for cracks, rust, and loose connections.
Check Brake Pad Thickness
- Use a ruler to measure the thickness of the brake pads.
- Replace pads that are below the manufacturer’s recommended thickness.
Adjust the Slack Adjusters
- Locate the slack adjuster on each wheel.
Pull the manual adjuster off and rotate it. Adjustment Type Procedure Manual Adjustments Adjust until the brake pad just touches the drum without dragging. Automatic Adjustments Ensure automatic adjusters are functioning as per the manufacturer’s specifications.
Perform the Brake Push Rod Stroke Test
- Release the parking brake and apply the foot brake.
- Measure the stroke; it should not exceed 2 inches for air brakes.
Tighten the Lock Nut
- Once adjusted, ensure the lock nut is tightened to secure the position.
Perform the Final Check
- Recheck all adjustments after making them.
- Ensure that when the brakes are applied, they engage smoothly without delay.
Procedure for Hydraulic Brake Adjustment
Inspect Fluid Levels
- Check brake fluid levels and top off if necessary.
Bleed the Brakes
- If air is present in the lines, bleed the brakes to ensure proper hydraulic pressure.
Adjust the Brake Calipers
Loosen the bolts holding the caliper. Action Description Caliper Adjustment Ensure calipers provide even pressure on both sides of the rotor. Brake Pad Replacement If pads are worn, replace them simultaneously with the adjustment.
Final Test
- After adjustments, conduct a test drive to evaluate brake performance.

Common Brake Adjustment Issues and Solutions
Uneven Brake Wear
Symptoms: One side of your trailer shows significantly more wear than the other.
Solution: This often indicates misalignment or improper adjustment. Recalibrate the slack adjusters, and inspect for mechanical failures.
Brake Drums Overheating
Symptoms: Fading brakes, smells of burning, and excessive heat.
Solution: Overheating can arise from improper air gap settings. Reassess the drum-to-shoe clearance and adjust accordingly.

Air Leaks
Symptoms: Frequent loss of air pressure signals a leak.
Solution: Inspect hoses, connections, and chambers for damage and replace as necessary. Utilize soapy water to detect leaks visually.
Maintenance Tips for Long-Lasting Brake Performance
Regular Inspections
Schedule systematic inspections to catch early issues before they escalate.Routine Adjustments
Adjust brakes at regular intervals or after a specific mileage—typically, every 10,000 miles.Use Quality Components
Invest in high-quality brake parts to maximize durability and reliability.Educate Operators
Train operators on proper usage and maintenance protocols to ensure ongoing truck safety.
Tools and Technologies for Optimal Braking
Leverage modern technology to enhance the braking system’s performance:

Electronic Control Systems
These systems assist in proportional brake applications, improving efficiency and response times. Technologies such as:
- Anti-lock Braking Systems (ABS)
- Electronic Stability Control (ESC)
Diagnostic Tools
Utilize tools that can monitor brake performance and give immediate feedback on any discrepancies, allowing for rapid response.
Conclusion
In conclusion, understanding how to adjust the brakes on a semi-trailer involves a nuanced approach integrating knowledge of brake systems, careful inspection, and methodical adjustments. With the right tools and adherence to safety protocols, operators can maintain their brake systems for optimal performance, ensuring safety on the road.
This guide serves as a comprehensive resource for all essential practices surrounding semi-trailer brake adjustments. Following these steps will not only help to improve braking efficiency but also prolong the life of the braking system. Regular maintenance, proper technique, and an awareness of potential issues are crucial to achieving exceptional performance in semi-trailer operations.


