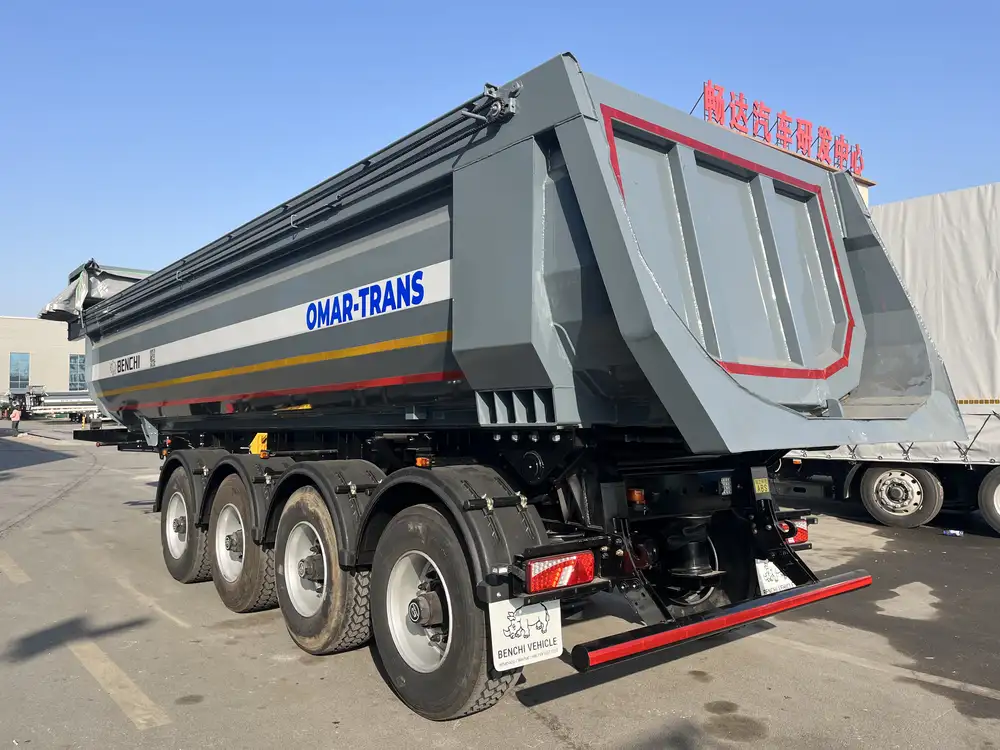
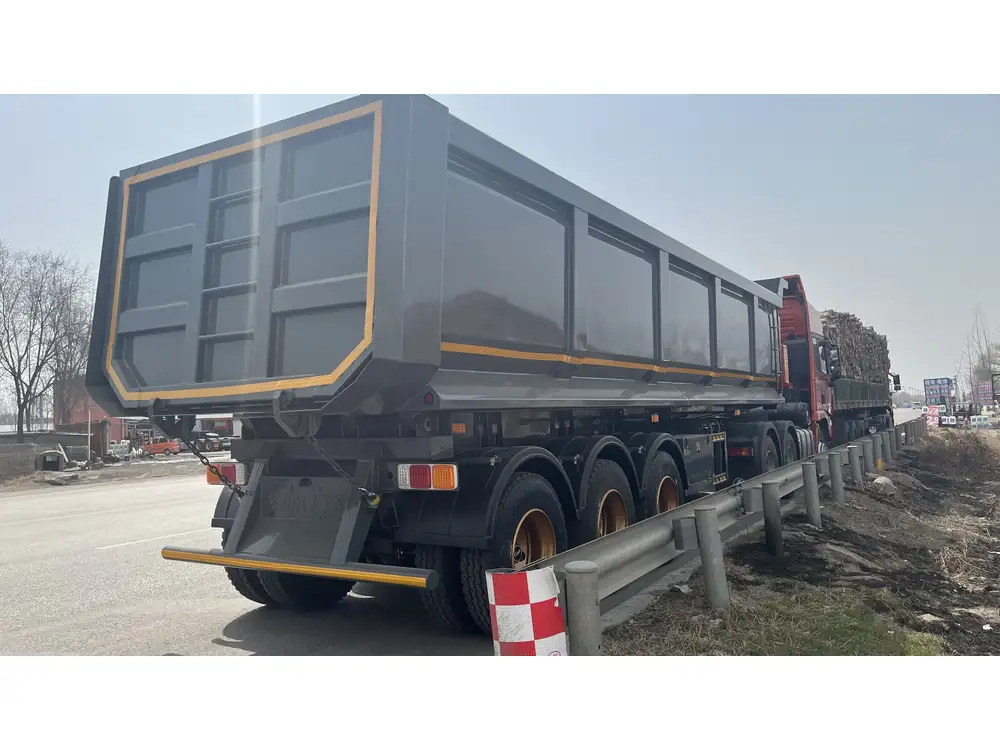
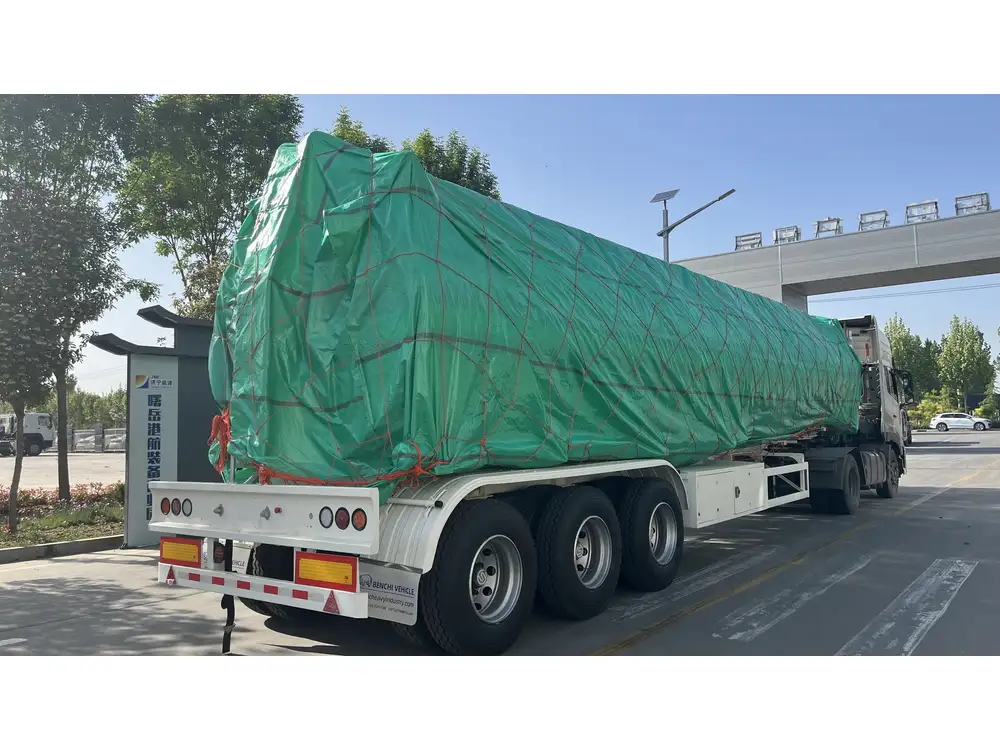
Wiring clearance lights on semi-trailers presents a crucial task for both manufacturers and end-users, ensuring compliance with safety regulations and enhancing visibility. The following guide covers essential aspects related to wiring semi-trailer clearance lights, providing step-by-step instructions, tips, and best practices for effective installation.
Understanding Your Clearance Lights
Clearance lights serve as essential components for any semi-trailer, primarily facilitating visibility during nighttime or low-visibility conditions. Typically, these lights can be found on the front, rear, and sides of the trailer. Understanding the specifications and function of different clearance lights is crucial before proceeding with installation.
Types of Clearance Lights
| Type | Description |
|---|---|
| LED Lights | Energy-efficient, longer lifespan, lower heat output |
| Incandescent Lights | Traditional option, generally cheaper but less durable |
| Marker Lights | Identify the edges of the trailer, crucial for safety |
| Reflective Tape Lights | Affordable alternative, supplemental to electrical lights |
Choosing the right type of clearance light depends on factors such as budget, intended use, and specific regulations.

Tools and Materials Needed
Embarking on wiring semi-trailer clearance lights requires various tools and materials. Here’s a comprehensive checklist:
Tools
- Wire Strippers
- Electrical Tape
- Soldering Iron
- Heat Shrink Tubing
- Multimeter
- Screwdriver Set
- Crimping Tool
Materials
- Clearance Lights (LED or Incandescent)
- 16-18 AWG Wire (Ensure proper gauge for current requirement)
- Fuse (typically 15-Amp)
- Wiring Connectors
- Junction Box (optional for organization)

Step-by-Step Wiring Instructions
Step 1: Safety First
Before starting the wiring process, ensure the semi-trailer is parked on a flat surface, and disconnect the truck from the trailer to avoid any electric shocks. Safety goggles and gloves should be worn for added protection against potential hazards.
Step 2: Prepare the Installation Area
- Identify Mounting Locations: Decide where to install the clearance lights on your trailer. Common locations include close to the corners and along the sides.
- Clean the Surface: Ensure the mounting surface is clean and dry to guarantee optimal adhesion.

Step 3: Installing the Clearance Lights
Mount the Lights: Secure the clearance lights in place using screws or adhesive, depending on the type of light and manufacturer requirements.
- Tip: If using screws, apply silicone sealant to prevent moisture infiltration.
Run Wires: Route the wires towards the trailer’s wiring harness. Use wire clips or zip ties to secure wires and keep them tidy.
Step 4: Wiring the Lights
Wiring Color Standards
Standard color coding typically follows this pattern:
| Color | Function |
|---|---|
| Brown | Tail lights |
| Yellow | Left turn signal |
| Green | Right turn signal |
| Black | Ground |
- Strip the Wire Ends: Use wire strippers to expose about ½ inch of the wire at each end.
- Connect Wires:
- Join the brown wire to the clearance light’s positive terminal.
- Connect the black wire to the negative terminal (ground).
- Secure Connections:
- Twist-on wire connectors or solder the connections for durability.
- Cover with heat shrink tubing or electrical tape for insulation.

Step 5: Connecting to the Trailer’s Wiring Harness
- Locate the Junction Box: Find the junction box that houses the trailer’s wiring harness.
- Connect the Wires:
- Use the appropriate wire connector to attach the brown and black wires from the clearance lights to the corresponding terminals in the junction box.
- Ensure a tight fit to avoid any loose connections.
Step 6: Testing the Connection
Once all connections are made, it’s essential to test the installed clearance lights.
- Reconnect the Trailer: Attach the trailer back to the truck.
- Activate the Lights: Turn on the parking lights of the truck and observe the functioning of the clearance lights.
- Use a Multimeter: In case of malfunction, utilize a multimeter to check voltage across various wires and connections.
Step 7: Securing the Installation
After confirming that the installation is successful:
- Tidy Up: Use zip ties for excess wires to keep everything organized.
- Weatherproofing: If applicable, tape connections with electrical tape, paying special attention to entry points for moisture protection.

Common Issues and Troubleshooting
Dim Lights or Flickering
Possible Causes: Inadequate power supply, bad ground connection, or damaged bulbs.
Solutions: Check wiring connections, test ground continuity, and replace bulbs if necessary.
Lights Not Working
Possible Causes: Poor connection, blown fuse, or damaged wiring.
Solutions: Inspect all connections, replace the fuse as needed, and ensure that wiring is not damaged or ground out.

Uneven Lighting
Possible Causes: Rust or corrosion on light fixtures or improper mounting angle.
Solutions: Clean the mounting surface and ensure lights are at the correct angle to project evenly.
Regulatory Considerations
It’s imperative to adhere to state and federal regulations regarding trailer lighting. The following elements are typically regulated:
- Light Placement: Positioning must provide adequate visibility from all angles.
- Color Compliance: Only approved colors should be used for clearance lights (white, amber, and red).
- Brightness Standards: Lights must meet minimum brightness levels prescribed by law.
Final Tips for Successful Wiring
- Plan Ahead: Before starting, visualize the wiring layout to streamline the process.
- Choose Quality Components: Opt for reliable clearance lights and wiring materials to enhance durability and safety.
- Regular Maintenance: Periodically check the wiring and fixtures for wear and damage to maintain optimal performance.

Conclusion
Wiring semi-trailer clearance lights requires careful attention to detail and a solid understanding of electrical connections. By following the outlined steps and tips, you can ensure that your trailer remains compliant with safety regulations and optimally visible during operation. Staying informed and maintaining the system will not only enhance safety but also prolong the life of your semi-trailer lighting system.
Developing a meticulous approach to installation and maintenance will contribute to efficient operations and peace of mind while on the road. If uncertainties arise during the process, consulting with an experienced technician can offer additional guidance and ensure that your setup is both effective and safe.


