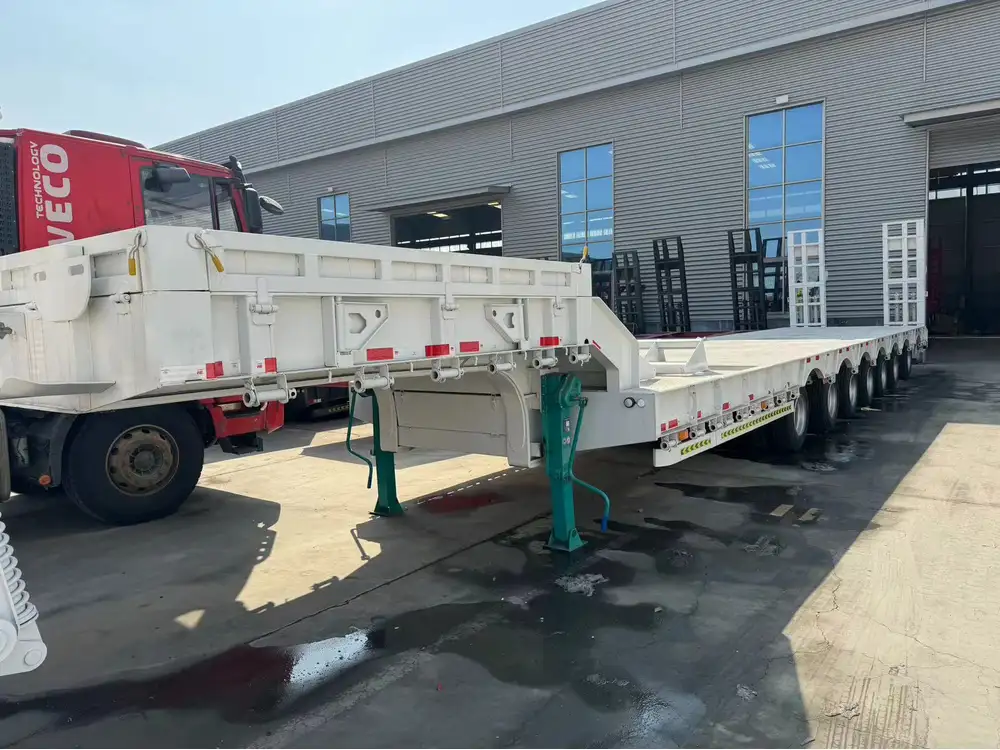
Wiring a semi-trailer’s tail lights is not just a matter of connecting a few wires. It’s an essential skill that ensures safety, compliance with regulations, and functionality on the road. Understanding the wiring system, selecting the right materials, and employing best practices can lead to a seamless setup. In this extensive guide, we will navigate through the intricacies of wiring semi-trailer tail lights, addressing potential issues while ensuring your semi-trailer remains roadworthy and compliant.
Understanding the Tail Light Wiring Structure
Before diving into the step-by-step process of wiring semi-trailer tail lights, it’s crucial to understand the components involved in the wiring system. The tail lights typically consist of several lights serving various functions, including:
- Brake Lights: Illuminate when the brakes are applied.
- Turn Signals: Indicate the direction of turns.
- Running Lights: Stay on when the vehicle is active to enhance visibility.
- Hazard Lights: Flash when activated for emergencies.
Basic Wiring Diagrams
A wiring diagram provides a visual representation of the connections needed for a functioning tail light system. Here’s a simplified diagram to illustrate the common configuration of a semi-trailer tail light system:
| Color Code | Function | Connection Point |
|---|---|---|
| Red | Left Turn Signal | Connector to the left signal light |
| Yellow | Right Turn Signal | Connector to the right signal light |
| Brown | Running Lights | Connector to the tail lights |
| White | Ground | Chassis ground connection |
Note: Always refer to the manufacturer’s specifications for your specific model, as wiring patterns might differ based on design and production year.

Materials Needed for Wiring
Before starting the wiring process, gather the following materials:
- Wiring Harness: A specific harness designed for your semi-trailer model.
- Heat Shrink Tubing: Protects connections and prevents corrosion.
- Wire Strippers: Essential for preparing wire ends.
- Electrical Tape: Provides additional insulation.
- Multimeter: To test connections and ensure correct voltage.
- Connectors and Terminals: For secure and reliable connections.
- Screwdrivers and Socket Wrenches: To mount fixtures.
Step-by-step Guide to Wiring Semi-Trailer Tail Lights
With materials at hand, we will now delve into the actual wiring process. Follow these detailed steps carefully to ensure a successful installation.
Step 1: Preparing the Work Area
- Park the semi-trailer on a flat surface.
- Ensure the jack stands secure the trailer if necessary.
- Disconnect the battery to prevent any electrical short.
- Clean the work area to avoid debris that can interfere with wiring.

Step 2: Remove the Old Tail Light Assembly
If you are replacing an existing tail light assembly, follow these actions:
- Unscrew the Assembly: Using a screwdriver, remove the screws holding the old tail light assembly.
- Disconnect the Wires: Carefully unplug the old wiring harness from the tail light assembly. If it is corroded, use a multimeter to assess continuity.
Step 3: Install the New Tail Light Assembly
- Connect Wires: Following the wiring diagram, connect the new wires from the harness to the respective terminals on the new tail light assembly:
- Red to Left Turn Signal
- Yellow to Right Turn Signal
- Brown to Running Lights
- White to Ground
- Secure Connections: Use heat shrink tubing over each connection. Shrink it using a heat gun for a snug fit to prevent exposure to moisture.
Step 4: Mounting the Tail Light Assembly
- Align the new tail light assembly with the mounting holes.
- Secure it using the screws previously removed.

Step 5: Wiring the Connector
- Identify Wire Colors: Match the trailer’s wiring with the vehicle’s connector. Ensuring the colors correspond correctly is vital.
- Secure Connections: Use the appropriate connectors to secure the wires, ensuring no exposed wiring remains.
Step 6: Testing the Configuration
- Reconnect the Battery: Once all the connections are secure, reconnect the battery.
- Test the Lights: Using a helper, check each light function:
- Activate the brakes to check brake lights.
- Engage turn signals.
- Test running lights.
Use a Multimeter: If any lights do not operate, use a multimeter to check for voltage at the connections. This will identify potential short circuits or connectivity issues.
Step 7: Final Inspections
- Inspect Wiring Bundles: Ensure no wires are pinched or exposed to elements.
- Secure Loose Wires: Use zip ties to hold wiring in place and prevent movement during trailer operation.
- Final Screws Check: Ensure all assemblies and connections are tight for both safety and functionality.

Troubleshooting Wiring Issues
Even after successful installation, issues may arise. Here are common problems and solutions to keep your tail lights functioning optimally:
Flickering Lights
- Causes: Loose or corroded connections can lead to interrupted current flow.
- Solution: Inspect and secure all connections; clean any corrosion found.
Inoperative Lights
- Causes: Burned-out bulbs or faulty wiring.
- Solution: Replace any faulty bulbs and test connections with a multimeter to detect breaks.

Short Circuits
- Causes: Damaged insulation or incorrect connections.
- Solution: Inspect the wiring thoroughly, replacing any damaged sections and ensuring correct connections are made.
Dim Lights
- Causes: Weak connections or insufficient power supply.
- Solution: Test voltage using a multimeter; tighten connections or replace wiring as necessary.
Maintenance Tips for Semi-Trailer Tail Lights
Maintaining your semi-trailer’s tail lights is essential for longevity and optimal performance. Consider the following tips:
- Regular Inspections: Check wiring and lights monthly for signs of wear or damage.
- Keep Connections Clean: Use electrical contact cleaner on connectors to prevent corrosion.
- Replace Burnt Bulbs Promptly: A single malfunctioning bulb can compromise safety.
- Protect Against Elements: In case of exposure, consider using waterproof connectors and coverings.

FAQ Section
How Often Should I Check My Semi-Trailer Tail Lights?
Regular monthly checks are recommended, especially before long trips. Ensure all lights function properly, as failure to do so can lead to fines or accidents on the road.
What Tools Are Essential for Wiring a Semi-Trailer?
Key tools include wire strippers, a multimeter, screwdrivers, heat shrink tubing, and electrical tape. These tools facilitate proper installation and troubleshooting.

Are There Specific Regulations for Tail Light Brightness?
Yes, regulations vary by state and country regarding the brightness and functionality of trailer lights. It’s imperative to consult local transportation authority guidelines to remain compliant.
Can I Wire Tail Lights Without Professional Help?
While wiring tail lights can be done independently, consulting a professional is advisable if uncertain about the wiring process. Safety is always the top priority when dealing with electrical systems.
What Should I Do If My Lights Still Don’t Work After Rewiring?
If the lights remain non-functional despite rewiring, consider seeking a professional electrician or trailer maintenance expert. It may indicate deeper electrical issues requiring specialized knowledge.

Conclusion
Wiring semi-trailer tail lights encompasses essential tasks that maintain safety and compliance on the road. By understanding the wiring structures, methods, and troubleshooting steps, we empower semi-trailer owners to ensure their vehicles are roadworthy. From gathering tools to ensuring optimal performance through consistent maintenance, each step is pivotal in the journey of secure and functional transportation. Following this guide, you can confidently navigate the wiring process, ensuring the longevity and reliability of your semi-trailer tail lights. Investing time in learning these skills not only enhances safety but also assures a smooth operation on your journeys.


