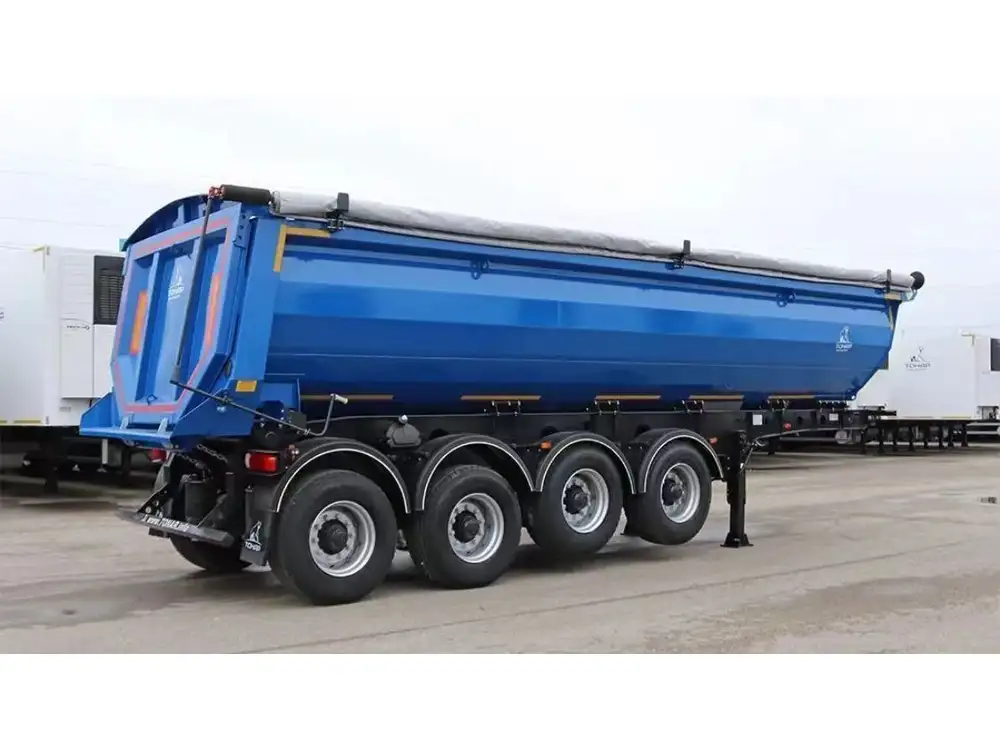
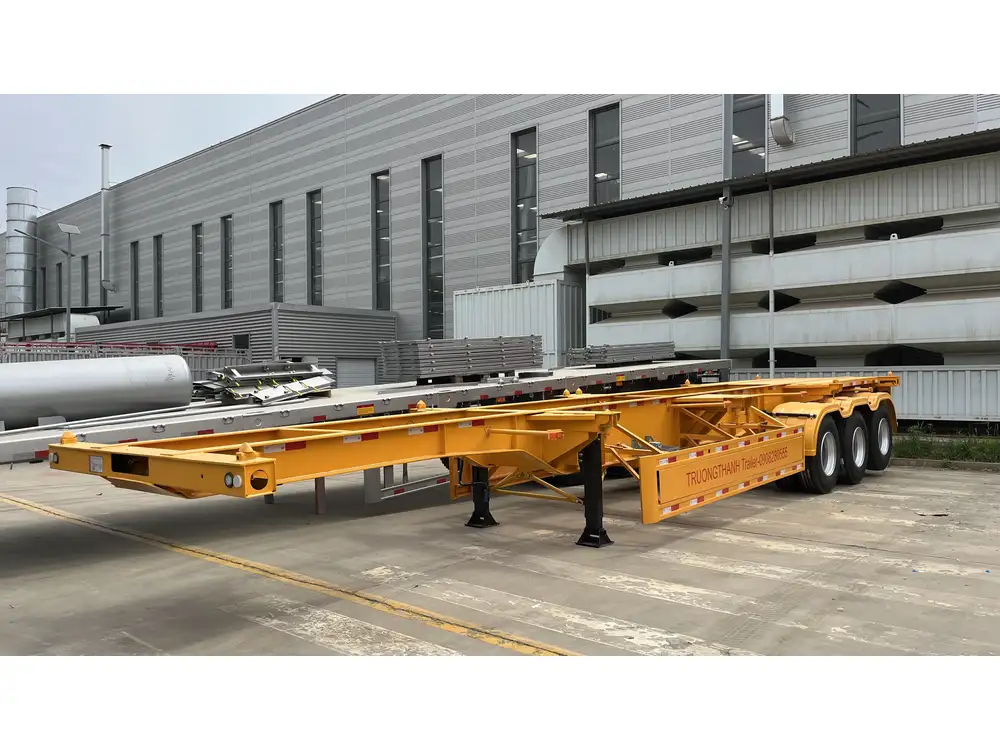
Are you ready to tackle the task of wiring a semi-trailer plug? Whether you’re in the business of manufacturing, maintaining, or operating semi-trailers, understanding the wiring process is essential. In this detailed guide, we will break down the steps and components involved in wiring a semi-trailer plug. This approach will not only ensure safety but also enhance the efficiency of your trailer’s electrical systems.
Understanding the Semi-Trailer Plug
Types of Semi-Trailer Plugs
There are several types of semi-trailer plugs in the market, with the following being the most common:
| Plug Type | Description | Usage |
|---|---|---|
| 7-pin Plug | Most common for heavy-duty vehicles. Typically connects lights and brakes. | General hauling |
| 6-pin Plug | Similar to 7-pin but used for simpler applications. | Fewer functions |
| 4-pin Plug | For basic trailer lighting such as taillights. | Light utility trailers |
Each type of plug serves its unique purpose and understanding these differences is vital when wiring.

Wiring Schematics and Color Codes
Before diving into the wiring process, familiarize yourself with the color codes associated with semi-trailer plugs. Generally, the following coding system is employed:
| Wire Color | Function |
|---|---|
| Brown | Tail lights |
| Yellow | Left turn signal |
| Green | Right turn signal |
| White | Ground |
| Blue | Electric brakes |
| Red | Stop lights |
| Black | Auxiliary power (optional) |
Proper adherence to these color codes will ensure a correctly wired connection.
Tools and Materials Needed
To effectively wire a semi-trailer plug, you will need the following tools and materials:
- Wiring Kit: Includes wires and connectors.
- Wire Cutter/Stripper: For cutting and stripping wires.
- Screwdrivers: Flathead and Phillips for securing connections.
- Heat Shrink Tubing: To protect connections from moisture and dust.
- Electrical Tape: Additional safeguarding for wire connections.
- Multimeter: For testing voltage and continuity.
Having these tools on hand will facilitate a smooth wiring process.
Step-by-Step Wiring Process

Step 1: Safety First
Before starting any electrical project, ensure that:
- Power is Off: Disconnect the vehicle’s battery or the power supply to prevent any accidental shocks.
- Personal Protective Equipment is Worn: Safety goggles and gloves can prevent injuries from accidental electrical contact or sharp wire ends.
Step 2: Prepare Wires
- Strip the Wires: Use the wire stripper to reveal approximately 1 inch of copper from each wire.
- Twist Connectors: Twist the wire ends tightly to ensure a solid connection.
Step 3: Connect the Wires
Using the standardized color codes, connect each wire from the trailer harness to the appropriate pin on the plug. Here’s how they should correspond:
- Brown to Pin 1: Connect to tail lights.
- Yellow to Pin 2: Connect to left turn signal.
- Green to Pin 3: Connect to right turn signal.
- White to Pin 4: Connect to ground.
- Blue to Pin 5: Connect to electric brakes.
- Red to Pin 6: Connect to stop lights.
- Black (if applicable) to Pin 7: Connect to auxiliary power.

Step 4: Secure Connections
- Soldering (Optional): For a more durable connection, consider soldering the joints. Allow the solder to cool for several minutes.
- Use Heat Shrink Tubing: Slide heat shrink tubing over the soldered connections and apply heat for a snug fit.
- Wrap with Electrical Tape: For additional safety, wrap each connection with electrical tape.
Step 5: Mounting the Plug
- Connect the Plug: Secure the assembled plug into the trailers’ designated socket, ensuring it fits flush against the surface.
- Test Fit: Before finalizing, test the fit and orientation to prevent future issues.
Step 6: Testing the Connection
- Reconnect Power: Ensure that the battery is reconnected.
- Use a Multimeter: Test each wire connection with a multimeter to confirm that the power is being transmitted correctly.
- Check Lights and Signals: With the vehicle on, check that the tail lights, turn signals, and brakes function properly.

Common Wiring Mistakes to Avoid
Poor Connection Security
Ensure that all connections are tight and secure. Loose connections can lead to flickering lights or complete electrical failure.
Incorrect Color Connections
One of the most frequent errors during wiring is connecting wires to the wrong pins. Always double-check the color codes against a reliable schematic.

Neglecting Grounding
A poor ground connection can cause various electrical issues. Always ensure the white wire is securely connected to a metal chassis point for effective grounding.
Lack of Waterproofing
Electrical connections on trailers are exposed to harsh weather conditions. Use waterproof connectors and ensure heat shrink tubing is adequately applied.
Troubleshooting Electrical Issues
If you encounter issues post-assembly, consider these troubleshooting methods:
- Check the Plug and Socket: Ensure that both the plug and socket are clean and free of corrosion.
- Inspect Wires for Damage: Look for any exposed wiring or short circuits.
- Test Continuity with a Multimeter: This will help identify any breaks or shorts in the wiring.
| Issue | Possible Cause | Solution |
|---|---|---|
| Lights Won’t Illuminate | Loose connections | Re-secure connections |
| Flickering Lights | Poor grounding | Check and improve grounding |
| Non-Functioning Turn Signals | Wrong wire connections | Recheck wiring to color codes |

Regular Maintenance Tips
Taking care of your semi-trailer plug extends its life and functionality:
- Inspect Regularly: Regular checks can prevent issues from escalating.
- Clean Contacts: Use contact cleaner to remove grime and corrosion.
- Replace Worn Components: If a plug shows signs of wear, replace it to maintain safety.
Conclusion
Wiring a semi-trailer plug may seem daunting at first, but with the right tools, knowledge, and a structured approach, it becomes manageable. Whether you’re involved in industry operations or simply maintaining your trailer, this guide empowers you to ensure safe and effective electrical connections. Proper wiring will not only enhance the performance of your semi-trailer but also provide peace of mind during your travels. Embrace the challenges presented by this task; the rewards of understanding your trailer’s electrical system are well worth the effort.
By familiarizing yourself with common pitfalls and solutions, you can confidently wire a semi-trailer plug, ensuring optimal functionality and safety.


