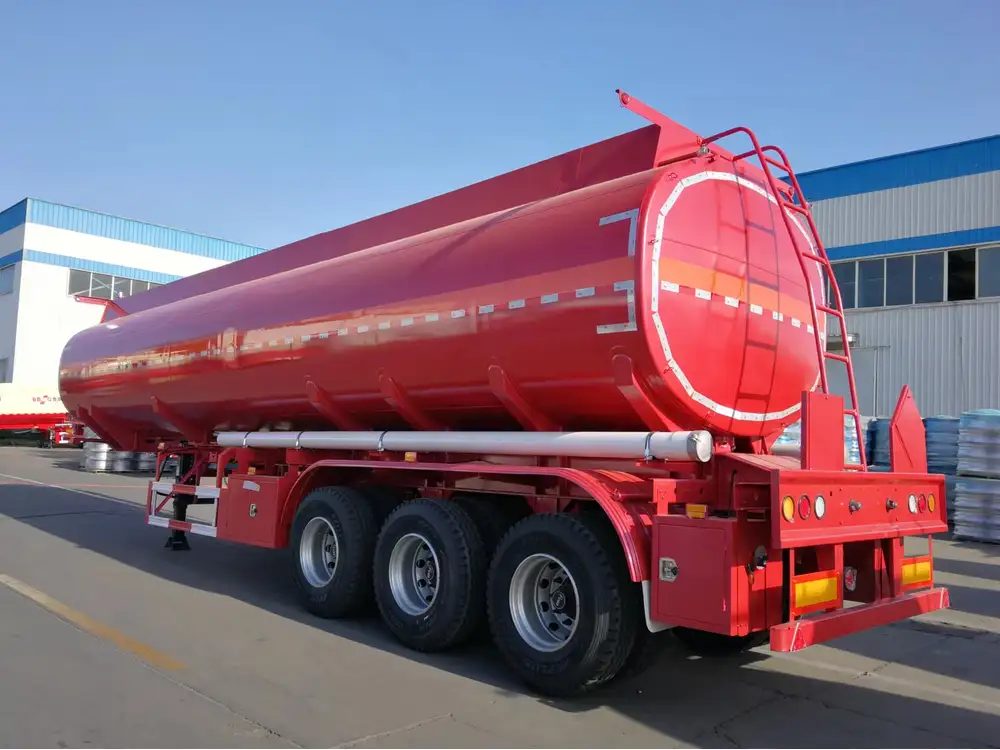
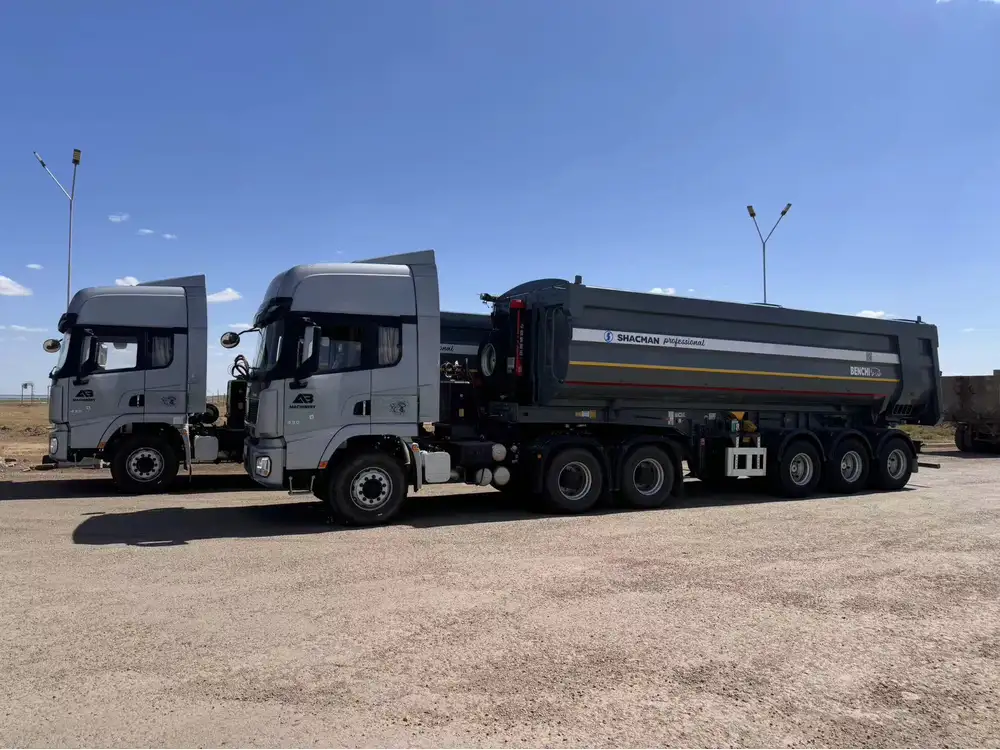
Wiring a dump trailer remote may seem daunting at first glance, but with the right guidance and knowledge, it can be a straightforward process. This article provides a step-by-step approach to successfully wiring your dump trailer remote, ensuring functionality and safety while operating your trailer.
Understanding Dump Trailer Components
Before diving into the wiring process, it’s essential to comprehend the various components associated with a dump trailer and its remote system. The key components typically include:
| Component | Description |
|---|---|
| Battery | The power source for the hydraulic system. |
| Hydraulic Pump | Converts electrical energy into hydraulic power. |
| Remote Control | Wireless device used to operate the hydraulic lift. |
| Solenoid Valve | Regulates the hydraulic fluid flow, controlling the lift. |
| Wiring Harness | Connects all electrical components, providing power and signals. |
Identifying Your Dump Trailer’s Wiring Layout
Each dump trailer may have a slightly different wiring layout. It’s crucial to refer to the specific schematic diagram provided by the manufacturer. However, most systems generally follow a standard setup that includes:
- Positive wire (typically red)
- Negative wire (usually black)
- Power supply from the battery to the hydraulic pump
- Signal wires from the remote control to the solenoid valve.
Ensuring compatibility with your specific model is vital to avoid operational issues.

Tools and Materials Required
Before starting the wiring process, gather the necessary tools and materials. This not only simplifies the task but also enhances safety during the installation.
Tools Needed
- Wire strippers
- Crimping tool
- Multimeter
- Screwdrivers (flat and Phillips)
- Voltage tester
- Electrical tape or heat shrink tubing
- Safety gloves and goggles
Materials Required
- Wiring harness compatible with your dump trailer
- Remote control unit
- 12-volt battery (if not already installed)
- Hydraulic pump (if not already integrated)
- Connectors and terminals

Step-by-Step Wiring Process
Now that you have the necessary tools and materials, follow these detailed steps to successfully wire your dump trailer remote.
Step 1: Safety First
Preparing the Workspace
Ensure that you are working in a well-ventilated area. Clear the workspace of any debris and ensure you have adequate lighting to see small components clearly. Put on your safety goggles and gloves for protection against electrical hazards.

Step 2: Disconnect the Battery
Important: Always disconnect the battery before beginning any electrical work to prevent accidental short circuits or electric shocks. Locate the battery terminal and remove the negative (black) wire first, followed by the positive (red) wire.
Step 3: Identifying Wires from the Hydraulic Pump
Locate the wires coming from the hydraulic pump. You will typically find a positive wire leading from the battery to the pump and a negative wire leading to the grounding point on the trailer frame.
Step 4: Connecting the Remote Control
Identify the Wires:
- Determine the positive and negative wires of the remote control.
- Identify the signal wires that will connect to the solenoid valve.
Connecting to the Pump:
- Connect the positive wire from the battery to the remote control’s positive terminal.
- Connect the negative wire to the negative terminal of the remote control.
Linking the Signal Wires:
- Connect the signal wires from the remote control to the appropriate terminals on the solenoid valve, ensuring you follow the manufacturer’s wiring diagram.

Step 5: Ensuring Electrical Integrity
Before proceeding, it is vital to test the integrity of your connections:
- Use a multimeter to check continuity along the wires.
- Verify that all connections are secure and that there are no visible frays or damages on the wires.
Step 6: Grounding the System
Ground Connection: It’s critical to establish a solid ground connection for the system to operate effectively. Connect the ground wire from the hydraulic pump to the trailer frame, ensuring it is clean and free from rust or paint to improve conductivity.
Step 7: Reconnecting the Battery
Once all connections are made and inspected:
- Reattach the positive (red) cable to the battery terminal.
- Finally, connect the negative (black) cable.

Step 8: Testing the Remote Control
With the battery reconnected, test the remote control’s functionality:
- Activate the dump trailer lift and ensure the hydraulic pump responds accordingly.
- Check for smooth operation and listen for any unusual sounds that might indicate a problem.
If everything functions as expected, congratulations! You have successfully wired your dump trailer remote.
Troubleshooting Common Issues
While wiring your dump trailer remote is a straightforward process when followed correctly, issues can arise. Here’s a list of common problems and their solutions:
| Problem | Possible Cause | Solution |
|---|---|---|
| Remote not functioning | Battery issues | Check and replace the battery if necessary. |
| Pump not responding | Incorrect wiring | Recheck wiring connections against the diagram. |
| Hydraulic fluid leaking | Damaged hydraulic lines | Inspect and replace damaged lines and seals. |
| Intermittent operation | Faulty remote control or wiring | Test with a multimeter and replace as needed. |
Best Practices for Remote Maintenance
To ensure the longevity and effectiveness of your dump trailer remote system, adhere to these maintenance tips:
- Regular Inspections: Routine checks will help identify wear and tear before they develop into significant issues. Inspect wiring harnesses, connections, and hydraulic lines for any signs of damage.
- Clear Debris: Regularly clean around the hydraulic unit to prevent dirt and debris from entering the system.
- Secure Connections: Ensure all connections are tight and free of corrosion, as loose or corroded connections can lead to poor performance.
- Battery Maintenance: Regularly monitor the battery’s condition, checking for leaks or corrosion, and replacing it as necessary to maintain optimal performance.

Conclusion
Wiring a dump trailer remote system encompasses several steps that can be managed efficiently with the right tools and understanding of the components involved. By following the guidelines set forth in this article, you can ensure that your system operates safely and correctly. Moreover, routine maintenance and care will prolong the life of your dump trailer, allowing for many years of productive use.
If any confusion persists or if you encounter specific wiring dilemmas, consulting with a professional technician is advisable. Embrace the knowledge shared, and happy hauling!


