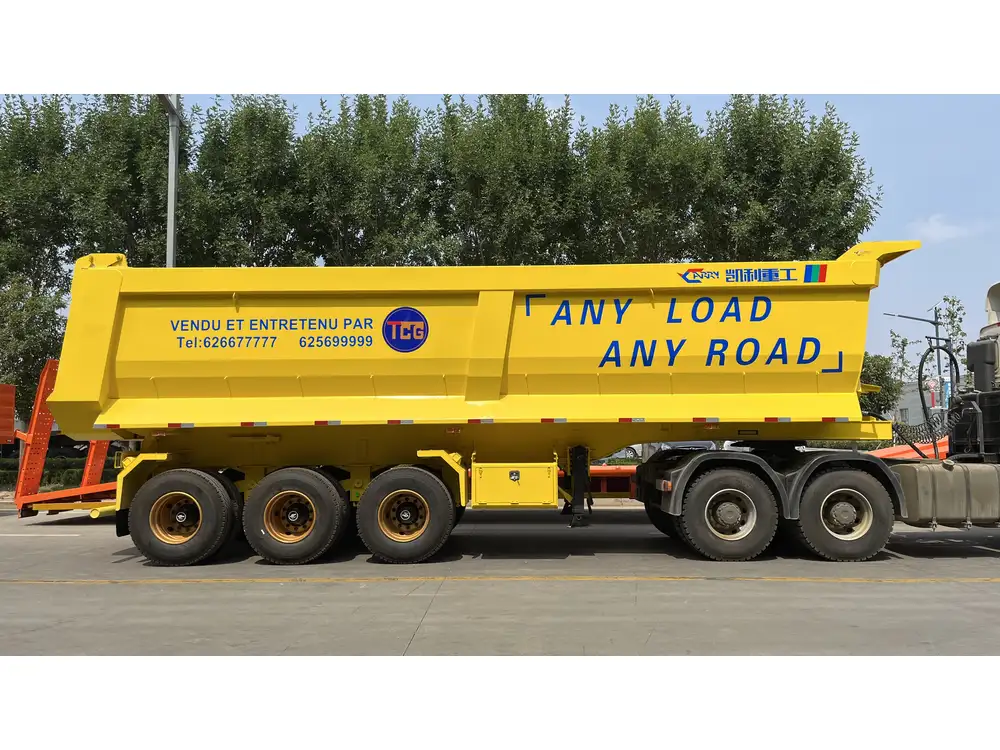
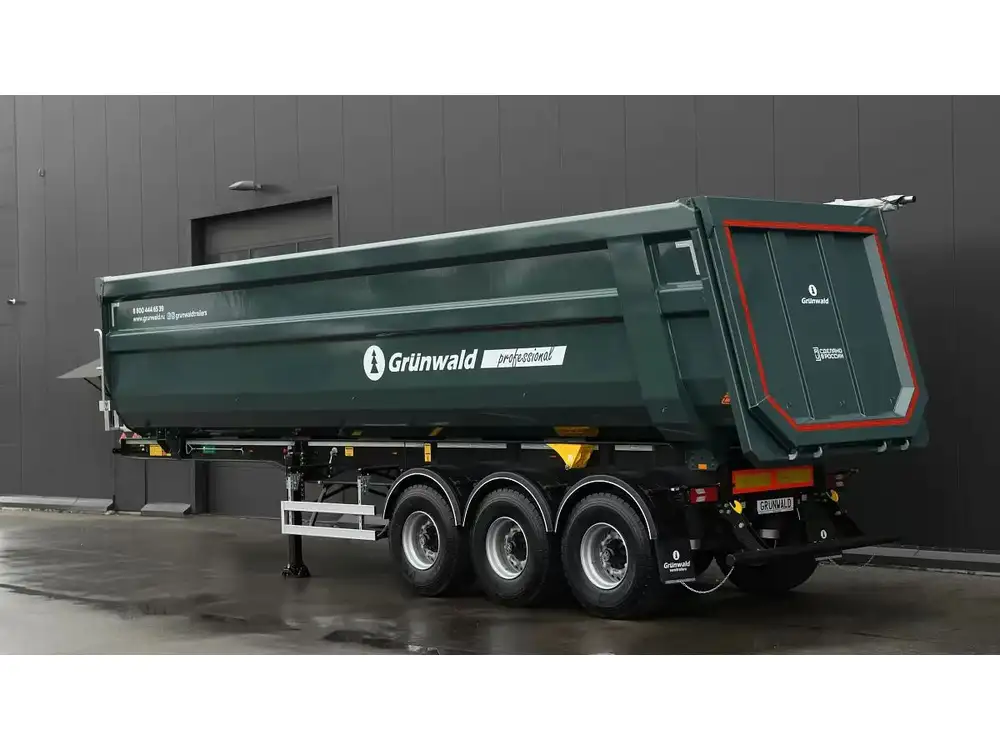
Wiring a dump trailer correctly is crucial for achieving optimal functionality, safety, and reliability. For manufacturers and end-users alike, understanding the wiring process can help mitigate common electrical issues, ensuring that the trailer performs under load and operates seamlessly with both the tow vehicle and auxiliary systems. This article provides an in-depth exploration of how to wire a dump trailer, covering tools, components, step-by-step instructions, potential challenges, and maintenance tips.
Understanding Dump Trailer Wiring Components
Before diving into the practical steps involved in wiring a dump trailer, it is essential to familiarize ourselves with the key components:
| Component | Description |
|---|---|
| Battery | Powers the hydraulic system and electrical components. |
| Ground Wire | Connects the trailer to the ground, critical for safety and functionality. |
| Connector Plug | Interface between the tow vehicle and the dump trailer, typically a 7-way or 4-way connector. |
| Fuses | Protects electrical circuits from surges and overloads. |
| Switch | Controls the hydraulic lift mechanism for the dump box. |
| Hydraulic Pump | Powers the lift mechanism, requiring a robust power supply from the battery. |
| Wiring Harness | Collection of wires for connecting components, usually color-coded for easy identification. |
Tools Required for Wiring
A successful wiring job requires the right tools. Here’s a checklist:
- Wire Strippers: For preparing wire ends.
- Crimping Tool: For securing connections.
- Screwdrivers: To install switches and connect components.
- Multimeter: To test electrical connections.
- Heat Shrink Tubing: For protecting connections from moisture.
- Electrical Tape: To insulate and secure wiring.
- Wire Connectors: To enable easy and secure connections without soldering.

Step-by-Step Guide to Wiring a Dump Trailer
Step 1: Set Up Your Workspace
Choose a well-lit, spacious location to work on the dump trailer. Ensure that all tools and components are readily available. Take safety precautions, such as wearing gloves and goggles.
Step 2: Install the Battery
- Battery Location: Identify a secure, well-ventilated area on the trailer to mount the battery, often the A-frame near the front of the trailer.
- Mounting: Use appropriate brackets and hardware to secure the battery in place, ensuring it doesn’t move during transport.
Connections: Connect the positive (+) terminal of the battery to the hydraulic pump. Ensure that the connection is tight and insulated properly.


Step 3: Run the Ground Wire
- Choose a Ground Point: Select a metal surface on the trailer’s frame for the ground connection.
- Prepare the Ground Wire: Strip the end of the ground wire and secure it to the chosen point using a bolt and washer for a reliable connection.
- Connect to the Battery: Attach the other end of the ground wire to the negative (-) terminal of the battery.
Step 4: Wiring the Hydraulic Pump
- Power Connection: Connect a wire from the positive terminal of the battery to the hydraulic pump. This wire should be appropriately gauged (usually 10 or 12 AWG) to handle the current.
- Ground Connection: Ensure the hydraulic pump is grounded to the trailer frame.
Step 5: Install the Switch
- Choose a Location: Identify an accessible location for the switch inside the towing vehicle or within easy reach of the trailer.
- Wire Connections: Connect one wire from the hydraulic pump to the switch, then connect a second wire from the switch back to the ground on the battery, creating a complete circuit.
- Testing: Before sealing everything, test the switch to ensure it operates the hydraulic pump correctly.

Step 6: Install the Connector Plug
Select Connector Type: Typically, dump trailers use a 7-way or 4-way connector. Choose the one that matches your tow vehicle.
Wiring the Plug: Follow the color code provided with the connector to connect the appropriate trailer wires:
Function Wire Color Ground White Taillights Brown Left Turn Signal Yellow Right Turn Signal Green Electric Brakes Blue Battery Charge Black Reverse Lights Purple Secure Connections: Use crimp connectors or solder connections, then cover with heat shrink tubing for durability.
Step 7: Adding Fuses
- Fuse Selection: Choose fuses that match the amperage requirements of each system.
- Fusing Locations: Install the fuses near the battery and before connections that may cause overloads.
Testing the Wiring System
After completing the wiring process, it is crucial to test the entire system methodically:
- Visual Inspection: Check all connections for security and correct orientation.
- Use a Multimeter: Test voltage across the battery, switch, and hydraulic pump to confirm operational status.
- Functional Test: Activate the switch and observe the hydraulic pump functioning. It should lower and raise the dump box smoothly without clunking or hesitations.

Troubleshooting Common Wiring Issues
Even with diligent efforts, users may encounter wiring issues that require troubleshooting. Some common problems include:
| Issue | Potential Causes | Resolution |
|---|---|---|
| Hydraulic pump does not operate | – Bad wiring connection – Faulty switch – Dead battery | – Check connections and replace faulty components |
| Trailer lights do not function | – Grounding issue – Burnt-out bulbs | – Inspect grounds and replace bulbs as necessary |
| Intermittent functionality | – Loose connections – Damaged wiring | – Tighten connections, replace any damaged wires |
Additional Tips for Efficient Wiring
- Use Adequate Gauge Wire: Depending on the length of your wire runs, choose thicker wires to prevent voltage drop, especially in the pump circuit.
- Protection Against Elements: Protect exposed wires with conduit or wrap in waterproof tape, especially in high-moisture environments.
- Regular Maintenance: Periodically inspect the wiring for wear or corrosion to extend the life of your components.
Maintenance of Your Dump Trailer’s Electrical System
To ensure the longevity and safety of your dump trailer’s wiring and electrical components, implement a regular maintenance routine:
- Monthly Inspections: Check wiring for wear, fraying, or exposure, especially after off-road use.
- Battery Maintenance: Clean battery terminals and ensure a tight connection. Periodically check the battery’s charge level.
- Regular Cleaning: Keep connectors and the wiring harness free from dirt, moisture, and debris.

Conclusion
Wiring a dump trailer is a detailed process that, when executed carefully, results in enhanced functionality and reliability. By understanding the components, following structured steps, and conducting proper maintenance, we can ensure that our dump trailers serve their purpose efficiently for years to come. Whether you are a manufacturer or an end-user, adhering to these principles is not just about compliance but enhancing safety and efficacy in trailer operations.
Through this comprehensive insight, we aim to empower you to tackle the task with confidence, addressing not only how to wire a dump trailer but also how to maintain and troubleshoot your electrical systems effectively. This knowledge serves as a foundation for any manufacturer seeking to offer superior products in the market, fulfilling user expectations while enhancing operational conformity.


