
Wiring a belly dump trailer can seem daunting, but with a structured approach, it becomes an easily manageable task. This guide will navigate you through the essential steps needed to wire your belly dump trailer correctly, ensuring it operates efficiently and meets all safety standards.
Understanding Belly Dump Trailers
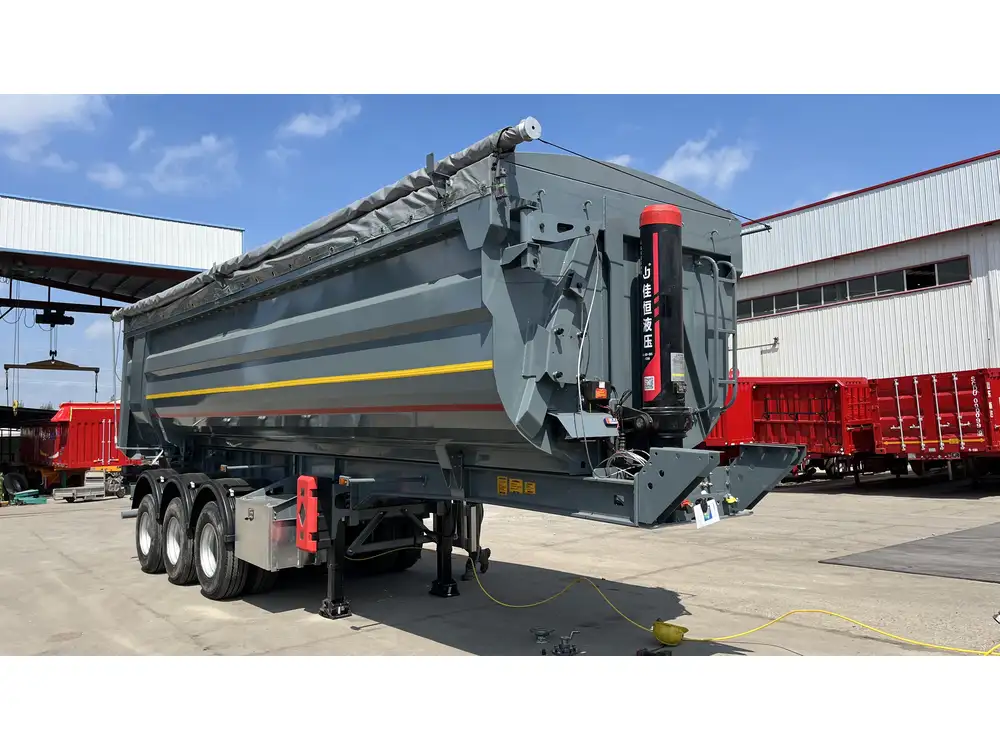
Belly dump trailers are semi-trailers designed to unload materials from the bottom. They are commonly used in construction, mining, and landscaping. The unique design facilitates efficient unloading, allowing for quick dispersal of material without the need for additional equipment.
Key Components of a Belly Dump Trailer
| Component | Function |
|---|---|
| Rear Gates | Control the flow of materials when unloading. |
| Movable Floor | Assists in the dumping process by moving material out. |
| Hydraulic System | Powers the rear gates and floor mechanisms. |
| Electrical System | Controls the hydraulic system and monitoring indicators. |

Safety First: Essential Precautions
Before commencing the wiring process, safety should be your priority. Here are essential precautions:
- Turn Off Power: Always disconnect the battery or power source to avoid accidental shorts.
- Use Personal Protective Equipment (PPE): Gloves, safety glasses, and steel-toed boots are recommended.
- Work in a Well-Lit Area: Adequate lighting helps prevent mistakes and accidents.
Wiring Basics: What You Need to Know
Understanding the fundamentals of trailer wiring is crucial. Electricity generally operates on a 12V system, especially in belly dump trailers. Here’s a concise look at wiring basics:
Wiring Diagram Reference
Before starting, consult a wiring diagram specific to your belly dump trailer model. This diagram will provide an overview of connections, color codes, and component placements.
Common Wire Colors and their Functions:
| Wire Color | Function |
|---|---|
| Brown | Taillights |
| Yellow | Left turn signal |
| Green | Right turn signal |
| White | Ground (negative connection) |
| Red | Brake lights |

Essential Tools and Materials
Before diving into the wiring process, gather the necessary tools and materials:
- Wire Strippers: Essential for removing insulation from the wire ends.
- Connectors and Crimping Tools: For securely connecting wires without solder.
- Electrical Tape: To insulate connections and prevent shorts.
- Heat Shrink Tubing: Helps protect and insulate connections in damp environments.
Step-by-Step Wiring Instructions
1. Preparing the Trailer
- Access the Wiring Junction Box: Locate the junction box on your belly dump trailer, where electrical connections converge.
- Inspect Components: Check the condition of the electrical components, ensuring no frayed wires or faulty connectors are present.

2. Connecting the Ground Wire
The ground connection is crucial for safety. Follow these steps:
- Identify the Ground Wire: Using a wire color reference, locate the white wire.
- Connect the Ground: Attach the white wire to a clean metal surface on the trailer frame. Use a bolt and washer to ensure a secure connection.
3. Wiring the Brake Lights
The brake lights are vital for signaling to other drivers. Here’s how to wire them:
- Identify the Brake Light Wire: Locate the red wire from your wiring diagram.
- Connect the Wire: Attach the red wire from the trailer to the brake light connector on the vehicle. Ensure the connection is tight and secure.
4. Wiring the Turn Signals and Taillights
Ensuring proper operation of turn signals and taillights is essential for road safety. Perform the following:
- Identify the Controller Wires: Connect the brown wire to the taillight and the yellow and green wires to the specific turn signal connectors.
- Test for Functionality: After connections are made, check function by activating the vehicle lights.
5. Completing the Connections
Once all the main connections are made, ensure everything is insulated and protected:
- Wrap Connections: Use electrical tape or heat shrink tubing on all exposed connections to prevent moisture ingress.
- Secure Wires: Use cable ties to keep wires organized and prevent movement.
6. Verifying the System
Before hitting the road, a thorough check is imperative. This involves:
- Simulating Operations: Have someone operate the vehicle while you observe the functionality of taillights, turn signals, and brake lights.
- Check for Shorts: Inspect wiring for any signs of bare wires or incorrect connections that could lead to shorts.
Maintenance Tips for Your Belly Dump Trailer Wiring
Once wired correctly, regular maintenance keeps your belly dump trailer in optimal condition. Here are essential tips:
- Regular Inspections: Periodically check connections for wear, corrosion, or damage.
- Clean Contacts: Ensure all connections are free of moisture and dirt to enhance conductivity.
- Protect Against Harsh Conditions: Consider using a waterproof cover for the junction box.
Troubleshooting Common Wiring Issues
Even with proper care, you may encounter wiring issues. Here are solutions to common problems:
| Issue | Possible Cause | Solution |
|---|---|---|
| Lights Not Working | Faulty Ground Connection | Re-check and secure ground wire. |
| Flickering Lights | Loose Connections | Tighten connections and inspect wires. |
| Blown Fuse | Overload or short circuit | Replace the fuse and inspect the wiring for faults. |
Conclusion: The Key to Successful Wiring
Wiring a belly dump trailer requires a systematic approach, attention to detail, and thorough understanding of electrical systems. By following the outlined steps, you can ensure your trailer is wired safely and effectively. Regular maintenance and troubleshooting knowledge are integral to keeping your belly dump trailer operating smoothly.
Arming yourself with this knowledge not only simplifies the wiring process but ultimately enhances the longevity and reliability of your belly dump trailer on the road. With diligence and care, your equipment will remain a reliable asset for any hauling and dumping tasks you undertake.

