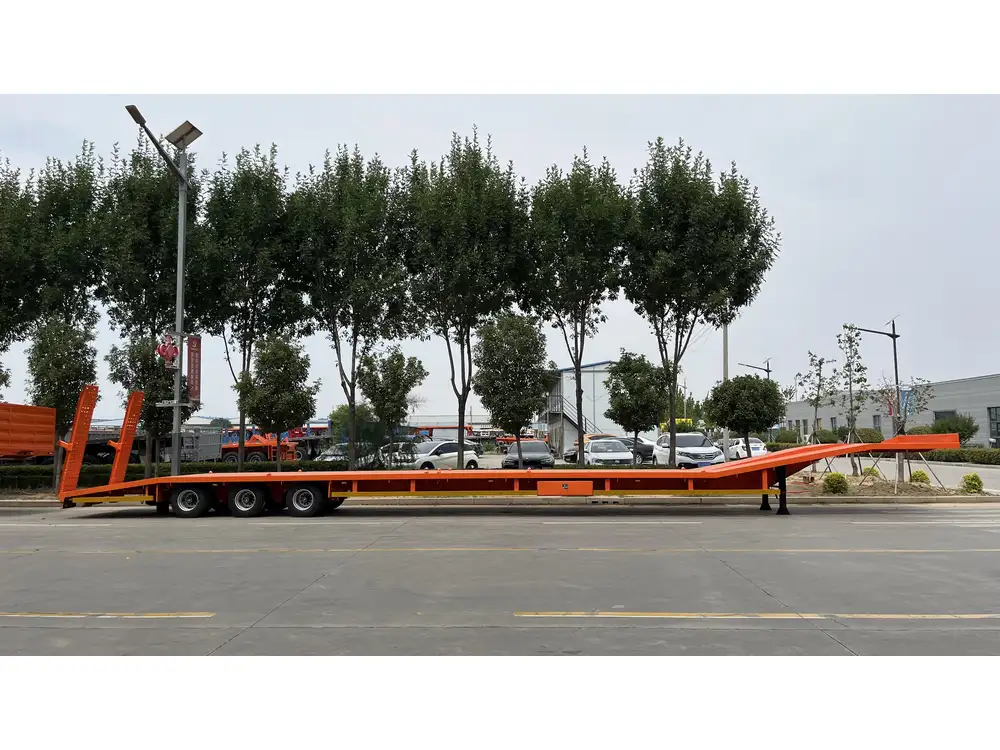
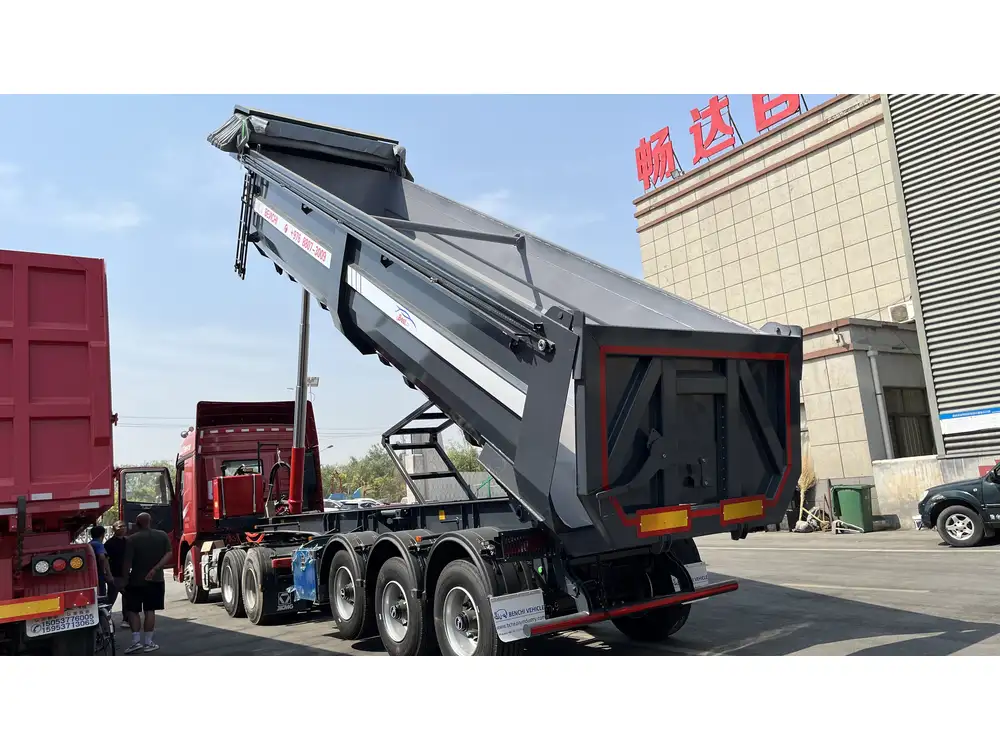
Welding is fundamental in maintaining the integrity and functionality of a dump trailer, particularly its door. A malfunctioning or damaged door can be a significant impediment to your operations, leading to inefficiencies and safety concerns. This guide elucidates the intricate process of welding back a dump trailer door, aiming to provide you with the knowledge necessary for successful execution.
Understanding the Components of a Dump Trailer Door
Before delving into the welding process, it is vital to understand the structure and primary components of a dump trailer door. Typically, this door consists of the following:
| Component | Description |
|---|---|
| Main Panel | The large panel acting as the door for loading and unloading cargo. |
| Hinges | Metal pivots allowing the door to open and close effectively. |
| Latches & Locks | Mechanisms ensuring the door stays securely closed during transport. |
| Reinforcement Bars | Added steel bars providing extra strength to withstand heavy loads. |
| Support Brackets | Attached braces that maintain the alignment and stability of the door. |
Proper attention to these components helps in diagnosing the issues before welding.
Diagnosing Damage on the Dump Trailer Door
Identifying the specific damage to the dump trailer door is key to a successful repair. Common types of damage include:
- Cracks: Often found in the panel or hinges, caused by constant flexing during operation.
- Bends: Resulting from undue force, misalignment can lead to difficulty in opening and closing.
- Rusting: Corrosion can weaken the weld points and overall structure, necessitating additional repair.
- Separation: Areas where the panel detaches from the hinges or frame require careful assessment.

Visual Inspection
A comprehensive visual inspection should precede any repair attempts. Look for:
- Surface Imperfections: Check for discolorations, corrosion, or any visible cracks.
- Alignment Issues: Ensure that the door aligns properly with the trailer frame when closed.
- Hinge Condition: Inspect hinges for wear and tear; replace if necessary.
Measuring and Marking Areas for Repair
Once damage is diagnosed, the next step involves measuring and marking the areas to be repaired.
- Use a Measuring Tape: Precisely measure the length and depth of cracks or dents.
- Mark with Chalk or Marker: Clearly outline the areas to be welded to ensure accurate work.
Preparing for the Welding Process
Preparation is paramount for effective welding. It enhances the quality of the weld and guarantees safety.

Safety Precautions
Prioritize safety by adhering to the following guidelines:
- Personal Protective Equipment (PPE): Wear a helmet, gloves, goggles, and steel-toed boots.
- Work Environment: Ensure that the workspace is well-ventilated and free from flammable materials.
- Fire Extinguisher: Keep an appropriate fire extinguisher within reach.
Tools and Equipment Required
To efficiently carry out the welding process, gather the following tools:
| Tool/Equipment | Purpose |
|---|---|
| Welding Machine | Essential for producing the weld. |
| Electrode or Filler Rod | To fill gaps in the weld area. |
| Angle Grinder | For smoothing rough edges post-welding. |
| Clamps | To hold metal pieces together while welding. |
| Measuring Tools | For ensuring precise measurements. |
| Protective Gear | Helmets, gloves, goggles, to ensure safety. |
Step-by-Step Guide to Welding the Back Dump Trailer Door

Step 1: Surface Preparation
The first step is getting the surfaces ready for welding.
Clean the Area: Remove any rust, paint, or debris using a wire brush or angle grinder. A clean surface is crucial for a strong weld.
Dry the Surface: Ensure the metal is dry to promote optimal adhesion.
Step 2: Align the Door
Position the door back onto the trailer.
- Check the Alignment: Using clamps, keep the door tightly aligned with the frame.
- Secure with Clamps: Apply enough pressure to hold the door in place without causing distortion.
Step 3: Tack Welding
Executing tack welds at key points is essential.
- Apply Initial Tacks: Begin by applying small welds at crucial connection points; typically, these will secure the hinges and lateral edges.
- Check Alignment Again: Confirm once more that the door maintains proper alignment before proceeding.

Step 4: Continuous Welding
With correct positioning assured, move on to full welding.
- Weld Along the Crack: Using the welding machine, move steadily along the length of the crack or joint.
- Maintain Consistent Technique: Use smooth, even motions to prevent weak spots from overheating or underheating.
- Layering Technique: For thicker metals, applying a layer will enhance strength. Let each layer cool slightly before continuing.
Step 5: Cool Down and Inspection
Once finished, allow your newly welded door to cool.
- Avoid Rapid Cooling: This ensures that the weld doesn’t crack or warp. A natural cool down is preferable.
- Inspection of Weld Quality: Check for size, length, and appearance of the weld bead. A consistent bead indicates a solid weld.
Step 6: Grinding and Finishing
Post-weld work is crucial to ensure safety and aesthetic appeal.
- Smooth the Weld: Use an angle grinder to remove excess material and smooth rough edges.
- Clean the Area Again: Remove any metal shavings or debris.

Step 7: Final Inspection
Examine the door’s alignment and functionality.
- Open and Close the Door: Ensure that it operates smoothly without resistance.
- Check Weld Strength: Apply pressure to the door to test the integrity of the welded joints.
Maintenance Tips for Your Dump Trailer Door
To prolong the lifespan of your dump trailer door and prevent future issues, consider these maintenance tips:
- Regular Inspections: Periodically check for rust, cracks, or misalignments.
- Lubricate Hinges: Use appropriate lubricants on hinges to ensure smooth operation.
- Touch-Up Rust: Quickly address any rust spots with a suitable rust inhibitor paint to prevent the spread of corrosion.
- Avoid Overloading: Keep within the specified payload limits to minimize flexing and strain on the door.
Troubleshooting Common Issues
Sometimes, issues may arise even after a successful welding job. Here are common problems and their solutions:
| Problem | Possible Cause | Solution |
|---|---|---|
| Door doesn’t close fully | Misaligned hinges | Re-adjust hinges and re-weld if necessary |
| Weld cracks | Rapid cooling or poor technique | Refine technique and ensure proper cooling |
| Rust reappearing | Incomplete surface preparation | Ensure thorough cleaning and application of protective coatings |
| Difficulty opening/closing | No lubrication on hinges or dirt buildup | Regularly lubricate and clean hinges |

Conclusion
Welding back a dump trailer door is a demanding yet achievable task with the right tools, techniques, and attention to detail. By meticulously diagnosing the damage, preparing adequately, and executing each step with precision, you can ensure that your trailer operates efficiently and safely. Regular maintenance and monitoring will further enhance its longevity and performance. With these insights, we are confident that you can tackle the task of welding with greater confidence and skill, ultimately contributing to the efficiency and reliability of your operations.


