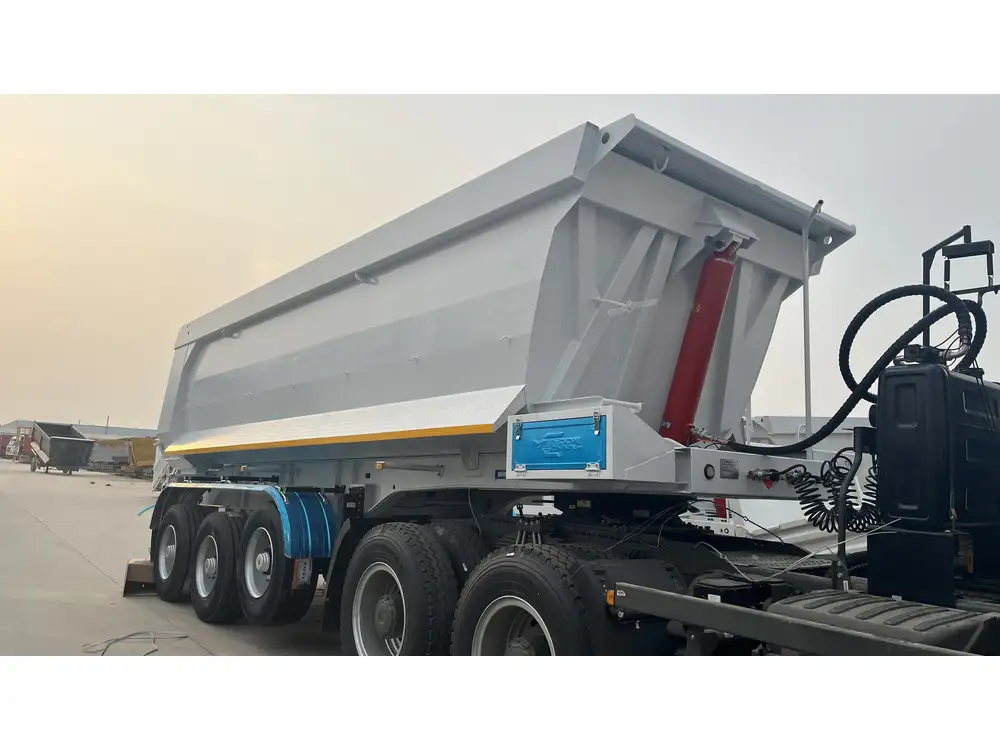
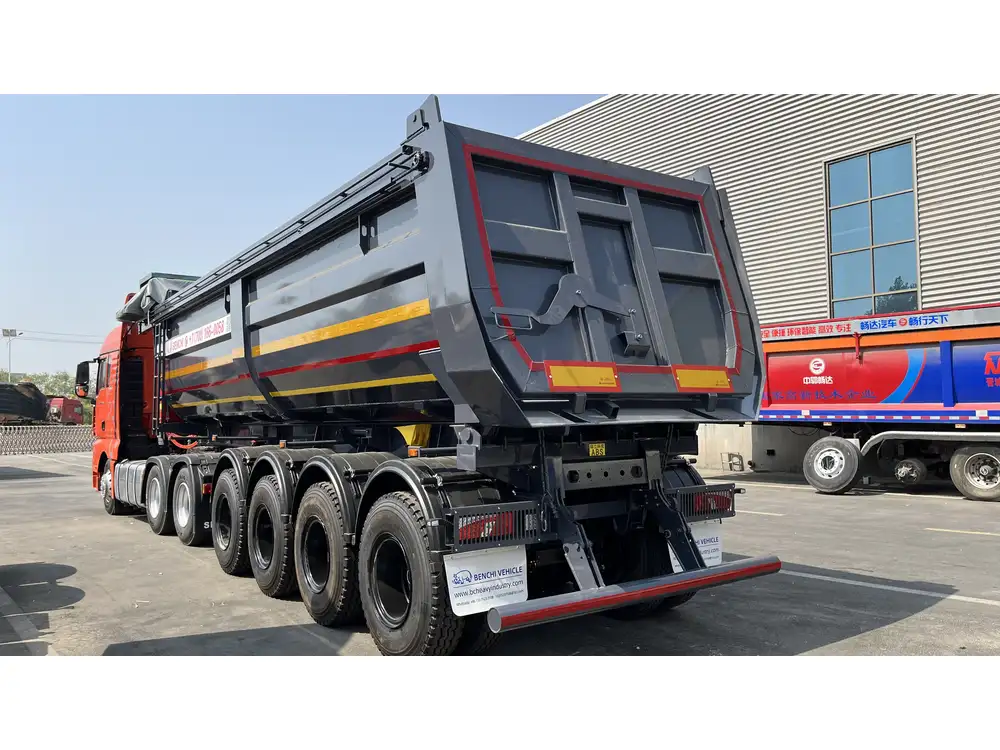
In the realm of hauling, versatility is key. For many, a utility trailer serves its purpose well, transporting all manner of goods, tools, and equipment. However, to enhance its functionality further, converting a utility trailer into a dump trailer can prove invaluable. This comprehensive guide outlines the process, components, and critical considerations involved in making that transformation.
Understanding the Utility Trailer
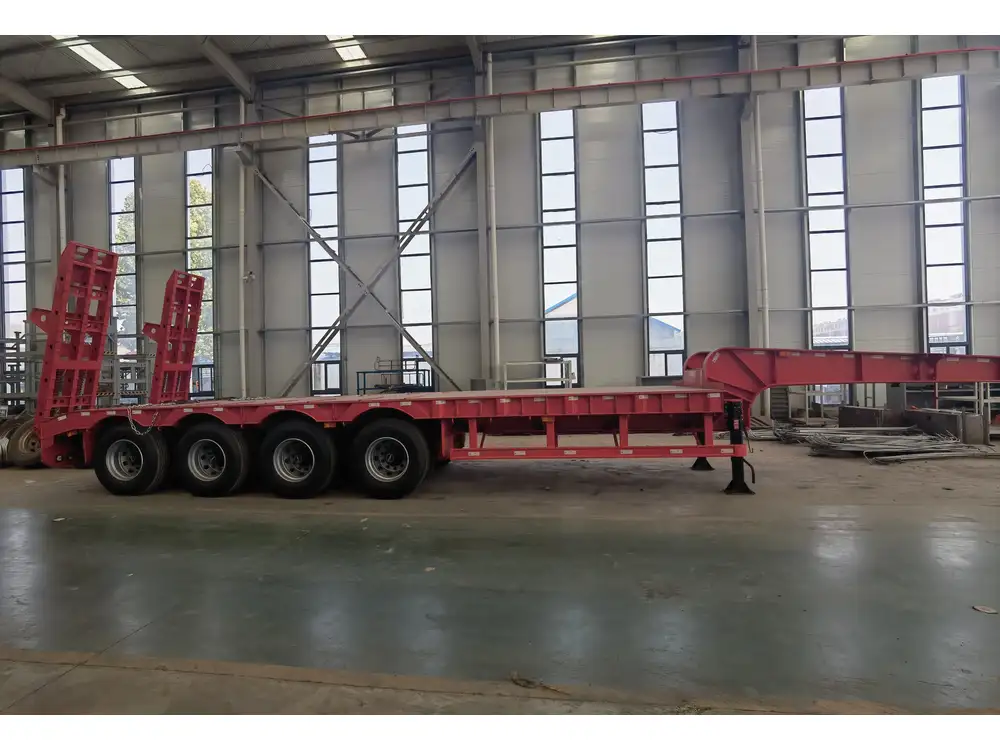
Before diving into the conversion, it’s essential to understand what constitutes a utility trailer. Typically characterized by its open-top design and lightweight frame, utility trailers are perfect for various hauling purposes. This section explores the fundamental aspects of utility trailers to appreciate how a dump functionality can augment their utility.
Key Features of Utility Trailers
| Feature | Description |
|---|---|
| Material | Usually constructed from steel or aluminum. |
| Frame Type | Open-frame design allowing for easy loading. |
| Weight Capacity | Generally ranges from 1,000 to 3,500 pounds. |
| Axle Configuration | Single or tandem axles for balance and stability. |
| Tires | Varying sizes based on load requirements. |
While most utility trailers are suitable for basic hauling, the addition of a dump feature allows for effortless unloading of materials, making it particularly advantageous for construction, landscaping, or farm activities.

Why Convert a Utility Trailer into a Dump Trailer?
The impetus for converting a utility trailer into a dump trailer can stem from various needs:
- Increased Efficiency: Dump trailers enable rapid loading and unloading, thus saving time and labor.
- Versatility: With a dump feature, transporting loose materials like gravel or mulch becomes seamless.
- Cost-effectiveness: Rather than purchasing a brand-new dump trailer, converting an existing utility trailer can be a more economical choice.
Understanding these benefits can guide the decision-making process before undertaking the conversion.
Required Tools and Materials
Before embarking on the conversion project, ensure you have all necessary tools and materials ready. This preparation is crucial for a seamless workflow.
Tools Needed
- Electric or manual winch
- Wrench set
- Drill
- Measuring tape
- Angle grinder
- Welding kit
- Safety gear (gloves, goggles)

Materials Needed
| Material | Purpose |
|---|---|
| Hydraulic lift system | Allows for raising and lowering the trailer bed. |
| Frame rails | Provides structural support for the dump bed. |
| Plywood or steel sheet | Forms the dump bed surface. |
| Pins and hinges | Enables the pivot mechanism for tilting. |
| Electrical components | For wiring the hydraulic lift. |
Gathering these components ensures that once you start the conversion, you won’t need to pause midway for additional supplies.
Step-by-Step Conversion Process
The transformation from a utility trailer to a dump trailer can be broken down into a series of well-defined steps. Each step provides clarity and ensures no crucial aspect of the conversion is overlooked.
Step 1: Assess the Trailer
Start by evaluating your utility trailer’s current structure and capability.
- Inspect the load capacity: Ensure that the trailer can handle additional weight and suggests safe limits.
- Check the frame’s integrity: Look for signs of rust, bending, or wear, as these could affect its performance post-conversion.

Step 2: Choose a Hydraulic Lift System
The heart of your dump trailer will be the hydraulic lift. Choose a system that is compatible with your trailer’s dimensions and weight capacity.
- Design Types:
- Electric: Easier to operate, and ideal for small loads.
- Manual: More affordable but requires physical effort.
Step 3: Modify the Trailer Frame
To accommodate a dump bed, the trailer frame will likely need modification.
- Fabricate Frame Rails: Attach additional frame rails to reinforce the existing structure.
- Weld Supports: Ensure that the new support structure is robust enough to handle the hydraulic lift’s weight.
Step 4: Install the Dump Bed
With the frame prepared, it’s time to install the dump bed.
- Choose Material: Decide whether to use plywood or steel. Steel is more durable but heavier.
- Create a Pivot Point: Attach pins and hinges to the bed, allowing it to tilt smoothly when the lift is activated.

Step 5: Integrate the Hydraulic System
Once the bed is in place, integrate the hydraulic lift system.
- Wiring: Follow the manufacturer’s guidelines for wiring the hydraulic system.
- Testing: Test the hydraulic lift mechanism multiple times to ensure it operates smoothly.
Step 6: Finishing Touches
After the primary installation, focus on aesthetic and functional enhancements.
- Secure loose parts: Ensure all bolts, pins, and connections are tightened.
- Paint or seal: Apply protective coatings to prevent rust and wear.
Step 7: Safety Checks
Before you use your newly converted dump trailer, conduct a thorough safety check.
| Checklist Item | Description |
|---|---|
| Weight Test | Ensure it can handle maximum intended loads. |
| Hydraulic Functionality | Verify that the lift operates seamlessly. |
| Braking System | Ensure the trailer’s brakes are fully functional. |
| Lighting | Check that all lights are operational for visibility. |

Common Issues and Troubleshooting Tips
Even with careful planning and execution, issues may arise during or after the conversion process. Here are some common problems and how to address them.
Problem: Hydraulic System Malfunction
- Solution: Check for leaks or air bubbles in the hydraulic lines. Ensure all connections are secure.
Problem: Unstable Trailer
- Solution: Reinforce frame rails and ensure that the weight distribution is balanced.

Problem: Difficulty in Tilting
- Solution: Ensure adequate power supply to the hydraulic system and check for blockages or mechanical obstructions.
Conclusion
Converting a utility trailer into a dump trailer is a savvy investment that maximizes the efficiency of your hauling tasks. By understanding the components, steps required, and potential issues, you can confidently approach this project.
With systematic execution and a focus on safety, this transformation can significantly enhance your utility trailer’s functionality. Whether you’re a DIY enthusiast or looking to improve your business operations, this guide serves as a crucial resource to navigate the conversion process effectively.
Investing your time and resources into this project not only broadens your trailer’s capabilities but also fosters a sense of empowerment in tackling diverse hauling challenges, elevating everyday tasks into streamlined operations.


