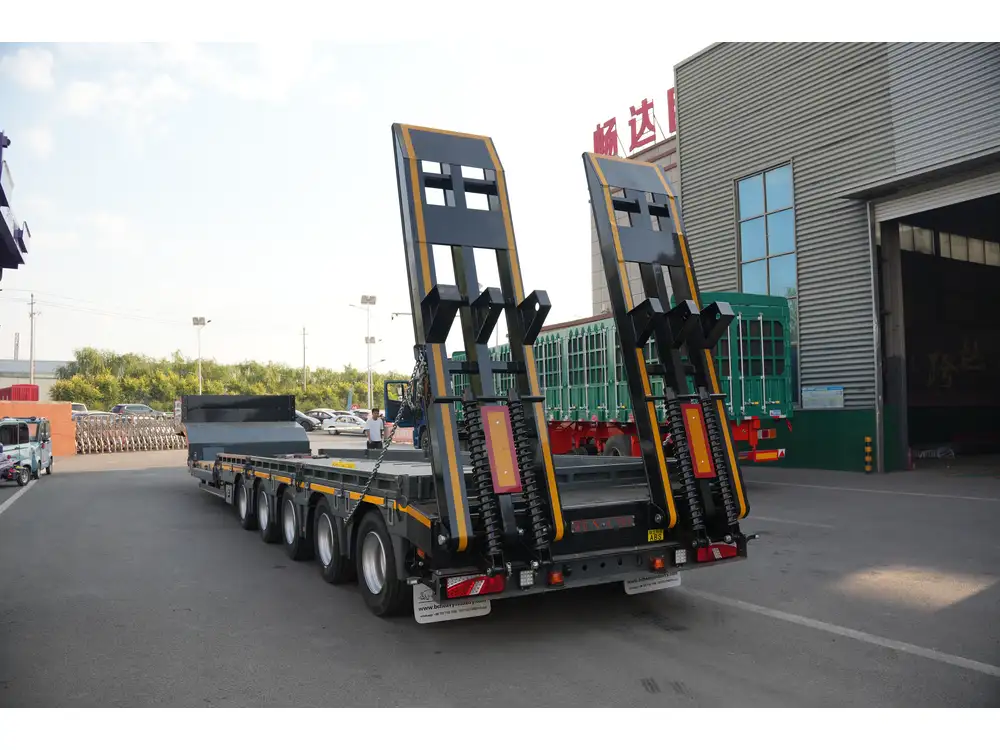
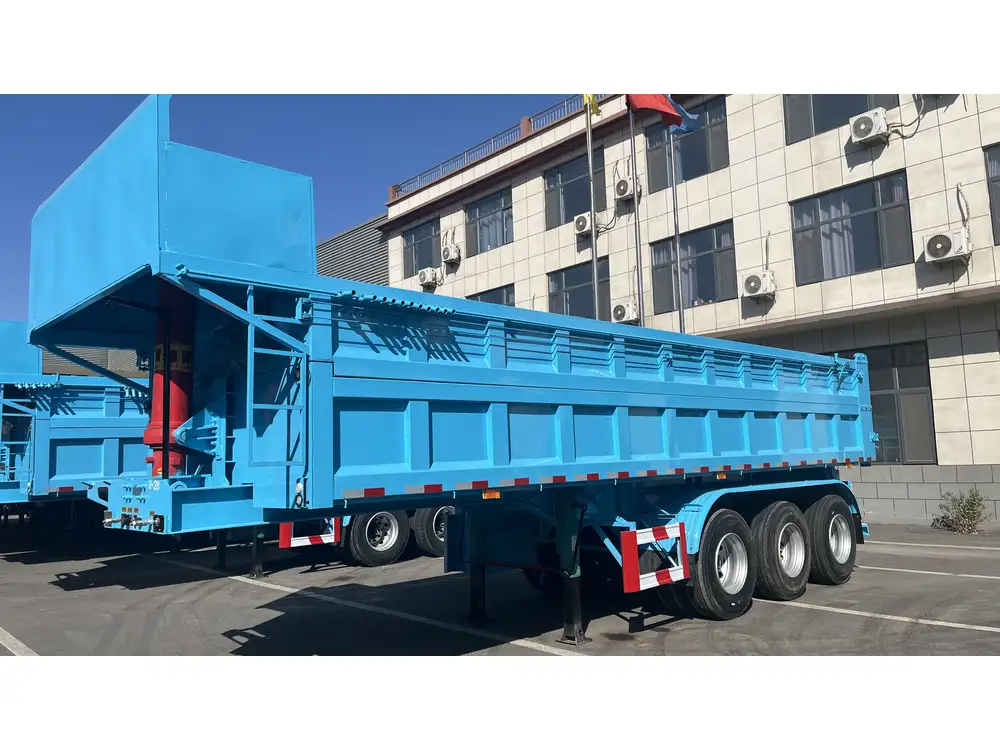
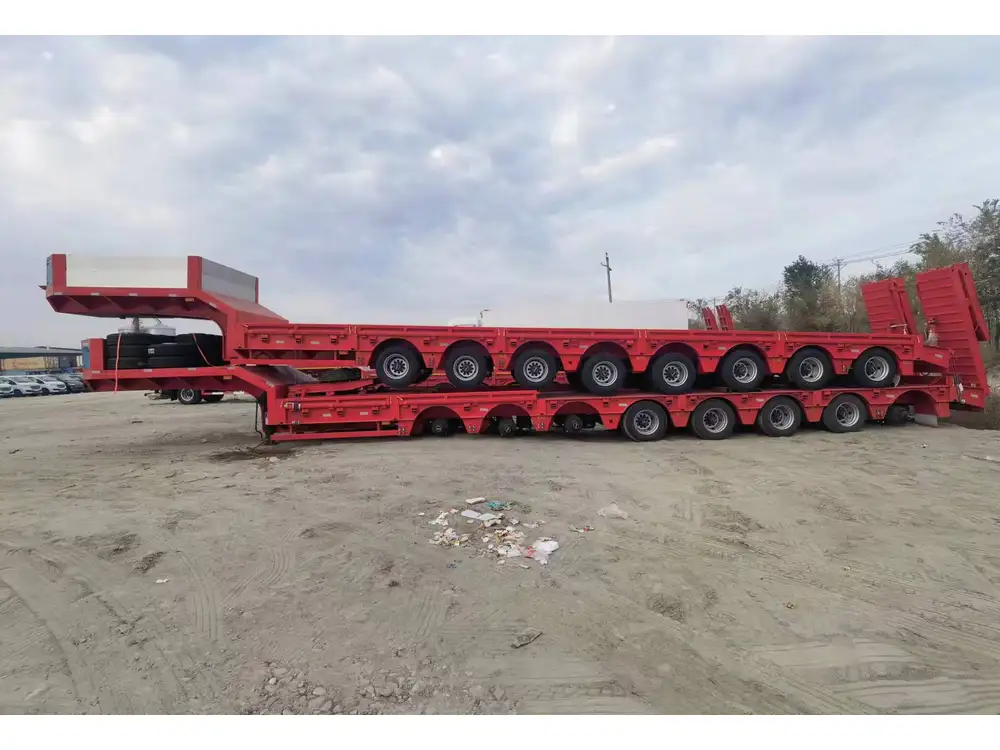
When it comes to operating a dump trailer, understanding the electrical components is crucial, particularly the solenoid. This small but significant device plays a vital role in controlling the flow of electricity to the hydraulic system that lifts the trailer bed. In this guide, we delve into the intricacies of testing a dump trailer solenoid, providing you with the essential steps to ensure optimal functionality.
What is a Dump Trailer Solenoid?
A dump trailer solenoid is essentially an electromechanical switch. It serves to control the electric current that activates the trailer’s hydraulic system, powering the pump that raises the bed to unload materials. Given its critical function, a malfunctioning solenoid can lead to operational issues, which underscores the importance of regular testing and maintenance.
Signs of a Failing Solenoid
Before testing, it’s essential to recognize the signs that may indicate a faulty solenoid:
- Inconsistent Functionality: The trailer bed does not lift consistently when the switch is activated.
- Clicking Sound: A clicking noise can indicate that the solenoid is trying to engage but failing to do so.
- No Power: The hydraulic system remains inactive despite the switch being turned on.
Understanding these indicators can help prevent more severe mechanical issues down the line.

Necessary Tools and Equipment
| To conduct a thorough test of your dump trailer solenoid, you will need the following tools: | Tool/Equipment | Purpose |
|---|---|---|
| Multimeter | To measure voltage and resistance | |
| Jumper Wires | To directly power the solenoid for testing | |
| Basic Hand Tools | For inspection and mechanical disassembly | |
| Safety Gloves | To protect your hands during the process |
Step-by-Step Guide to Testing a Dump Trailer Solenoid
Step 1: Ensure Safety First
Before starting, make sure to disconnect the battery to avoid any electrical shocks. Wearing safety gloves is also recommended.

Step 2: Visual Inspection
- Check Connections: Inspect the wiring connected to the solenoid. Look for any frayed wires, loose connections, or corrosion. These issues can hinder functionality.
- Control Switch: Examine the control switch for any signs of damage that may affect operation.
Step 3: Test for Voltage
- Reconnect Battery: Reconnect the battery to power your trailer’s electrical system.
- Use a Multimeter:
- Set the multimeter to DC voltage mode.
- Place the positive probe on the solenoid’s positive terminal and the negative probe on the negative terminal.
- Activate the control switch. You should see a voltage reading between 12 to 14 volts. If no reading occurs, the issue may lie within the control switch, wiring, or the battery.
Step 4: Measure Resistance
A solenoid should exhibit a specific resistance value indicating proper coil function.
- Disconnect Battery: Always ensure the power is off.
- Using the Multimeter:
- Set the multimeter to the ohms setting.
- Check the resistance across the solenoid terminals. A typical range for solenoids is around 1 to 5 ohms. A significantly higher reading or infinite resistance indicates a failing solenoid coil.

Step 5: Bypass the Solenoid
To confirm whether the solenoid or the control system is at fault:
- Create a Direct Power Connection:
- Using jumper wires, connect the positive terminal of the battery directly to the solenoid.
- Connect the solenoid’s negative terminal to the ground.
- Observe Activation: If the hydraulic system activates and the trailer bed raises, the solenoid is functioning as it should. If it does not engage, the solenoid is likely faulty.
Step 6: Inspect for Mechanical Issues
If the solenoid tests functional, inspect the hydraulic system and pump for any mechanical failures that may inhibit operation.
Common Issues and Solutions
| Problem | Possible Causes | Suggested Solutions |
|---|---|---|
| Solenoid doesn’t click | Bad control switch or faulty wiring | Replace the switch or repair wiring |
| Clicking sound present | Solenoid is getting power but failing | Replace the solenoid |
| Bed raises slowly or not at all | Low fluid levels or hydraulic issues | Check fluid levels or inspect hydraulic lines |

Maintenance Tips
Regular Inspections
Conducting routine checks on your dump trailer’s electrical system helps address minor issues before they escalate. Check connections, wiring, and component condition regularly.
Clean Connections
Any signs of corrosion should be cleaned promptly. Use a wire brush and appropriate cleaning solutions to restore connectivity.

Protecting the System
Consider investing in protective coverings for electrical components to shield against moisture and debris, enhancing their longevity.
Keep Spare Parts
Understanding the criticality of the solenoid, maintaining spare parts in your inventory is advisable. This ensures quick replacements when necessary and reduces downtime.
Conclusion
Testing a dump trailer solenoid is an essential maintenance task that can save time, money, and prevent mishaps during unloading operations. By systematically checking voltage, resistance, and the mechanical function, you can confidently identify any issues affecting your dump trailer. Through regular inspections and proactive maintenance, you can ensure your equipment remains reliable and efficient.

Final Thoughts
Whether you are a seasoned dump trailer operator or a newcomer to this vital equipment, ensuring the proper functionality of the solenoid not only optimizes performance but also prolongs the lifespan of the hydraulic system. Embrace these testing methods, and safeguard your operational efficiency, making your hauling and unloading processes smoother than ever before.


