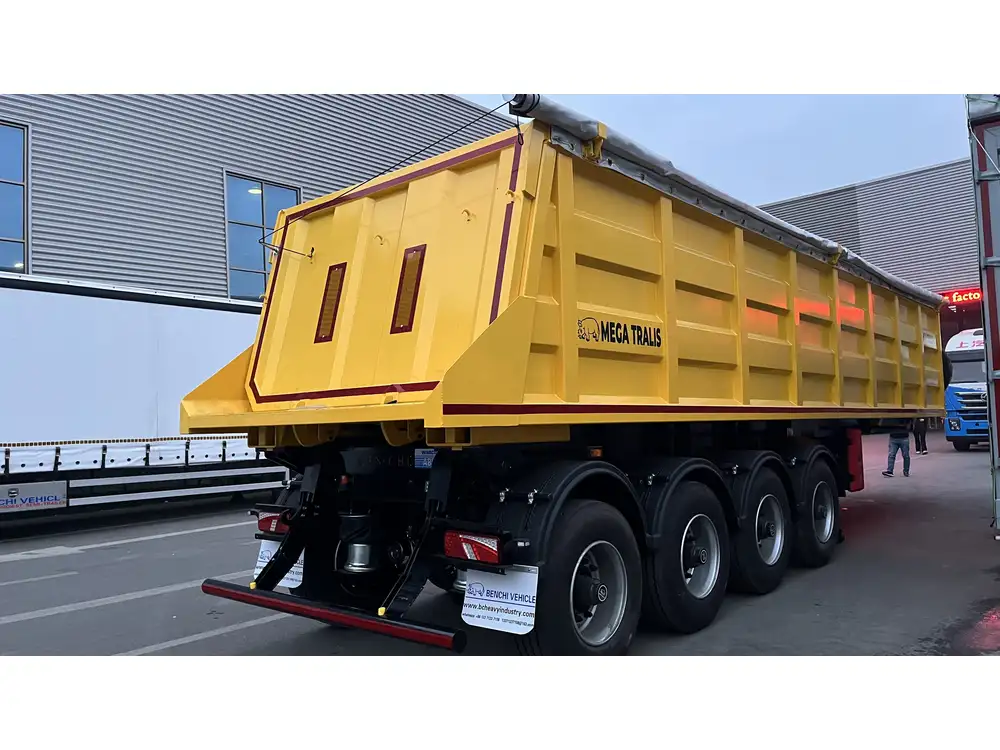
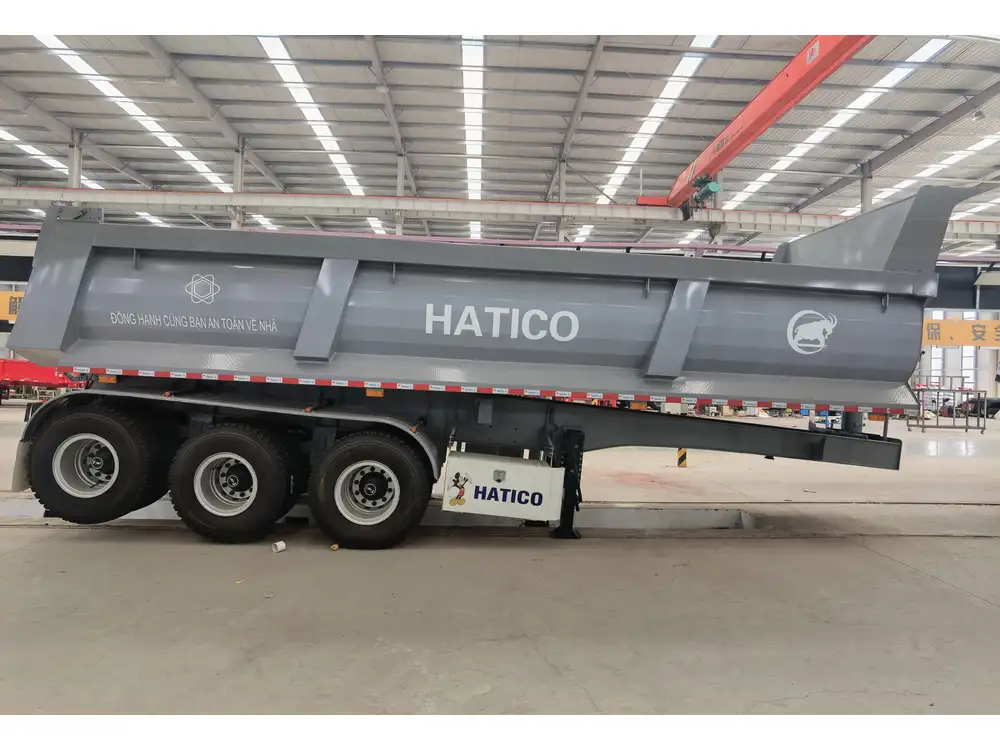
Managing sewage waste in the transportation industry is a critical concern, especially when dealing with broken sewer trailer tanks. Understanding how to drain a malfunctioning tank safely and efficiently can prevent environmental hazards, ensure compliance with regulations, and maintain operational continuity. This guide outlines step-by-step procedures and essential considerations to effectively manage this task.
Understanding the Anatomy of a Sewer Trailer Tank
Before diving into the draining process, it’s crucial to understand the primary components of a sewer trailer tank.
| Component | Description |
|---|---|
| Tank Body | The primary reservoir that holds sewage waste. |
| Inlet Valve | The valve through which waste is directed into the tank. |
| Outlet Valve | The valve used for draining contents from the tank. |
| Pumps | Equipments that help in the transfer of waste. |
| Hoses | Flexible tubes used for directing waste flow. |
| Level Sensors | Instruments that indicate the current waste level. |
Common Issues Leading to Tank Breakage
- Physical Damage: Collisions, improper handling, or environmental factors can lead to cracks or punctures.
- Corrosion: Over time, exposure to harsh chemicals may weaken the tank structure.
- Improper Maintenance: Neglected wear and tear can result in tank failure.

Safety Precautions Before Draining
Assessing the Situation
- Visual Inspection: Always begin with a thorough visual assessment to determine the extent of damage. Identify any leaks, cracks, or compromised areas.
- Check Regulations: Be aware of local regulations regarding hazardous waste management.
- Personal Protective Equipment (PPE): Ensure that the following PPE is used:
- Gloves
- Goggles
- Boots
- Ventilation: Ensure the area is well-ventilated to avoid the buildup of toxic gases.
Required Tools and Equipment
| Tool/Equipment | Purpose |
|---|---|
| Drainage Hoses | To safely channel waste into a disposal area. |
| Pumps | For efficiently transferring liquids. |
| Sealant and Tape | To temporarily seal minor leaks during drainage. |
| Wrenches and Screwdrivers | For loosening valves and fittings. |
| Containment Tanks | To temporarily hold waste during the transfer. |

Step-by-Step Guide to Draining a Broken Sewer Trailer Tank
Step 1: Prepare the Site
- Clear the Area: Remove any obstacles around the trailer to create a safe working environment.
- Place Containment Tanks: Set up containment tanks nearby to collect waste.
Step 2: Turn Off Valves and Power
Ensure that both the inlet and outlet valves are securely closed, and any pumping systems are turned off. This will prevent further infiltration of waste and ensure safer handling.

Step 3: Inspect and Seal Any Leaks
If any leaks are detected, use sealant or tape to cover them temporarily. This will minimize contamination during the draining process but is not a permanent fix.
Step 4: Connect Drainage Hoses
- Attach Hoses: Connect the drainage hoses to the outlet valve.
- Secure Connections: Ensure that all connections are tight to prevent any spillage during drainage.
Step 5: Activate Pumps
Start the transfer pumps carefully and monitor the flow of waste through the hoses into the containment tanks. It’s essential to stay vigilant during this process to identify any potential leaks or overflow.

Step 6: Monitor Levels
- Use Level Sensors: If equipped, use level sensors to track the tank’s contents.
- Manual Checks: Regularly check the tanks to ensure they are not reaching maximum capacity.
Step 7: Complete Draining
Once you observe that the tank is emptying and residual waste flow has significantly slowed, it’s time to close the outlet valve.
Step 8: Clean Up and Decontaminate
- Disconnect Hoses: Carefully disconnect the hoses, ensuring no residual waste leaks out.
- Clean Equipment: Use appropriate cleaning agents to wash down all tools and the site area.
- Dispose of Waste Properly: Arrange for the waste in the containment tanks to be disposed of according to local regulations.

Post-Draining Inspections and Maintenance
Once the draining is completed, perform a thorough inspection of the tank.
Inspecting for Damage
Check for any further damage or deterioration that may have occurred during the draining process.
Regular Maintenance Schedule
Establish a routine inspection and maintenance schedule to prevent future incidents. This should include checking for:
- Signs of corrosion.
- Structural integrity.
- Functional valves and hoses.

FAQs About Draining Broken Sewer Trailer Tanks
What Should I Do If I Can’t Stop the Leaks?
If leaks are substantial, contact a hazardous materials professional. They have the appropriate training and equipment to manage severe cases effectively.
Are There Environmental Regulations I Need to Follow?
Yes, each area has specific regulations. It’s crucial to familiarize yourself with local laws to ensure compliance and avoid penalties.

How Often Should I Inspect My Sewer Trailer Tank?
Regular inspections should occur at least quarterly, with additional checks performed after any significant usage or environmental impact.
Can I Repair the Tank Myself?
Minor repairs can sometimes be handled without professional help, yet comprehensive fixes such as structural damage or electrical issues should be undertaken by professionals.
Conclusion
Draining a broken sewer trailer tank, while challenging, can be managed effectively by following the systematic processes outlined above. Prioritizing safety, using the right tools, and adhering to regulations will not only protect the environment but also enhance operational efficiency and compliance.
By being proactive in maintenance and inspection, we can mitigate the risks associated with sewer trailer tanks and ensure a clean, safe working environment. Knowledge and meticulous attention to detail are our most potent tools in managing waste disposal challenges effectively.

Next Steps
If you’re faced with a broken sewer trailer tank, prepare to employ these guidelines without delay. For ongoing support, consider partnering with a waste management professional to navigate complex drainage situations and ensure sustainable practices.


