Replacing a wheel seal on a semi-trailer is an essential maintenance procedure that can prevent costly damage and downtime. In this comprehensive guide, we will delve deep into the intricacies of this task, providing you with the knowledge necessary to complete it efficiently and effectively. Understanding the process not only extends the lifespan of your trailer but also ensures operational safety.
Understanding Wheel Seals: The First Line of Defense
What is a Wheel Seal?
A wheel seal is a crucial component of the axle assembly, primarily designed to prevent oil leaks and water ingress into the wheel hub area. A properly functioning wheel seal ensures that lubrication is contained within the bearings, thereby reducing overheating and wear.
| Component | Purpose |
|---|---|
| Wheel Seal | Prevents lubricant loss and contamination of the bearings |
| Bearings | Allow smooth wheel rotation, supporting the weight of the trailer |
| Grease | Lubricates moving parts to minimize wear and friction |

Signs of a Failing Wheel Seal
Before we dive into the replacement procedure, let’s identify the warning signs that indicate a wheel seal may need replacing:
- Visible Oil Leaks: Puddles or streaks of oil beneath the wheel assembly.
- Abnormal Noise: Grinding or squealing sounds while the trailer is in motion.
- Excessive Heat: Overheating of the wheel hub, felt through touch or temperature gauge.
- Unusual Wear: Irregular or rapid tire wear could indicate a compromised seal.
Tools and Materials Needed
For a successful wheel seal replacement, gather the following tools and materials:
| Tools | Materials |
|---|---|
| Socket wrench set | New wheel seal |
| Screwdrivers (flat and Phillips) | Bearing grease |
| Pliers | Hub oil (if applicable) |
| Rubber mallet | Bearing (if needed) |
| Torque wrench | Replacement lug bolts (if worn) |
| Jack and jack stands | Brake cleaner |
| Safety goggles | Rags or towels |
Step-by-Step: Replacing a Wheel Seal
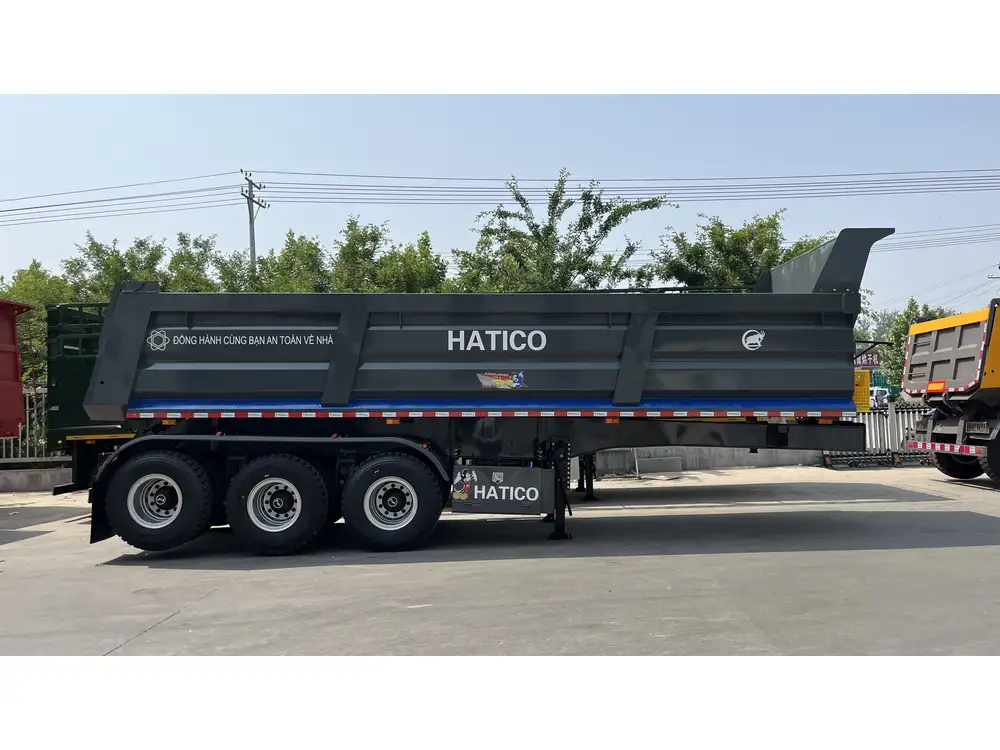
Safety Precautions
Before beginning, ensure you adhere to the following safety protocols:
- Wear Safety Gear: Don goggles and gloves to protect yourself from sharp components and contaminants.
- Work on a Stable Surface: Ensure you’re on level ground to prevent accidents when lifting the trailer.
- Set the Parking Brake: Engage the trailer’s parking brake and chock the wheels to prevent movement.
Step 1: Raise the Trailer
Using a jack:
- Position the jack under the axle.
- Raise the trailer until the wheel is off the ground.
- Secure with jack stands to ensure stability.
Step 2: Remove the Wheel
To access the wheel seal:
- Loosen the Lug Nuts: Use a socket wrench to slightly loosen the lug nuts before fully raising the trailer.
- Remove the Lug Nuts: Once the wheel is off the ground, remove the lug nuts completely.
- Take Off the Wheel: Carefully pull the wheel off the hub and set aside.
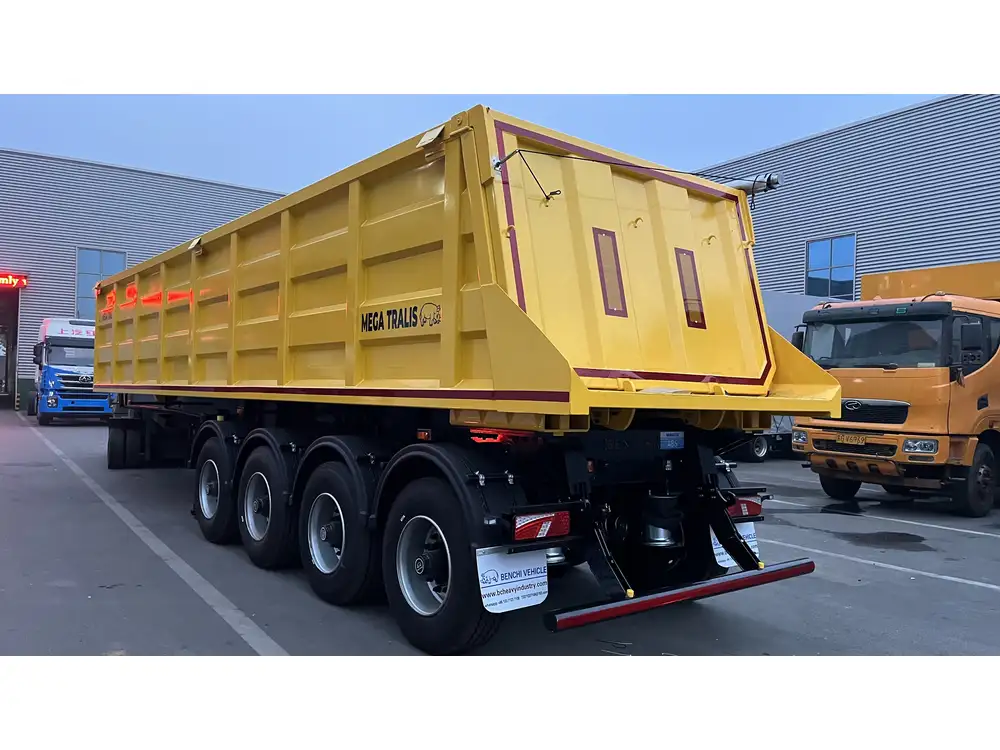
Step 3: Access the Hub Assembly
- Clean the Area: Wipe down the hub with a rag or towel to remove dirt and debris.
- Remove the Hub Cap: If equipped, you may need to remove a hub cap to access the wheel seal.
- Take Out the Cotter Pin: If present, remove the cotter pin securing the spindle nut.
Step 4: Remove the Spindle Nut and Bearing
- Using a Socket: Unscrew the spindle nut with a torque wrench until it’s loose enough to be removed by hand.
- Pull Out the Bearing: Once the nut is removed, carefully slide the outer bearing off the spindle. Ensure you keep track of any spacers or washers.
Step 5: Remove the Old Wheel Seal
- Pry Out the Seal: Using a flat screwdriver or seal puller, carefully pry out the old wheel seal. Take care not to damage the hub surface.
- Inspect the Hub Surface: Examine the hub surface for wear or damage that may affect the seal’s performance.
Step 6: Install the New Wheel Seal
- Prepare the New Seal: Apply a thin layer of bearing grease around the edge of the new wheel seal.
Gently Tap the Seal: Position the new seal over the hub’s opening and gently tap it into place using a rubber mallet, ensuring it is evenly seated.
Step 7: Reinstall the Bearings
- Add Grease: Before reinstalling, pack the bearings with fresh grease.
- Position the Bearings: Slide the inner bearing back onto the spindle, followed by any spacers or washers.
- Replace the Spindle Nut: Hand-tighten the spindle nut, then tighten it to manufacturer specifications using a torque wrench. Reinsert the cotter pin to secure it.
Step 8: Reassemble the Wheel
- Place the Wheel Back: Align the wheel with the hub and push it back onto the spindle.
- Reinstall Lug Nuts: Hand-tighten the lug nuts, then use a socket wrench to tighten them in a star pattern to ensure even distribution.
- Replace the Hub Cap: If applicable, put the hub cap back into position.
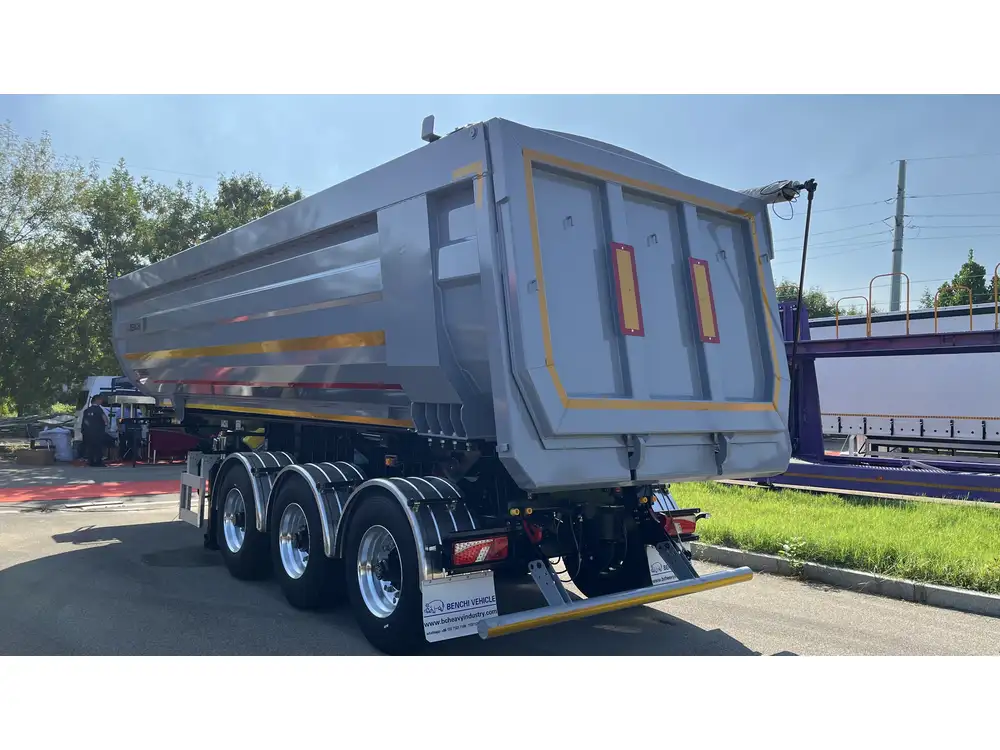
Step 9: Lower the Trailer
- Remove the Jack Stands: Safely take the jack stands out from under the trailer.
- Lower the Trailer: Use the jack to lower the trailer back to the ground.
Step 10: Final Checks
- Inspect Everything: Check that all components are secured, and ensure there are no oil leaks around the new seal.
- Torque the Lug Nuts: After lowering the trailer, recheck the torque on the lug nuts to ensure they are secure.
Maintenance Tips to Extend Wheel Seal Life
To prevent premature failure of your newly installed wheel seals, adhere to these maintenance tips:
- Regular Inspections: Schedule routine inspections of your semi-trailer to catch potential issues early.
- Monitor Lubrication: Check and maintain adequate lubrication levels in the wheel bearings regularly.
- Watch for Overheating: Monitor wheel temperatures during operation; excessive heat may signal seal wear or failure.
- Avoid Overloading: Ensure load weights comply with manufacturer specifications to prevent undue stress on wheel seals and axles.
Conclusion
Replacing the wheel seal of a semi-trailer might seem daunting, but with the right tools, knowledge, and steps, it becomes a manageable task. By taking proactive measures, not only are you ensuring the longevity of your trailer, but you’re also contributing to safer operations on the road. Proper installation, regular inspections, and routine maintenance will keep your semi-trailer running smoothly, preventing unexpected issues and costly repairs.
As a responsible semi-trailer manufacturer, we emphasize the importance of maintenance and provide the resources you need for effective repairs. Whether it’s performing tasks on your own or seeking professional assistance, being informed is your greatest asset. Let’s keep your fleet moving efficiently and safely!


