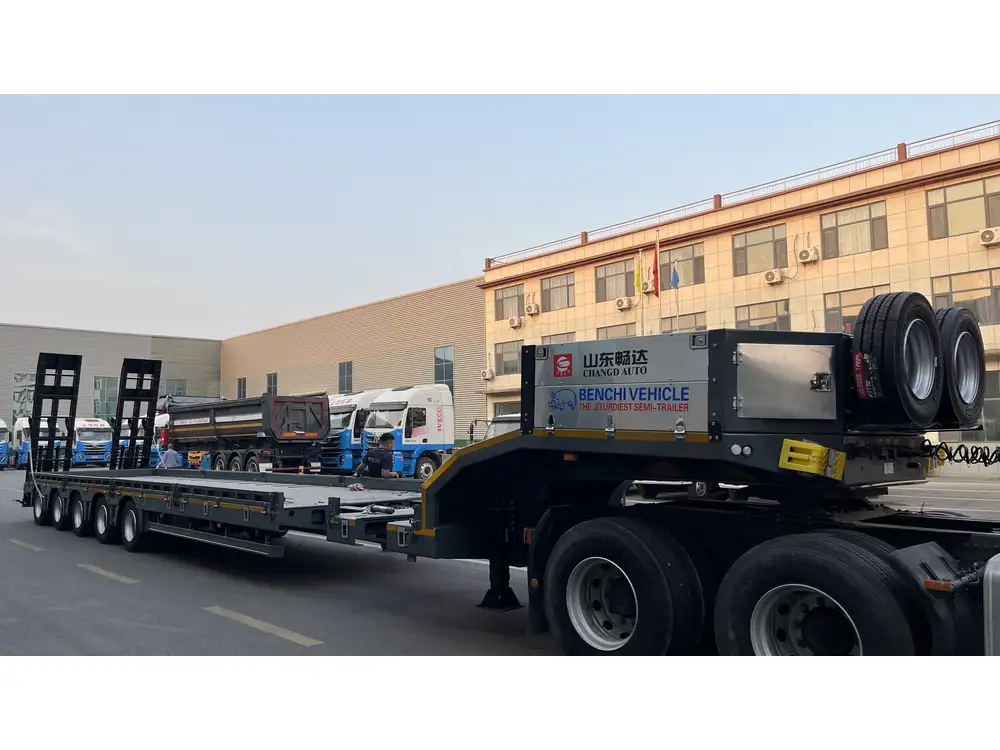
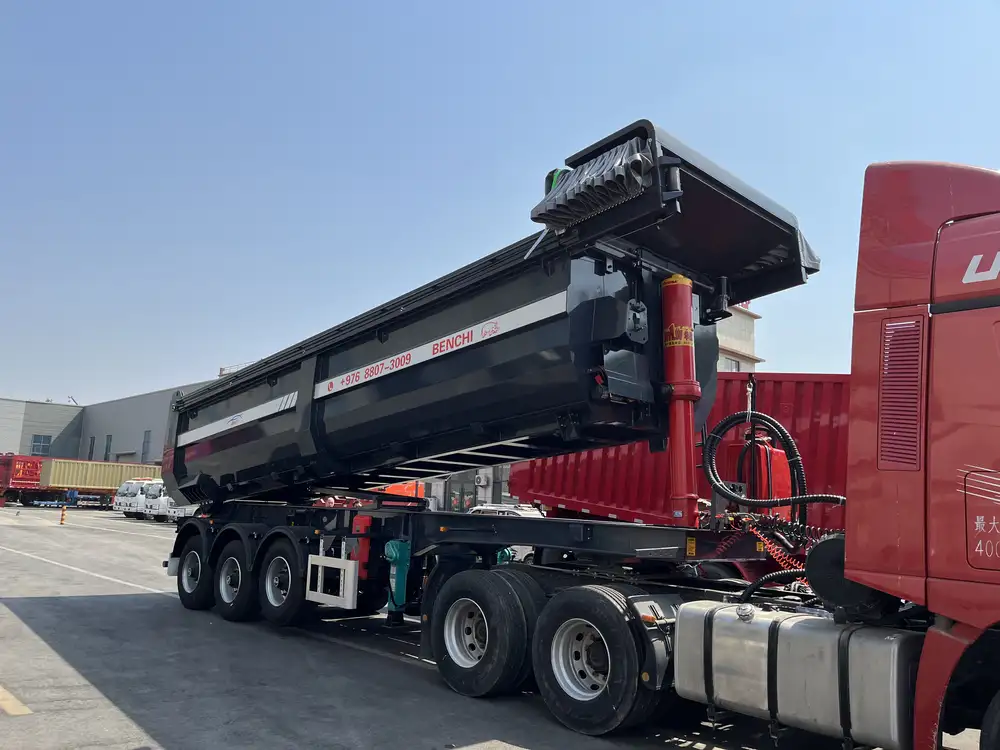
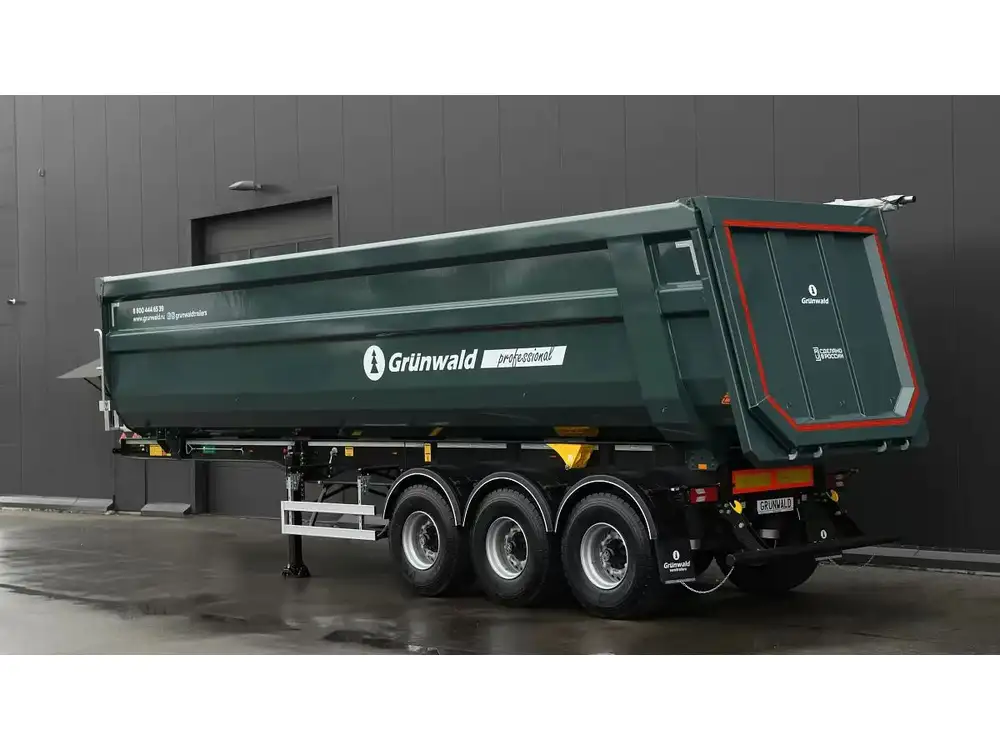
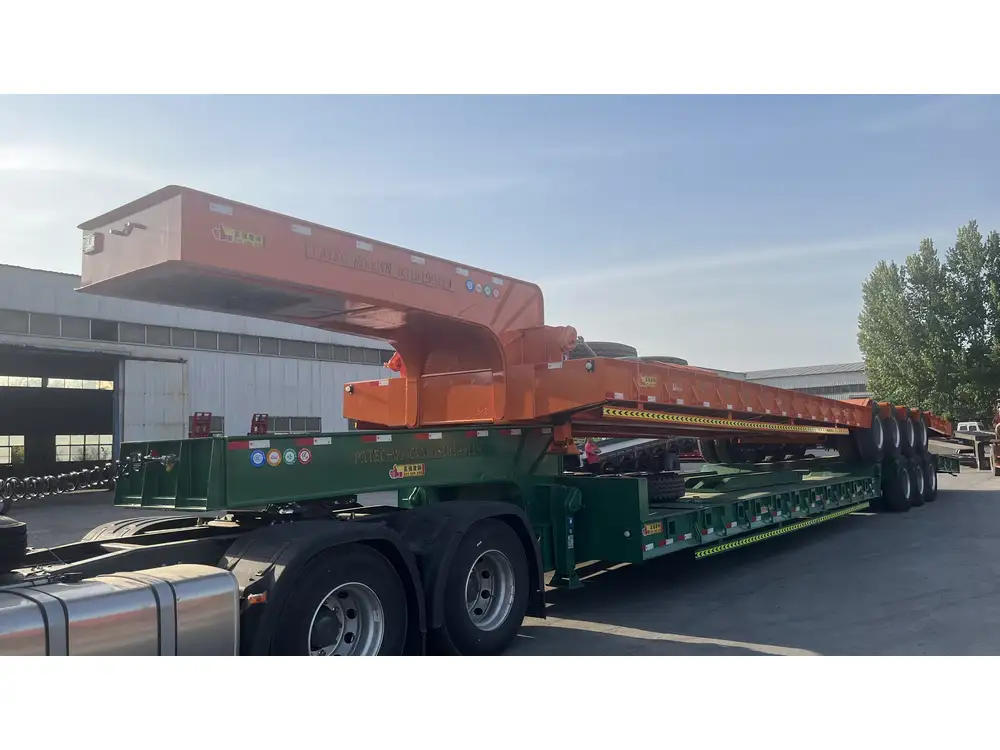
Maintaining the operational efficiency and safety of a semi-trailer is of utmost importance for manufacturers and transport companies alike. One critical aspect of maintenance is ensuring that components such as hub seals are in optimal condition. This detailed guide will take you through the step-by-step process of replacing the hub seal on a semi-trailer, elucidating potential problems and solutions while providing comprehensive technical details.
Understanding Hub Seals: Importance and Functionality
What is a Hub Seal?
A hub seal is a crucial component in the wheel assembly of semi-trailers. It serves to protect the wheel bearings from dirt and moisture while retaining lubrication within the hub, ensuring smooth operation. A damaged or worn hub seal can lead to lubrication leaks, increased wear on the bearings, and ultimately, trailer failure.

Why Replace Hub Seals?
Preventing Contamination: The primary function of a hub seal is to keep contaminants out. If compromised, the integrity of the hub is at risk.
Reducing Maintenance Costs: Timely replacement can prevent extensive damage to the bearings and associated parts, keeping maintenance costs in check.
Enhancing Safety: Faulty hub seals can cause wheel bearing failures, increasing the risk of accidents on the road.
Signs of a Failing Hub Seal
- Visible Leaking Grease: Accumulation of grease around the wheels.
- Increased Noise from Wheel Bearings: Grinding or rumbling noises when in motion.
- Abnormal Heat Generation: Overheating of wheel hubs during operation.
- Vibration: Excessive vibration during driving may indicate a problem with the hub seal.
Tools and Materials Needed
Before beginning the replacement process, ensure you have the following tools and materials on hand:
| Tools | Materials |
|---|---|
| Torque wrench | New hub seals |
| Socket set | Bearing grease |
| Wire brush | Replacement wheel bearings (if needed) |
| Clean rag | Safety goggles |
| Hydraulic jack | Wheel chocks |
| Spanner or adjustable wrench | Bearing retainer |

Step-by-Step Guide to Replacing Hub Seals
Step 1: Prepare the Workspace
- Park the Semi-Trailer on a Flat Surface: Ensure that the trailer is stable and secured with wheel chocks.
- Lift the Trailer: Using a hydraulic jack, raise the trailer slightly. Always place jacks under appropriate support points.
Step 2: Remove the Wheel
- Loosen the Lug Nuts: Use a socket wrench to loosen the lug nuts without removing them completely.
- Remove the Wheel: Once the nuts are loose, completely remove them and take off the wheel.

Step 3: Access the Hub Assembly
- Clean the Area: Utilize the wire brush to remove any dirt or debris around the hub.
- Inspect the Hub and Bearings: Look for any lack of grease or visible wear before proceeding to the next step.
Step 4: Remove the Old Hub Seal
- Take Out the Wheel Bearing Retainer: Depending on the design, this may involve unbolting or pulling it out using a suitable tool.
- Extract the Hub Seal: Carefully use a flathead screwdriver or seal puller to pry out the old hub seal. Take care not to damage the hub surface.
Step 5: Clean the Hub
- Remove Old Grease: Thoroughly clean the hub cavity of old grease using a clean rag.
- Inspect the Bearing and Hub Surface: Check for any signs of damage or wear. Consider replacing bearings if they show signs of failure.

Step 6: Install the New Hub Seal
- Apply Bearing Grease: Before inserting the new seal, coat the seal with fresh grease to ensure smooth installation.
- Press the Seal into Place: Align the seal properly and press it into the hub with even pressure. It’s important not to damage the sealing lip.
Step 7: Replace Wheel Bearings (if necessary)
- Install New Bearings: If you determined the bearings needed replacement, install the new bearings following the manufacturer’s specifications.
- Grease the Bearings: Ensure that the bearings are adequately greased before reassembling.
Step 8: Reattach Wheel Bearing Retainer
- Secure the Retainer: Properly install and tighten the wheel bearing retainer to the manufacturer’s torque specifications.

Step 9: Reattach the Wheel
- Position the Wheel: Align the wheel onto the hub.
- Tighten the Lug Nuts: While the wheel is elevated, hand-tighten all lug nuts, ensuring to follow a star pattern for even fastening.
Step 10: Safety Check
- Lower the Trailer: Once the wheel is secured, lower the trailer back to the ground.
- Torque the Lug Nuts: Use a torque wrench to finalize the lug nut tightening to the recommended specifications.
Step 11: Test Drive
- Inspect for Leaks: After replacing the hub seal and reassembling, take the trailer for a short test drive and check for any signs of leakage.
- Monitor Performance: Pay attention to any unusual noises or vibrations. If present, a professional inspection may be warranted.

Additional Considerations
Preventative Maintenance
Performing regular checks on hub seals and bearings can drastically reduce the risk of failure. It is advisable to incorporate hub seal inspections into your routine maintenance schedule.
Proper Lubrication
Always ensure that the bearings are properly greased according to manufacturer specifications. Over-greasing or under-greasing can lead to seal failure.

When to Seek Professional Help
If you encounter persistent issues, or if the task feels beyond your skill level, consider consulting a professional mechanic. Depending on the age and usage of your semi-trailer, specific problems may require specialized tools or expertise to diagnose effectively.
Conclusion
Replacing the hub seal on your semi-trailer is not merely an act of maintenance; it is an enhancement of safety, efficiency, and reliability. By executing the steps laid out in this guide, you can ensure the longevity of your wheel assembly and, by extension, your semi-trailer. Remember, prevention is always better than remediation. By staying ahead of potential issues, you increase the operational efficiency and safety of your fleet, contributing to your reputation as a quality manufacturer and operator in the transportation sector. Always ensure you have the right tools handy, adhere to manufacturer guidelines, and maintain a vigilant eye toward wear and tear.
By implementing these practices, not only can you extend the life of your vehicle components, but you can also foster a culture of safety and reliability in your business operations.


