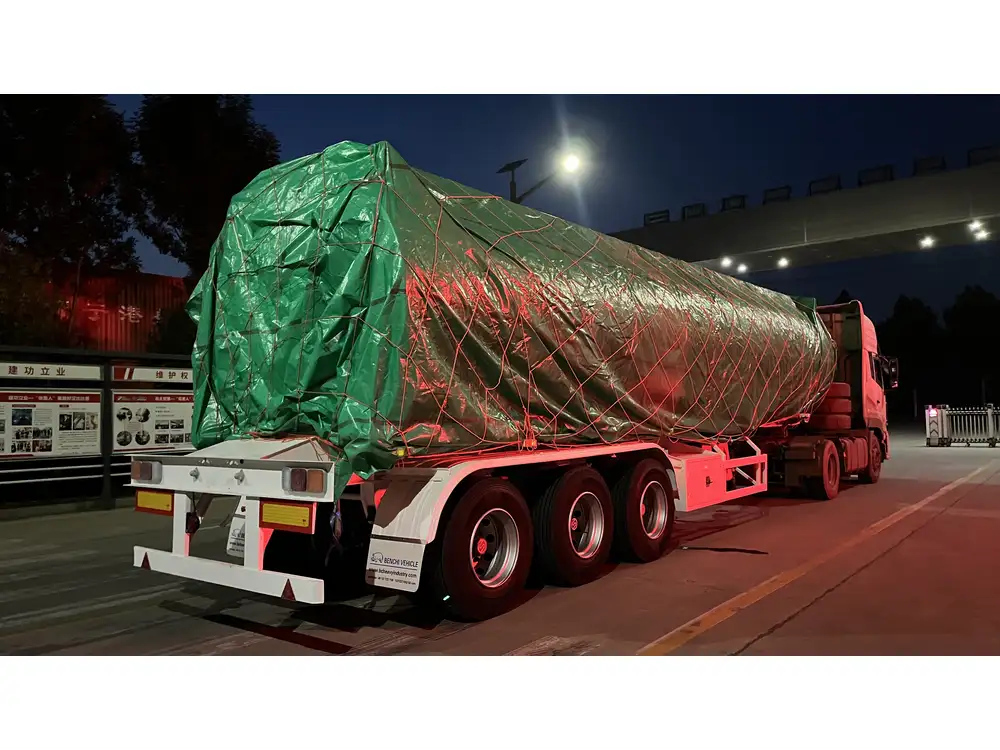
When it comes to maintaining the safety and functionality of your semi-trailer, understanding the intricacies of brake systems is paramount. One critical component that often requires replacement is the brake chamber. In this detailed guide, we will explore everything you need to know about replacing a brake chamber on a semi-trailer, ensuring that you can handle this task with confidence and expertise.
Understanding Brake Chambers: The Basics
What is a Brake Chamber?
A brake chamber is a vital part of the air brake system in heavy-duty vehicles, including semi-trailers. Its primary function is to convert the compressed air supplied by the vehicle’s air system into mechanical force, which engages the brakes. There are two main types of brake chambers: Slack Adjuster Brake Chambers and Spring Brake Chambers. Understanding their specific functions will help you discern when a replacement is necessary.
| Type of Brake Chamber | Function |
|---|---|
| Slack Adjuster Brake Chambers | Engages brakes when air is applied, adjusts automatically. |
| Spring Brake Chambers | Utilizes a powerful spring to apply brakes in case of air loss. |

When to Replace a Brake Chamber
Recognizing the signs that a brake chamber needs replacement is crucial for safety. Here are some common indicators:
- Air Leaks: Hissing sounds or visible air leaks around the chamber.
- Poor Braking Performance: Extended stopping distances or uneven braking.
- Physical Damage: Cracks, dents, or corrosion on the chamber exterior.
- Warning Light Activation: Indicates issues within the braking system.
Step-by-Step Guide to Replacing a Brake Chamber
Tools and Materials Needed
Before commencing the replacement process, gather your tools and materials. You’ll need the following:
- Replacement brake chamber (make sure it’s compatible with your semi-trailer)
- Ratchet and socket set
- Wrench set
- Air line tool
- New air hoses and fittings (recommended)
- Safety goggles and gloves
- Torque wrench

Safety Precautions
While performing maintenance on a semi-trailer, safety is a non-negotiable priority. Follow these precautions:
- Park on Level Ground: Position the semi-trailer on a flat surface and engage the parking brake.
- Disconnect Battery: Always disconnect the battery to avoid electrical accidents.
- Utilize Safety Gear: Wear safety goggles and gloves to protect yourself from debris and contaminants.
Step 1: Remove the Old Brake Chamber
- Accessibility: Identify the location of the brake chamber typically found near each axle.
- Disconnect Air Lines: Use an air line tool to remove the airlines connected to the brake chamber. Be prepared for potential residual air—ensure the system is fully depressurized.
- Unbolting: Using your ratchet and socket set, unbolt the brake chamber from its mounting bracket. Note the orientation for reinstallation.
- Remove the Chamber: Carefully detach the brake chamber from the axle and set it aside for disposal.
Step 2: Install the New Brake Chamber
- Position the New Chamber: Take the new brake chamber and position it similarly to the old one, ensuring the mounting bracket aligns properly.
- Secure with Bolts: Bolt the new chamber into place, ensuring not to overtighten. A torque wrench can help achieve the manufacturer-specified torque.
- Reconnect Air Lines: Attach the new air lines, ensuring they are tight and secure to prevent leaks.

Step 3: Testing the Brake System
- Reconnect the Battery: After all connections are secure, reconnect the battery.
- Air System Check: Start the engine and allow the air system to build pressure. Monitor pressure gauges to ensure they indicate normal operation.
- Functional Test: Conduct a functionality test by applying the brakes and ensuring the semi-trailer responds accurately.
Step 4: Final Inspection
- Visual Inspection: Check for any visible leaks around connections and fittings.
- Brake Performance Check: Take the trailer for a short test drive to ensure that brakes engage smoothly and without hesitation.
Common Issues During Replacement and Troubleshooting Solutions
Even with thorough planning, issues can arise during the brake chamber replacement process. Here are some common problems and their solutions:

Problem 1: Difficulty Disconnecting Air Lines
Solution: Ensure the air system is fully depressurized. If lines are still stuck, gently twist them back and forth, applying a lubricant if necessary.
Problem 2: New Brake Chamber Doesn’t Fit
Solution: Confirm that the brake chamber is compatible with the specific make and model of your semi-trailer. Using incorrect parts can lead to improper installation.
Problem 3: Leaks After Installation
Solution: Check all fittings and connections for tightness. If leaks persist, inspect the hoses for damage and replace if necessary.

Problem 4: Brakes Not Engaging Properly
Solution: This may be attributed to insufficient air pressure. Ensure the air supply is adequate. Inspect the slack adjuster mechanism, as improper adjustment can affect braking performance.
Maintenance Tips for Brake Chambers
Routine maintenance can extend the life of your brake chambers significantly. Consider the following:
- Regular Inspections: Periodically check the brake chambers for signs of leaks or damage.
- Air Line Condition: Inspect air hoses for wear and tear; replace them as needed.
- Proper Adjustment: Ensure slack adjusters are correctly adjusted to optimize braking functionality.
- Cleanliness: Keep the brake chamber area clean to prevent corrosion and buildup of contaminants.
Conclusion: Keeping Your Semi-Trailer Safe
Replacing the brake chamber on a semi-trailer is a task that demands meticulous attention to detail and a thorough understanding of the vehicle’s braking system. By following the guidelines outlined in this comprehensive guide, you can ensure a successful installation that maintains the integrity and safety of your trailer. Regular maintenance and proactive measures can prevent many issues associated with brake chambers, safeguarding your investment and promoting road safety.
For further insights and support on maintaining your semi-trailer and its components, don’t hesitate to explore our additional resources. Safety is a shared responsibility, and ensuring your braking system functions correctly is a critical part of that.


