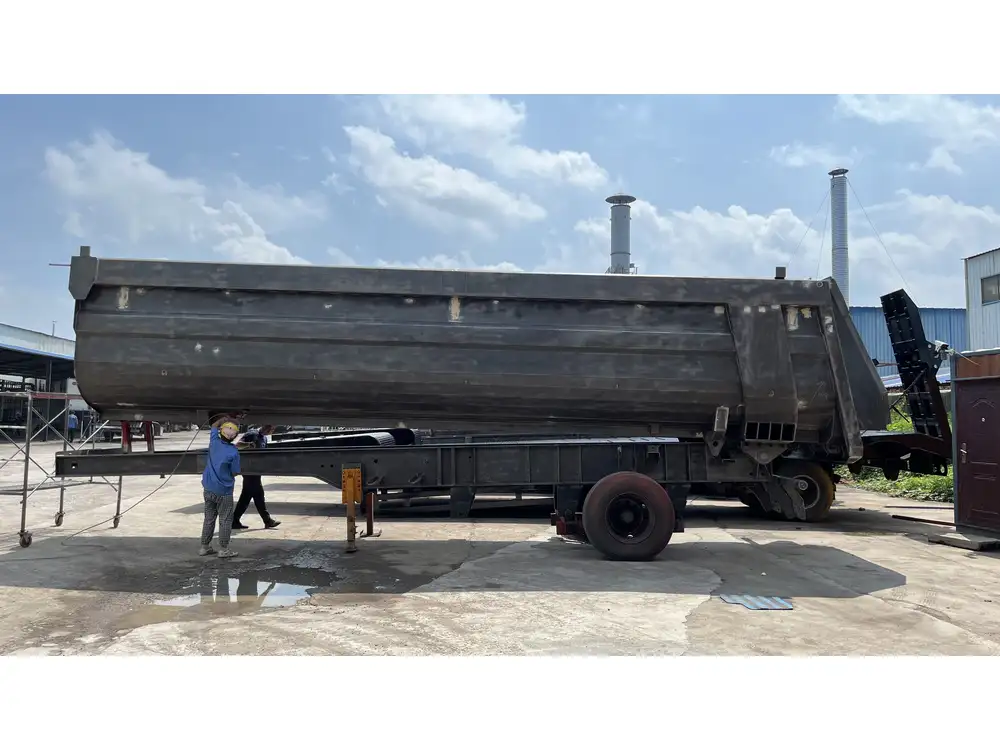
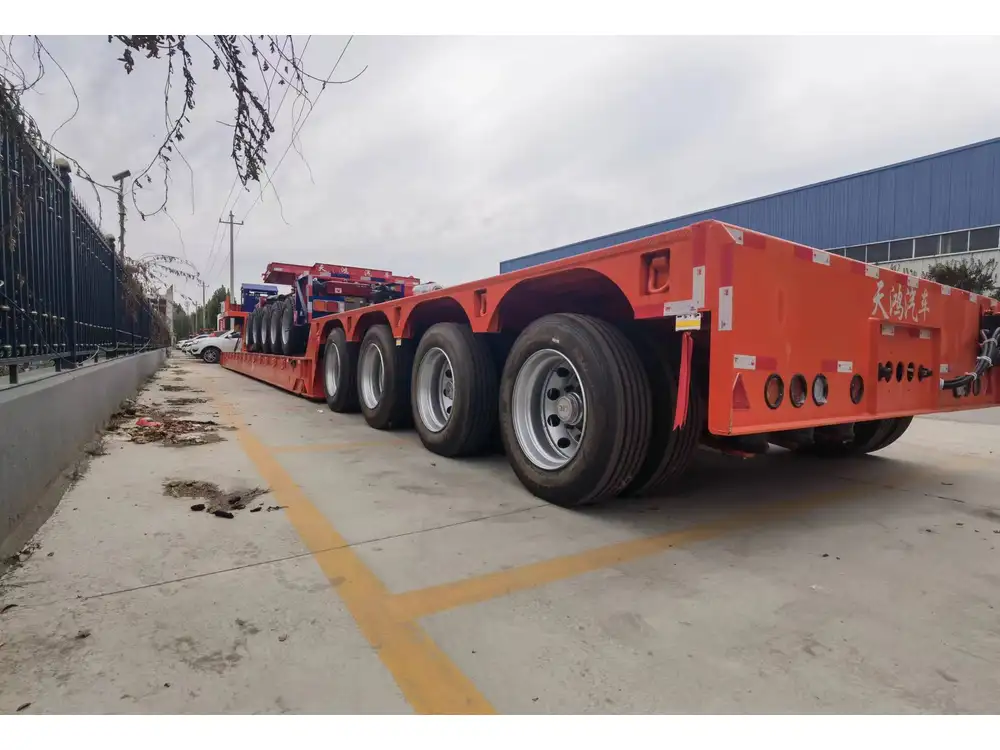
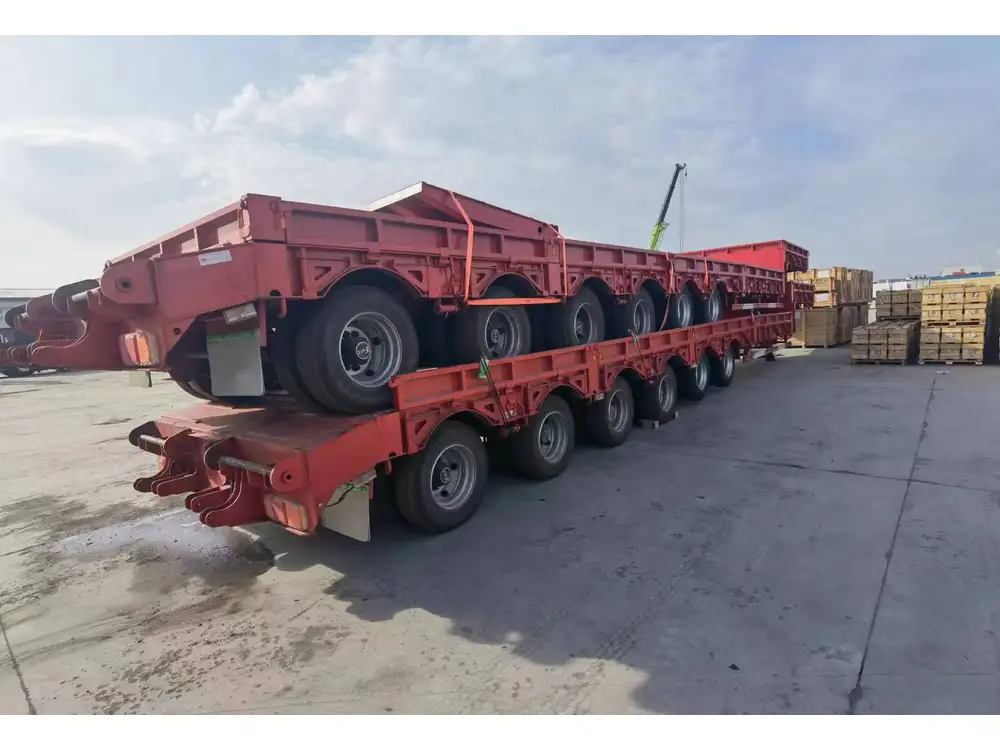
When it comes to maintaining and ensuring the longevity of semi-trailers, the air hose system plays a critical role. Air hoses are pivotal for effective braking and stability. Therefore, issues with air hoses can compromise the safety and functionality of your semi-trailer. This comprehensive guide will delve into the detailed methodology of repairing air hoses on rims, addressing critical problems, providing solutions, and ensuring that your unit remains roadworthy.
Understanding the Structure of Air Hose Systems
Before embarking on the repair journey, it’s essential to comprehend the configuration of the air hose system in semi-trailers. Typically, the air hose connects the trailer’s braking system to the truck’s air supply.
Components of the Air Hose System
- Air Hose: This flexible tube transports compressed air from the truck to the brakes.
- Fittings and Connectors: Vital for connecting hoses to the brake chambers.
- Brake Chambers: Located on each wheel axle, these convert air pressure into mechanical action.
- Reservoir Tank: A tank that stores compressed air, enabling consistent brake performance.

Symptoms of Air Hose Issues
Recognizing the early signs of air hose failure is crucial for timely remediation. Common symptoms include:
- Air Leaks: Detectable hissing sounds or air loss from fittings.
- Braking Inefficiency: Delayed or weak braking response.
- Visible Damage: Cracks, abrasions, or wear on the exterior of the hose.
Step-by-Step Guide to Repairing Air Hoses on Rims
Step 1: Inspection
Before initiating repairs, conduct a thorough inspection of the air hoses and associated components.
- Visual Inspection: Check for cracks, abrasions, and any external damage on the hose.
- Check Connections: Ensure that fittings and connectors are secure and free from corrosion.

Step 2: Gather Necessary Tools and Materials
For an effective repair process, gather the following tools and materials:
| Tools | Materials |
|---|---|
| Wrench set | Replacement air hose |
| Hose cutter | Hose clamps |
| Screwdriver | Teflon tape |
| Safety goggles | Lubricant (if applicable) |
| Air hose repair kit | Air pressure gauge |
Step 3: Remove the Damaged Hose
Carefully detach the damaged air hose from the rim:
- Depressurize the System: Before starting, it is crucial to safely release all air from the system. This can typically be done by pulling the emergency stop valve.
- Disconnect Fittings: Use the wrench to loosen and remove fittings from both ends of the hose.
- Cutting the Hose: If the damage is extensive, or it’s easier to replace rather than repair, use the hose cutter to remove the damaged section.
Step 4: Prepare for Installation
Prepare the area for fitting the new or repaired hose:
- Clean Connection Points: Remove dirt and debris at the fittings and edges to guarantee a tight seal.
- Inspect for Rust or Corrosion: Treat any corroded areas on the connectors with a rust inhibitor.

Step 5: Installing the New or Repaired Hose
- Cut the New Hose to Length: If utilizing new hose material, cut the air hose to the appropriate length, ensuring minimal stress on connectors.
- Attach Fittings: Secure the fittings to both ends of the new hose, ensuring they are tightly connected.
- Reattach Hose: Position the hose along its designated path, avoiding sharp bends or stress points.
Step 6: Testing the System
- Reconnect the System: Reattach the hose to the rim and brake component.
- Re-pressurize the System: Gradually introduce air back into the system and monitor for leaks at connection points using a spray solution of soapy water. Bubbles will form at leaks.
- Final Checks: Once re-pressurized, check for any unusual noises, and test the braking system to confirm functionality.
Step 7: Regular Maintenance
To prolong the lifespan of air hoses, employ routine maintenance practices:
- Inspect Regularly: Conduct daily checks before and after long trips.
- Clean Hoses: Avoid dirt accumulation on hoses and connectors.
- Store Properly: When not in use, store the trailer in a manner that protects hoses from extreme temperatures and physical damage.

Troubleshooting Common Issues
Problem: Persistent Air Leaks
Symptoms: Continuous hissing sound or inability to achieve desired air pressure.
Solutions:
- Double-check all fittings for proper tightness and absence of wear.
- Inspect the hose for additional unseen cracks or damage.
- Replace any faulty fittings or connectors.
Problem: Braking Delay or Inefficiency
Symptoms: Extended stopping distance or unresponsive brakes.
Solutions:
- Confirm that the air compressor is functioning correctly and is delivering adequate pressure.
- Inspect brake chambers and the entire air supply line for blockages or damages.
- Conduct a thorough test of the entire system after repairs to ensure efficiency.

Importance of Proper Air Hose Repair
Engaging in thorough air hose repair and maintenance is not merely a matter of convenience; it serves the greater purpose of safety. Properly functioning air hoses assure that braking and operational systems work seamlessly, leading to reduced wear and tear on your semi-trailer components.
Conclusion: Ensuring Safety and Longevity
Repairing air hoses on rims of semi-trailers requires a keen eye for detail, the right tools, and a systematic approach. By following this comprehensive guide, you will not only rectify issues effectively but also extend the vitality of your semi-trailer, ensuring that you remain safe on the road.
Investing time and effort into maintaining your air hose system is fundamental to the operation of your semi-trailer. After all, the road is unpredictable, but with sound repairs and maintenance, your journey will be much smoother and safer.


