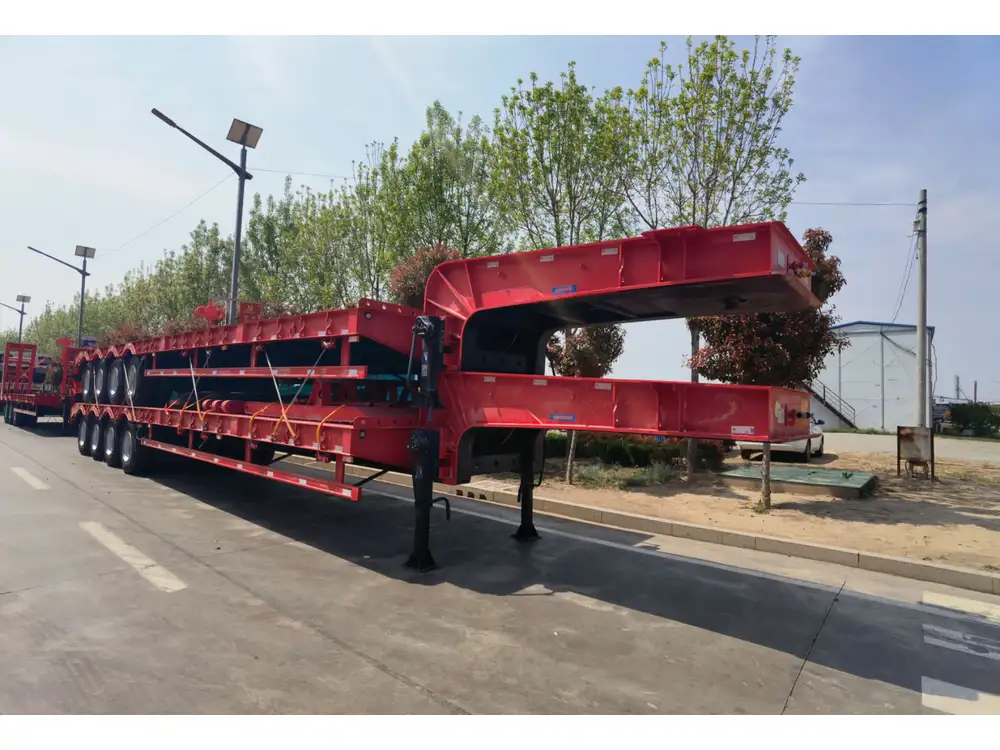
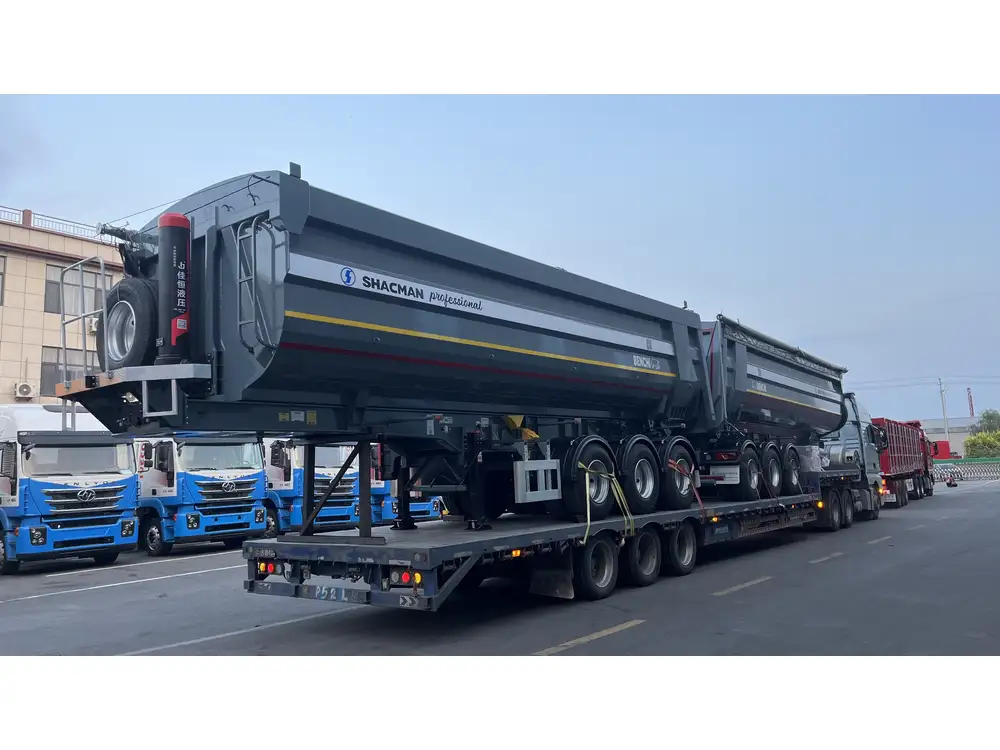
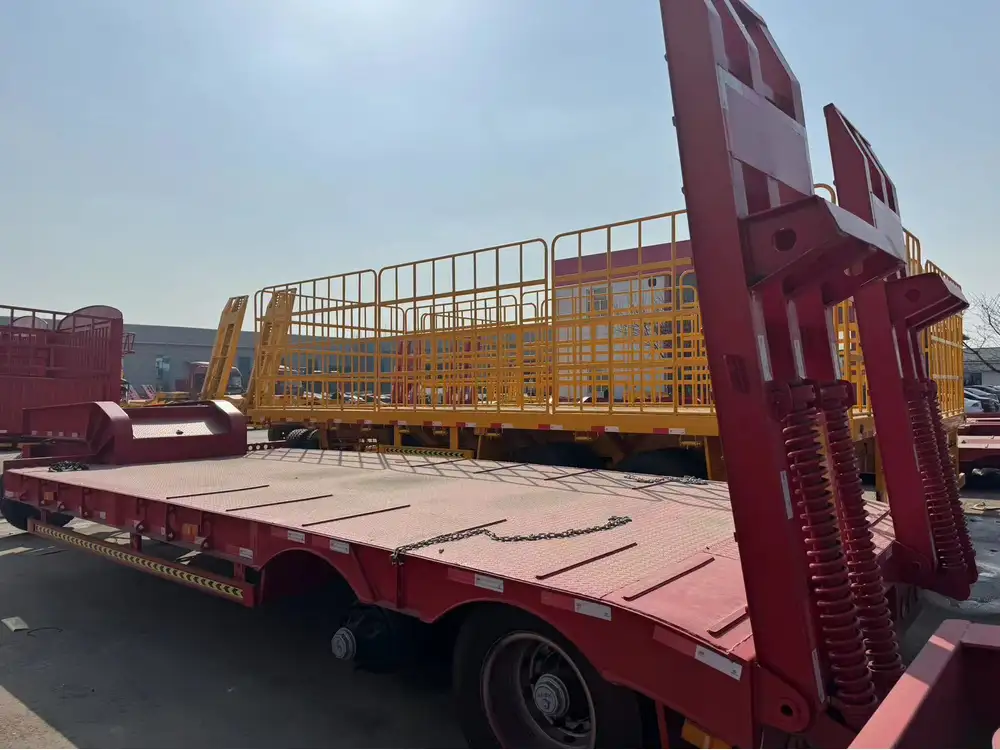
Adding a hitch to your dump trailer is an essential step in maximizing its utility and ensuring that it functions effectively with your towing vehicle. A well-installed hitch not only enhances safety but also improves efficiency in transporting materials. In this comprehensive guide, we will delve into the intricacies of installing a hitch on a dump trailer, addressing potential obstacles and offering detailed steps to ensure you achieve optimal results.
Understanding Dump Trailers and Hitches
Types of Dump Trailers
Before we embark on the installation process, it’s vital to distinguish between different types of dump trailers. The most common types include:
| Type of Dump Trailer | Description |
|---|---|
| Standard Dump Trailer | A single-axle or tandem-axle trailer designed for general dumping tasks. |
| Gooseneck Dump Trailer | A specialized version that connects via a gooseneck hitch, providing greater stability for heavier loads. |
| Electric Dump Trailer | Features electric systems for dumping, which can be beneficial in various terrains. |
Each type has unique requirements for hitch installation based on weight distribution and coupling mechanism.

Selecting the Right Hitch
Choosing the right hitch is critical. Hitches come in various classes, which determine their weight capacity and compatibility with different trailers and vehicles.
| Hitch Class | Weight Capacity | Ideal For |
|---|---|---|
| Class I | Up to 2,000 lbs | Small trailers, light-duty vehicles |
| Class II | Up to 3,500 lbs | Standard passenger cars, light-duty trucks |
| Class III | Up to 8,000 lbs | Mid-size trucks, larger trailers |
| Class IV | Up to 10,000 lbs | Heavy-duty pickups, larger dump trailers |
| Gooseneck | Varies widely | Large trailers, high-weight loads |
Ensure that the chosen hitch aligns with your dump trailer’s weight requirements and towing capacity.
Tools and Materials Required
Before beginning the hitch installation process, it’s essential to gather the necessary tools and materials, which include:
- Hitch Receiver
- Wrench Set
- Socket Set
- Drill with Metal Drill Bits
- Hitch Installation Kit (Bolts and Washers)
- Measuring Tape
- Level
- Safety Glasses and Gloves
Additional Safety Gear
Safety is paramount during this process. Wearing safety goggles, gloves, and steel-toed boots can protect you from potential injuries while handling heavy materials and tools.

Step-by-Step Guide to Installing a Hitch on a Dump Trailer
Step 1: Measure the Mounting Area
Begin by measuring the dimensions of the area where the hitch will be installed. It’s crucial to ensure that the hitch receiver aligns correctly with your dump trailer’s frame.
- Check for Obstructions: Look for any wires, brake lines, or other components that might interfere with hitch placement.
- Ensure Leveling: Use a level to guarantee that the mounting area is even, preventing any misalignment.
Step 2: Prepare the Area
Once measurements are taken, clear the area of any debris. A clean workspace will make installation smoother and reduce the risk of accidents.

Step 3: Position the Hitch
Align the hitch receiver with the marked area on the trailer’s frame. Ensure it’s positioned centrally and level, then secure it with clamps or temporarily fix it in place to prevent movement during drilling.
Pro Tip:
It’s advisable to enlist a friend to hold the hitch steady while you work, enhancing both efficiency and safety.
Step 4: Drilling Holes
Using the drill, create holes for mounting the hitch. Follow these guidelines:
- Use the Right Drill Bit: Select a metal drill bit that’s compatible with the thickness of your trailer frame.
- Double-Check Measurements: Before drilling, double-check your measurements and alignment.
- Drill Slowly: Start at a slow speed to ensure accuracy and to prevent damaging the trailer.

Step 5: Install the Hitch
With holes drilled, position the hitch back in place, aligning it with the drilled holes. Use the included bolts and washers from your hitch installation kit to secure the hitch to the trailer.
- Tighten Bolts Securely: Use the appropriate size socket to tighten all bolts. Follow a crisscross pattern to ensure an even distribution of pressure.
- Check for Stability: Once all bolts are tightened, wiggle the hitch to ensure it is securely fastened.
Step 6: Install the Wiring Harness (if applicable)
If your dump trailer uses electrical features, such as lights or brakes, you may need to install a wiring harness compatible with your towing vehicle. Carefully follow the harness installation instructions, being especially mindful to connect each wire correctly according to its function.
Step 7: Test the Installation
Before hitting the road, it’s essential to perform a thorough test of your hitch installation:
- Inspect for Loose Screws: Recheck that all bolts are secure.
- Pathway Test: Conduct a simple pathway test by gently placing weight on the dump trailer to ensure everything holds.
- Electrical Functionality: If applicable, verify that lights and brakes function correctly.

Maintenance Tips for Your Hitch and Dump Trailer
Once your hitch is successfully installed, regular maintenance is vital in ensuring longevity. Here are some tips to help you maintain both the hitch and the dump trailer:
- Regular Inspections: Conduct routine checks for signs of wear or damage, particularly to the hitch and wiring. Look for rust, corrosion, or any other issues.
- Lubricate Moving Parts: If your hitch has moving parts, regularly apply a suitable lubricant to ensure smooth operation.
- Clean the Area: Keep the hitch and surrounding areas clean and free from debris to prevent buildup that can lead to corrosion or malfunction over time.
- Annual Professional Inspection: Consider having a professional mechanic inspect your hitch annually, especially if your dump trailer is used frequently.
Troubleshooting Common Issues
Should you encounter challenges during or after the hitch installation, here are some common issues and troubleshooting steps:
Issue 1: The Hitch Doesn’t Align with the Towing Vehicle
- Solution: Re-evaluate your measurements. The hitch must be level and at the correct height to prevent misalignment.

Issue 2: Loose Connections
- Solution: If you experience loosening, double-check that all bolts have been tightly secured. It may also help to replace worn washers.
Issue 3: Electrical Malfunctions
- Solution: If your lights or brakes fail to work, inspect the wiring connections for damage or corrosion, and ensure they are properly connected.
Conclusion
Adding a hitch to your dump trailer is an invaluable enhancement that will facilitate a wide range of hauling tasks, from construction projects to landscape maintenance. By following the steps outlined in this guide and adhering to safety protocols, you can successfully install a hitch that provides years of reliable service. Remember that consistent maintenance and regular inspections will ensure optimal performance and safety for all your hauling needs.
This entré into the world of hitch installation not only empowers you to take on the task with confidence but also equips you with the knowledge necessary to address any potential challenges along the way. Happy hauling!


