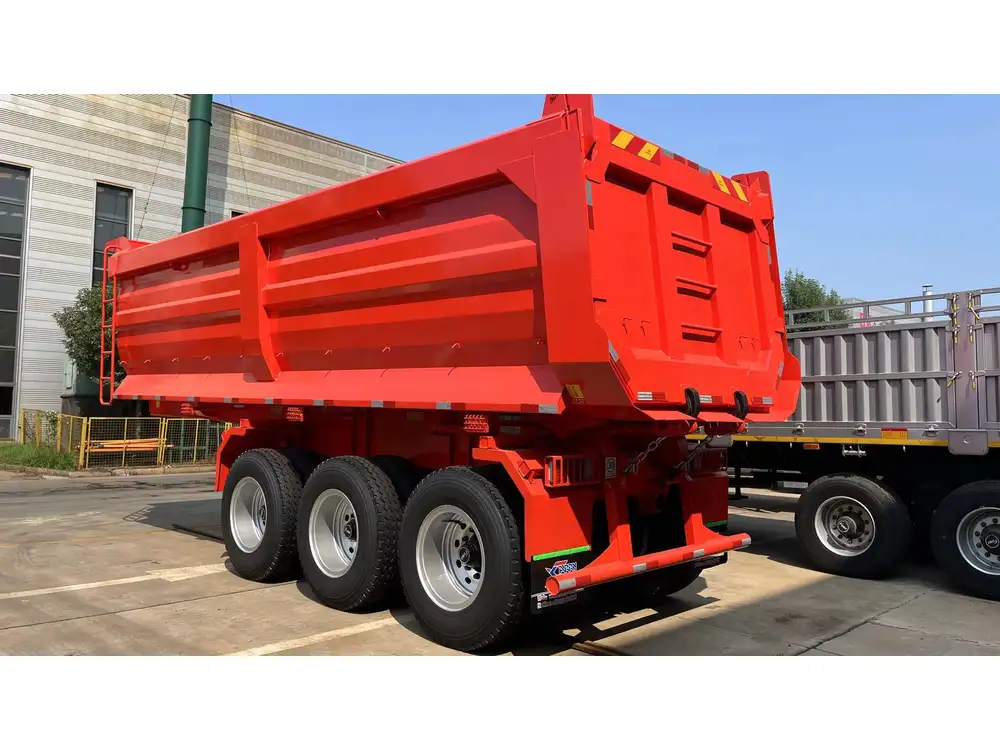
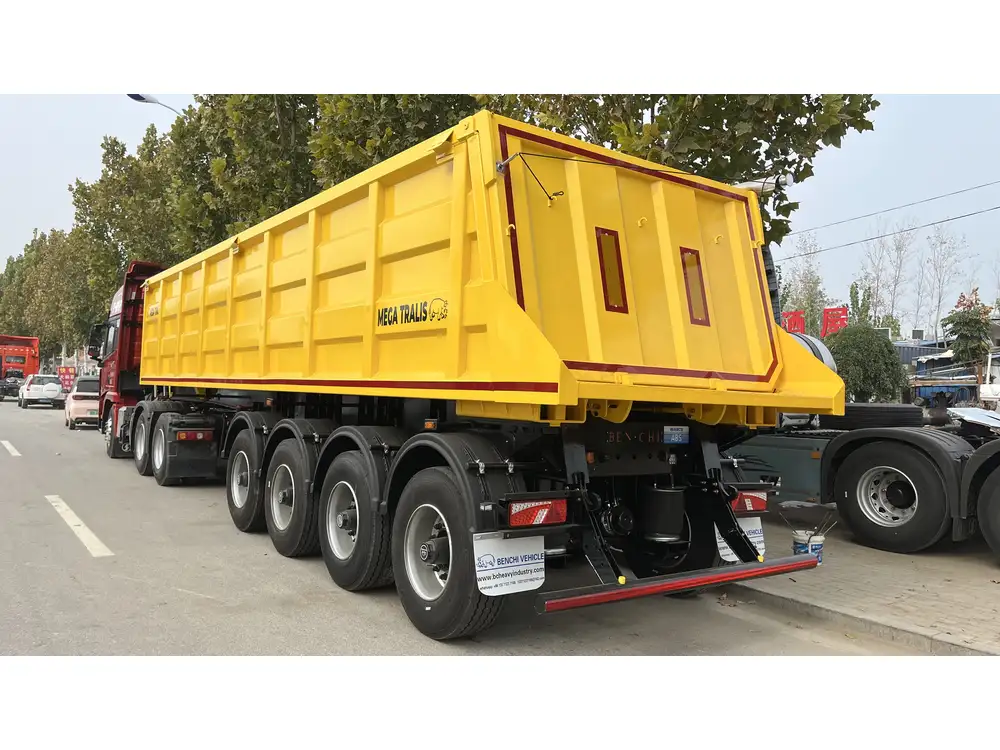
Maintaining a dump trailer is crucial not only for its aesthetic value but also for extending its life and functionality. Proper painting of a dump trailer can ward off rust, preserve materials, and maintain resale value. In this detailed guide, we will outline the step-by-step process of painting your dump trailer, plus tips, tricks, and essential recommendations to ensure a professional finish.
Table of Contents
- Understanding the Importance of Painting
- Preparation: Essential Tools and Materials
- Step-by-Step Guide to Painting
- Maintenance Tips for Your Painted Dump Trailer
- Conclusion
Understanding the Importance of Painting
Painting a dump trailer offers several benefits:
- Protection Against Corrosion: A coat of paint creates a barrier that protects metal surfaces from the elements, reducing oxidation and rust.
- Aesthetic Appeal: A freshly painted trailer enhances its visual appeal, making it more attractive to potential buyers or customers.
- Longevity of Trailer Life: Regular maintenance, including painting, can significantly extend the lifespan of your trailer.

Preparation: Essential Tools and Materials
Before delving into the painting process, gathering the necessary tools and materials ensures a smoother operation. Here’s a comprehensive list:
| Tool/Material | Purpose |
|---|---|
| Pressure Washer | To clean the trailer effectively |
| Sandpaper or Power Sander | For surface preparation and smoothing |
| Rust Inhibiting Primer | To prevent rust on metal surfaces |
| Quality Paint (Polyurethane) | For a durable and weather-resistant finish |
| Paint Sprayer or Roller | For even application of paint |
| Paint Brush | For touch-ups and hard-to-reach areas |
| Drop Cloths or Tarps | To cover the ground and prevent spills |
| Masking Tape | To protect areas from overspray |
| Safety Gear | Including gloves and masks |
Step-by-Step Guide to Painting
Step 1: Cleaning the Trailer
A clean surface is crucial for paint adhesion. Use a pressure washer or a hose with a scrub brush to remove dirt, grease, and old paint. Pay special attention to the corners and crevices of the trailer. A mixture of soapy water may be used for stubborn stains.
- Beginning with Detergent: Use a good-quality degreaser. Apply it generously, focusing on areas with visible oil or grease.
- Rinse Thoroughly: Ensure all soap is removed.
- Drying: Allow the trailer to dry completely, lasting a few hours or overnight, depending on climate conditions.

Step 2: Inspecting for Damage
Once cleaned, inspect the trailer for any signs of damage, such as dents, rust, or cracks. This assessment will guide your repair needs prior to painting.
- Rust Spots: Use a wire brush or grinder to remove rust. For significant rust, it may be best to replace compromised components.
- Dents and Cracks: Fill these imperfections with a suitable body filler, allowing it to dry and curing accordingly.
Step 3: Sanding and Surface Preparation
Sanding is essential for smooth surfaces as well as for promoting paint adhesion. Here’s how it’s done:
- Choose Your Grit: Start with medium-grit sandpaper (about 80-120 grit) for heavy work, moving to finer grits (up to 220) for finishing.
- Sanding Technique: Sand in circular motions, focusing on affected areas and along the entire surface of the trailer.
- Clean Up: After sanding, wipe down the trailer using a tack cloth or a damp rag to eliminate dust and particles.
Step 4: Priming the Surface
Priming is a crucial step, particularly for metal surfaces, as it enhances adhesion and provides a protective layer.
- Choosing a Primer: Select a rust-inhibiting primer specifically formulated for metal surfaces.
- Application: Using a paint sprayer or a roller, apply an even coat of primer over the entire surface of the trailer.
- Drying Time: Allow the primer to dry completely as per the manufacturer’s recommendations.

Step 5: Selecting the Right Paint
When choosing paint for your dump trailer, consider durability, resistance to elements, and the look you desire.
Types of Paint:
- Polyurethane Paint: Offers exceptional durability, mildew resistance, and a sleek finish.
- Enamel Paint: Provides a hard finish and good protection but may not be as flexible as polyurethane.
Color Selection: Choose a color that fits your aesthetic or corporate branding. Lighter colors may be more susceptible to showing dirt but can be cooler in the summer.
Step 6: Application of Paint
Applying paint effectively is crucial for achieving a professional look. Here’s how to get it right:
Stir the Paint: Before you start, stir the paint thoroughly to ensure uniformity.
Use the Right Technique:
- Spraying: For an even coat, hold the sprayer 6-12 inches from the surface and apply in overlapping strokes.
- Rolling: Use smooth, consistent strokes. A small brush can be used for corners and details.
Multiple Coats: Depending on coverage, apply at least two coats of paint, allowing proper drying time between each coat to ensure durability and an even finish.
Maintenance Tips for Your Painted Dump Trailer
Once your dump trailer has been freshly painted, regular maintenance is essential for preserving its integrity and appearance. Consider the following practices:
- Routine Cleaning: Regularly wash the trailer with soap and water, particularly after hauling gravel or debris.
- Inspect for Damage: After every use, check the paint and surface for scratches or dents that require touch-up.
- Touch-ups: Apply leftover paint to any areas that show wear or chips promptly to prevent rust.
- Store Properly: If not in use, store your dump trailer in a garage or covered area to shield it from weather conditions.

Conclusion
Painting a dump trailer is not merely a cosmetic enhancement; it is a vital practice that prolongs the useful life of the equipment while safeguarding its structural integrity. By meticulously following each step—cleaning, sanding, priming, selecting the appropriate paint, and applying it with care—you’ll achieve a protective coating that is not only aesthetically pleasing but also robustly practical.
This guide has provided a detailed roadmap for painting your dump trailer. Armed with the right tools and knowledge, you can tackle this project with confidence. Regular maintenance will keep your trailer looking great and performing optimally for years to come, ensuring that your investment remains protected.


