Converting a flatbed trailer into an enclosed trailer can be a practical and rewarding project for both personal and commercial use. It allows for secure transport of goods while providing protection from weather conditions, theft, and potential damage. This detailed guide will walk you through the essential steps, considerations, and materials needed to successfully execute this transformation.
Table of Contents
- Understanding the Basics of Flatbed and Enclosed Trailers
- Planning Your Trailer Conversion
- Materials Needed for Conversion
- Step-by-Step Conversion Process
- Considerations for Safety and Compliance
- Maintenance Tips for Your Enclosed Trailer
- FAQs: Common Questions
Understanding the Basics of Flatbed and Enclosed Trailers
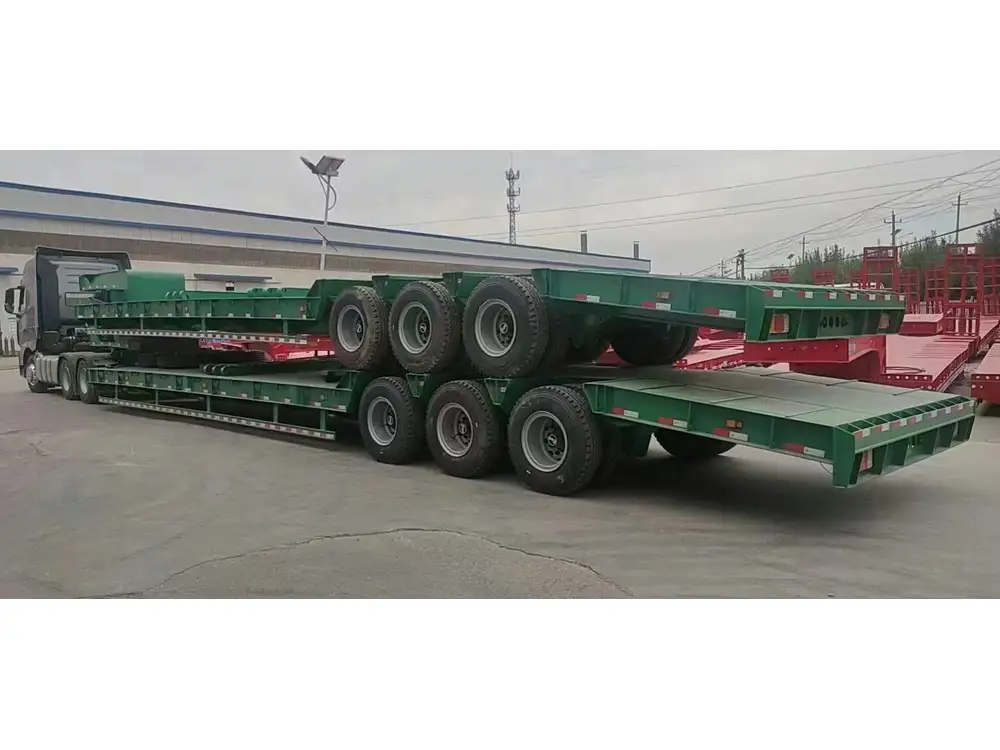
Flatbed trailers provide an open and versatile platform, mainly used for transporting large and heavy loads. They consist of a flat deck without sides or top and are ideal for vehicles, machinery, and building materials. However, they lack protection against the elements or theft, which is where enclosed trailers come into play.
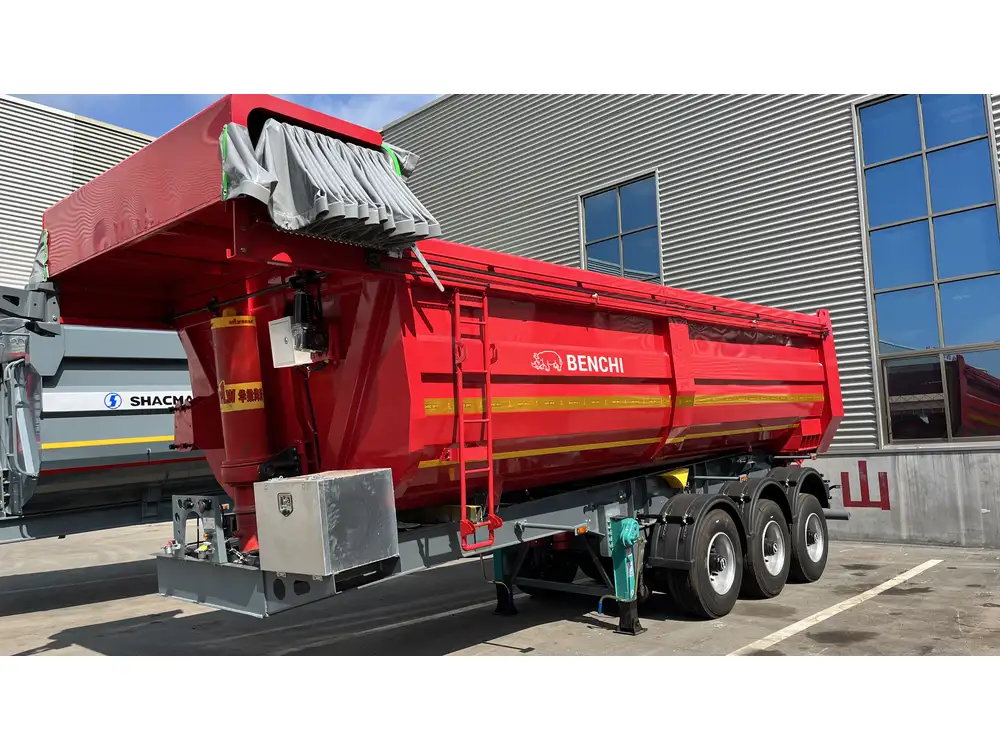
An enclosed trailer is a fully covered vehicle, typically with walls, a roof, and accessible doors. It ensures that the cargo within is shielded from rain, snow, UV rays, and prying eyes. The choice to convert a flatbed into an enclosed trailer can yield significant benefits, especially for those needing a more protective hauling solution.

Planning Your Trailer Conversion
Before diving into the conversion process, careful planning is essential to ensure a successful transformation. Here are crucial considerations to outline before starting:
Purpose and Use: Define what you will use the enclosed trailer for. Will it be for transporting goods, camping, or as a mobile workshop? This will influence the design and features you include.
Size and Dimensions: Measure your flatbed trailer to understand the size of the enclosure you can construct without exceeding weight limits. Ensure it’s compliant with local regulations.
Budget Allocation: Decide on a budget that covers all materials, tools, and potential professional assistance needed.
Local Regulations and Compliance: Research any local laws regarding trailer modifications to ensure that your new enclosure meets legal requirements regarding safety and dimensions.
Materials Needed for Conversion
Gathering the right materials is vital for the successful conversion of a flatbed trailer into an enclosed trailer. Here’s a clear breakdown of what you will need:
| Material | Purpose |
|---|---|
| Wood or Metal Framing | For the structural support of the walls and roof. |
| Wall Panels | Plywood, aluminum, or composite panels to create the walls. |
| Roofing Material | Metal sheeting, fiberglass, or plywood, suitable for your climate. |
| Doors and Hinges | Standard or custom doors for access. Consider barn doors or a ramp door. |
| Fasteners and Hardware | Bolts, screws, brackets, and other necessities to assemble everything. |
| Sealant and Insulation | For enhanced weatherproofing and climate control inside. |
| Paint or Finish | A protective finish for longevity and aesthetics. |
Step-by-Step Conversion Process

Step 1: Assess the Flatbed Trailer
Begin by inspecting your flatbed trailer thoroughly. Check for any wear and tear, rust, or structural damage that could affect the conversion. Ensure it has a strong and sound base; this is critical as the entire structure of the enclosed trailer will rest on it.
Tip: If any repairs or modifications are necessary, address them before starting the conversion.
Step 2: Design Your Enclosure
Create a design blueprint for your trailer enclosure. This can be hand-drawn or done using design software. Key considerations should include:
- Height and Width: Ensure that the height allows for tall items to fit in and provides sufficient headroom.
- Access Points: Plan where the doors will be placed. Consider side doors for ease of access and a rear door for larger items.
- Ventilation: Ensure appropriate airflow with vents or windows to prevent condensation, especially if using the trailer for long-term storage or transport.
Visual Aid:
Step 3: Construct the Frame
Using your chosen material (wood or metal), construct the frame of your trailer. For a wooden frame, you’ll typically use 2×4 or 2×6 lumber. Attach vertical studs every 16 to 24 inches on the flatbed base, ensuring that the frame is stable and square.
- Measure and Cut: Precisely measure and cut your framing materials.
- Assembly: Use screws or bolts to attach the vertical posts to the flatbed securely. Reinforce corners and junctions for added stability.

Step 4: Install Wall Panels
Once the frame is constructed, it’s time to cover the walls with panels.
- Cut & Fit Paneling: Measure the panels according to your design and attach them with bolts or screws through the framing.
- Sealing: Apply a sealant wherever two materials meet to ensure airtight and watertight seals.
Make sure the wall panels are aligned straight and level to avoid structural issues.
Step 5: Add a Roof
The roof provides protection against the elements, so it must be sturdy. The installation can be done with metal sheeting or durable plywood.
- Frame Support: Use cross beams over the top to strengthen the roof structure.
- Attach Roof Panels: Affix your chosen roofing material securely, ensuring there are overlaps to direct water away from joints.
Step 6: Finish with Doors and Ventilation
Doors are perhaps one of the most critical features of your enclosed trailer. Depending on your design, install your doors in accordance with best practices.
- Hinges: Use high-quality hinges to ensure longevity. Install locks for security.
- Vents: Install side vents at the top and bottom sections of the walls for optimal airflow.
After this, consider adding additional features such as interior lighting or shelving based on your original use plan.

Considerations for Safety and Compliance
Safety is paramount when modifying trailers. Here are vital compliance and safety considerations:
- Weight Distribution: Ensure that the weight of the enclosure does not exceed the flatbed’s load rating.
- Lighting and Reflectors: Install proper lights and reflectors on your trailer to ensure visibility, following DOT regulations.
- Brakes: If the trailer’s weight is significantly increased, updating the braking system may be necessary.
Maintenance Tips for Your Enclosed Trailer
To ensure longevity and optimal functionality, follow these maintenance practices:
- Regular Inspections: Check the trailer regularly for signs of rust, wear, or potential leaks.
- Wash and Wax: Clean the exterior periodically to protect the finish and components from damage.
- Lubricate Moving Parts: Ensure that doors and hinges are lubricated to avoid rust and ensure smooth operation.
- Sealant Checks: Inspect the seals and checks regularly to prevent water ingress.
FAQs: Common Questions
How much does it cost to convert a flatbed trailer?
- The cost varies depending on materials and labor but typically ranges from $1000 to $5000.
Can I do this conversion myself?
- Yes, with proper tools and a DIY mindset, most trailer conversions can be done independently.
Are there any specific regulations for enclosed trailers?
- Yes, regulations may vary by state; check local laws regarding trailer width, height, and lighting.
How long does it take to convert a trailer?
- Depending on complexity and materials used, expect the process to range from a few days to a few weeks.
Converting a flatbed trailer into an enclosed trailer presents a tremendous opportunity for creativity and utility. With careful planning, precise execution, and adherence to safety regulations, this project can result in a reliable and versatile trailer that meets your hauling needs for years to come.


