
Creating a trailer dump—a versatile piece of equipment in the trucking industry—can be both a rewarding challenge and a lucrative business venture for manufacturers looking to innovate and streamline operations. This guide offers a comprehensive roadmap, dissecting the essential steps, materials, and considerations involved in making an efficient trailer dump. With an intricate balance of detailed explanations and structured methods, we ensure a thorough exploration of this topic, catering to potential queries from aspiring trailer manufacturers or curious enthusiasts alike.
The Structure of a Trailer Dump
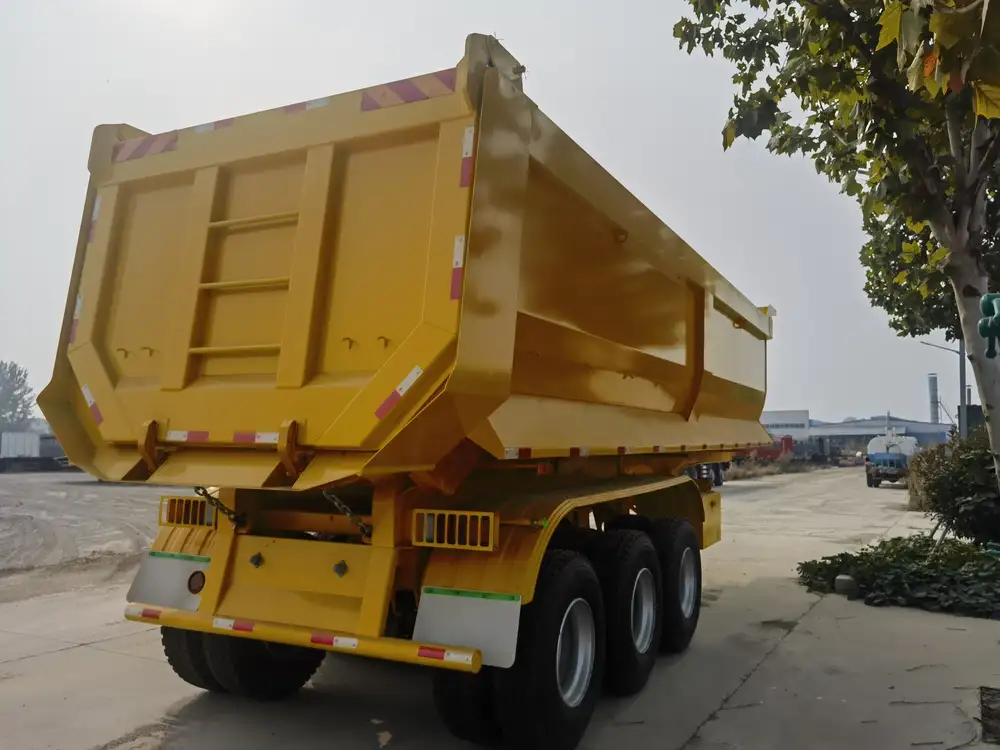
Before diving into the construction aspects, it is vital to understand the structural elements that comprise a trailer dump. The design typically features:
| Component | Description |
|---|---|
| Frame | The supporting skeleton, made usually from high-strength steel for durability. |
| Dump Body | The container that holds the material to be transported, often constructed from steel or aluminum. |
| Hydraulic System | The mechanism that allows the dump body to raise or lower, critical for efficient unloading. |
| Axles and Suspension | Essential for stability while hauling, affecting load capacity and lifetime wear. |
| Wheels and Tires | Components that hold the structure off the ground, chosen based on load requirements. |
| Electrical System | Powers various components, mainly the hydraulic system. |
| Safety Features | Includes reflective markers, brakes, and safety chains to ensure user safety. |
Choosing the Right Materials
Opting for the appropriate materials is fundamental in creating a durable and reliable trailer dump. Generally, one should consider:
Steel vs. Aluminum
- Steel: Favored for its strength and lower cost initially. Ideal for heavy-duty applications but vulnerable to rust unless treated properly.
- Aluminum: Lightweight and resistant to corrosion. Although initially more expensive, it offers longevity and ease of maintenance.
Hydraulic Components
- Hydraulic Cylinders: Choose based on the required lift capacity; larger loads necessitate more robust cylinders.
- Pumps: Must match the hydraulic system’s demands and the expected rate of operation.
Additional Elements
- Reinforcements in high-stress areas, such as the corners of the dump body, enhance durability.

Steps to Construct a Trailer Dump
Step 1: Frame Construction
The frame serves as the backbone of the trailer dump. Here’s a quick guide to constructing it effectively:
- Cut Steel Beams: Use durable, high-strength steel beams for the perimeter and cross members.
- Weld the Frame: Ensure all joints are securely welded to enhance strength.
- Add Reinforcements: Implement extra supports in areas that will bear significant loads.
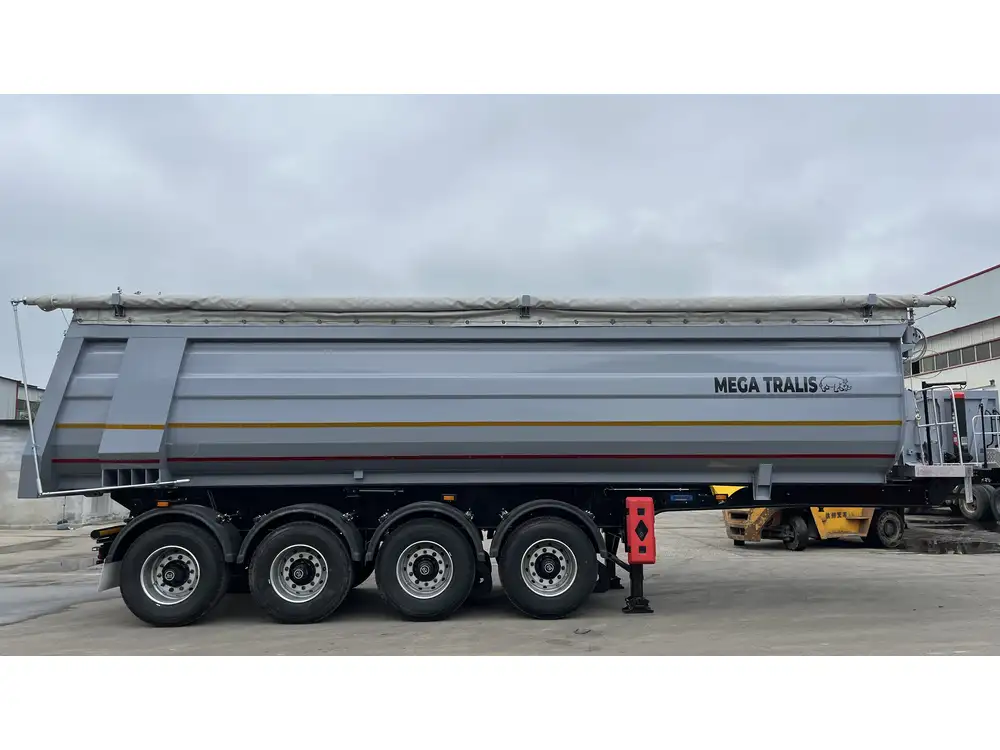
Step 2: Building the Dump Body
Once the frame is complete, focus on constructing a robust dump body.
- Dimensions: Determine the dimensions based on the intended use and weight capacity. Standard sizes range from 10 to 15 cubic yards.
- Side Walls: Fabricate side walls from the chosen material (steel or aluminum). Consider adding a protective coating if using steel.
- Floor Installation: The floor must withstand heavy weights and impact, so utilizing thicker material here is recommended.
Step 3: Hydraulic System Installation
The hydraulic system is crucial for the operation of the dump trailer. Follow these steps for successful integration:
- Position the Hydraulic Cylinder: Ideally located at the front of the dump body to distribute weight effectively.
- Pipe Plumbing: Install pipes from the pump to the hydraulic cylinder, ensuring they are securely fitted to prevent leaks.
- Electrical Connection: Attach the electrical system to power the hydraulic components and any lights as needed.
Step 4: Setting up Axles and Suspension
The stability and safety of a trailer dump largely depend on its axles and suspension system.
- Choose Appropriate Axles: Select axles based on the desired load capacity, aiming for a dual or triple axle setup for larger trailers.
- Install Suspension: Leaf spring systems are a popular choice; they provide stability and load distribution during transport.
Step 5: Wheels and Tires
The choice of wheels and tires directly influences the performance and safety of the trailer dump.
- Load Rating: Ensure the tires have a load rating that matches or exceeds the maximum weight of the trailer dump when loaded.
- Tread Design: Consider the terrain on which the trailer will primarily operate and select tires that provide optimal traction.
Step 6: Implementing Safety Features
Safety cannot be overlooked when building a trailer dump. Key safety features should include:
- Brakes: Install hydraulic brakes for better stopping power, particularly if the trailer is expected to haul heavy loads.
- Reflective Markers: Adhere to local regulations on reflectivity to enhance visibility during night-time operation.
- Safety Chains: Prevent accidental detachment during transit, providing an additional layer of safety.
Testing and Quality Assurance
After assembling the trailer dump, conducting thorough testing is vital to assure quality and safety. Here’s a structured approach for testing:
- Hydraulic Pressure Tests: Verify that the hydraulic system operates effectively under load conditions.
- Weight Tests: Gradually load the trailer, observing how the structure responds, ensuring it can handle its rated capacity.
- Road Tests: Drive the empty and loaded trailer to evaluate stability, braking performance, and overall handling.
- Inspection for Defects: A final inspection should include a thorough review of welds, fittings, and potential wear points.
Maintenance Tips for Longevity
Even the highest quality trailer dump requires regular maintenance to maintain performance and longevity. Manufacturers and owners should consider implementing the following practices:
Routine Inspections
Conduct visual inspections of all critical components, such as brakes, hydraulic lines, and frame integrity. Regular checks help identify potential issues before they escalate.
Hydraulic System Care
Maintain the hydraulic system by checking for leaks, ensuring appropriate fluid levels, and replacing the fluid per manufacturer’s recommendations.
Tire Maintenance
Regularly check tire pressure and tread depth, rotating tires as needed to promote even wear over time.
Troubleshooting Common Problems
Lifting Issues
Symptoms: The dump body won’t lift.
- Potential Causes: Low hydraulic fluid, air in the system, or a faulty pump.
- Solutions: Replace low fluid levels, bleed the system to release air, or inspect the pump for functionality.
Structural Damage
Symptoms: Visible stress fractures on the frame or body.
- Potential Causes: Overloading or weak welds.
- Solutions: Avoid exceeding weight limits and reinforce weak points with additional welds.

Electrical Failures
Symptoms: Hydraulic functions do not operate.
- Potential Causes: Disconnected wiring or a malfunctioning switch.
- Solutions: Inspect all wiring connections and replace any faulty switches or components.
Conclusion
Manufacturing a trailer dump is an intricate process that demands meticulous attention to detail, an understanding of materials, and a commitment to safety and performance. By following the structured steps outlined in this guide—from frame construction to testing and maintenance—a manufacturer can create a high-quality trailer dump that meets both market demands and operational efficiency. This multifaceted guide not only enhances your manufacturing knowledge but also positions your products competitively in the industry, allowing for better user conversion and satisfaction.
Whether you’re embarking on your first trailer dump project or looking to refine your existing manufacturing processes, this comprehensive overview ensures a solid foundation for success. Embrace the challenges with confidence, knowing that each step you take brings you closer to excellence in the semi-trailer market.

