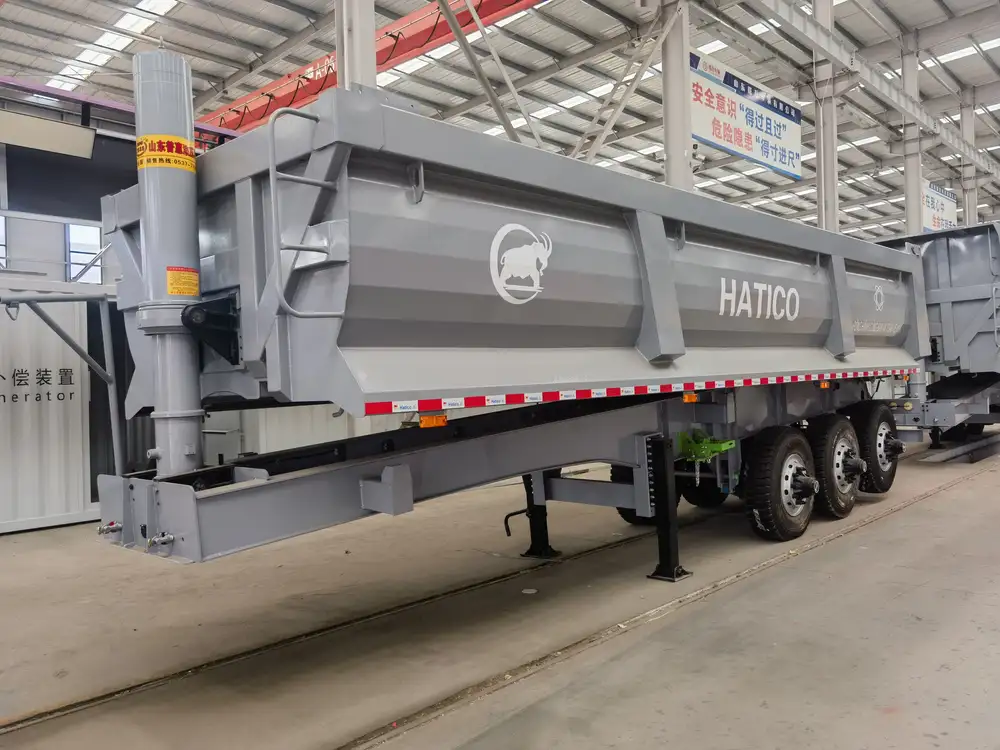
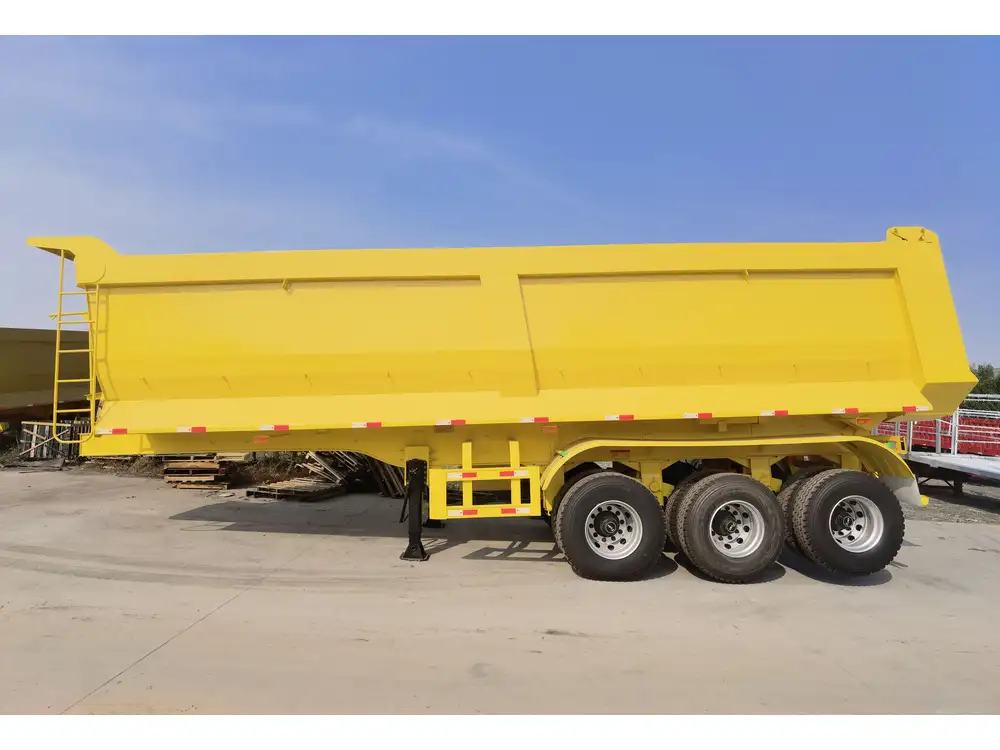
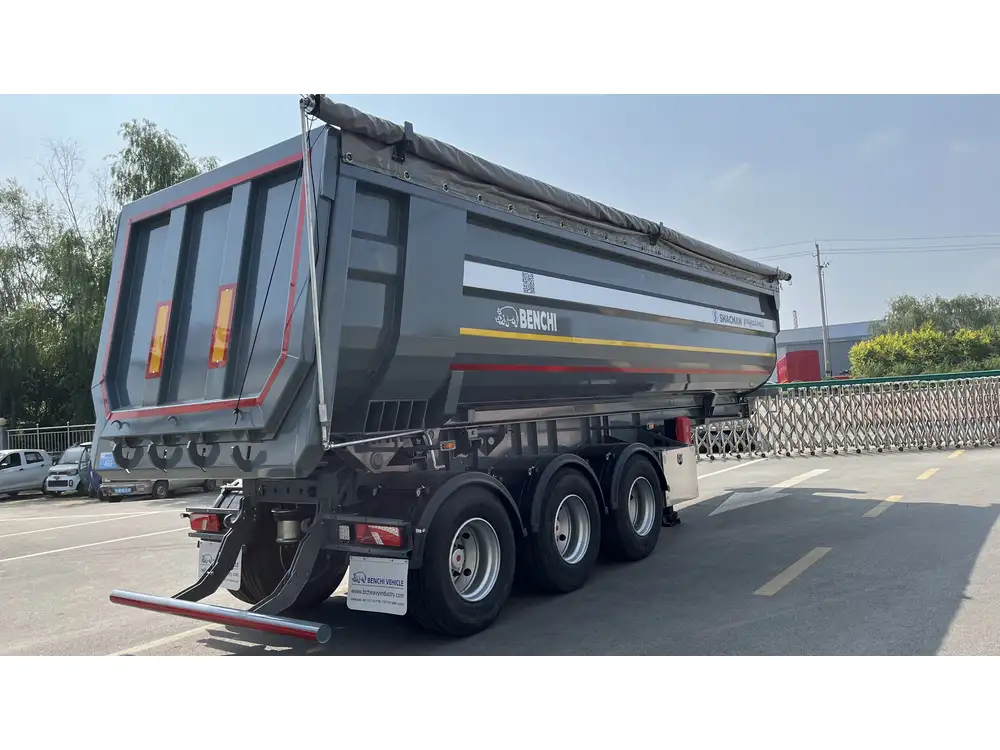
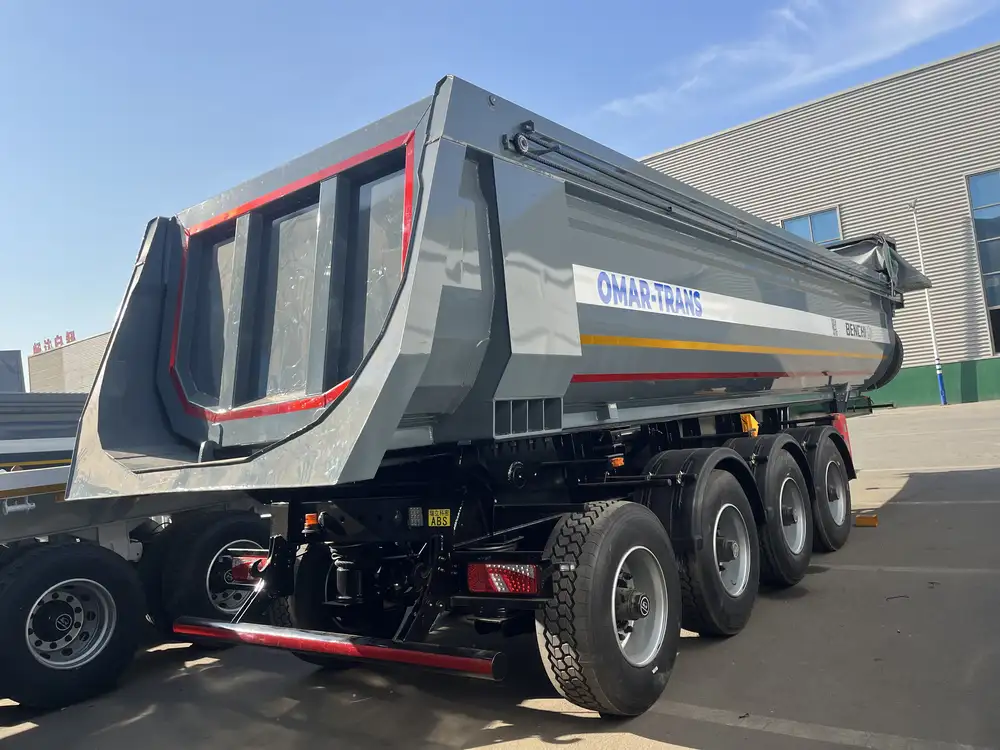
Building a small dump trailer can be an incredibly rewarding project. With the right materials and techniques, you can create a versatile trailer that’s perfect for hauling debris, dirt, and other heavy materials. Whether you’re a DIY enthusiast or a seasoned builder, this guide will walk you through the intricate steps needed to craft your own small dump trailer.
Understanding the Basics of Small Dump Trailers
Before diving into the building process, let’s take a moment to understand the fundamental components and concepts associated with small dump trailers.
Key Components
| Component | Description |
|---|---|
| Chassis | The frame that supports the weight of the load. |
| Axles | A crucial element that drives the trailer and supports the load. |
| Tires | Essential for mobility, the right tire size is necessary for stability and load distribution. |
| Bed | The platform where the loads are placed; it can be built high or low depending on requirements. |
| Hydraulic System | Mechanism used for lifting the bed to dump contents; essential for functionality. |
| Electrical | Wiring and battery setup for powering hydraulic functionality or lights. |
Understanding each part allows for informed decision-making when it comes to selecting materials and designing your trailer.

Planning Your Small Dump Trailer
Creating a detailed plan is critical before starting the construction of your dump trailer. It will save time, prevent errors, and ensure durability.
Design Considerations
Size and Capacity: Determine the desired size of your trailer. A compact trailer typically measures around 5 to 8 feet in length and can handle loads between 1,000 to 3,000 pounds.
Material Choice: Select high-quality materials for durability and strength. Common materials include treated wood for the bed and steel for the frame. Consider the advantages of aluminum for a lightweight build.
Budgeting: Calculate material costs, tools needed, and any additional hardware. Preparing for unexpected contingencies is an intelligent strategy.
Permits and Regulations: Check local regulations regarding trailer construction and road use—these can vary by region.
Building Your Small Dump Trailer: Step-by-Step

Step 1: Gather Materials and Tools
A successful project starts with the right tools and materials at hand. Create a checklist to ensure all necessary components are collected.
Essential Tools:
- Welding Machine: For joining metal components.
- Angle Grinder: To smooth rough edges and surfaces.
- Drill: For making holes in metal and wood.
- Saws: A metal cutting saw and a wood saw will suffice.
- Socket Set: For assembling different parts.
- Measuring Tape: Accuracy is paramount—measure twice, cut once.
Material List:
- Steel (for chassis and frame)
- Treated lumber (for the bed)
- Axles and tires
- Hydraulic lift system
- Electrical wiring kit (if applicable)
Step 2: Constructing the Chassis
The chassis forms the backbone of your dump trailer. A robust design will ensure longevity.
Frame Construction:
- Use steel beams to form a rectangular frame. Welding is the preferred method but using brackets can also suffice for sturdiness.
- Ensure cross members are placed every 24 inches for added support.
Attach the Axles:
- Position your axles two-thirds back from the front of the trailer for better weight distribution.
- Secure them with bolts and confirm they can rotate freely.
Step 3: Building the Dump Bed
The dump bed is where functionality meets practical design.
Frame the Bed:
- Construct a rectangular frame from treated lumber, making sure it fits securely on the chassis.
- Reinforce corners to handle the stress of heavy loads.
Install the Floor:
- Use plywood or composite boards to create the flooring, ensuring it can withstand heavy loads.
Attach the Sides:
- Build walls using treated wood that are about 2 to 3 feet tall, leaving space for a tailgate.

Step 4: Hydraulic System Installation
The hydraulic system is crucial for enabling the dumping action of your trailer.
Select a Hydraulic Kit:
- Choose a kit based on lifting capacity. Ensure it’s compatible with your trailer size.
Position the Cylinder:
- Install it at the front of the bed. Secure the cylinder to the frame, and ensure it aligns correctly.
Connect the Hydraulic Lines:
- Run the lines through the tubing and connect them to the hydraulic pump, ensuring no excessive bends that could obstruct flow.
Step 5: Electrical Setup
If your hydraulic system operates with an electrical pump, setting up the circuitry will be necessary.
Wire the Battery:
- Position the battery in a secured, accessible area to prevent movement during transit.
Control Switch:
- Install a switch on the trailer frame within reach of the towing vehicle’s cab, enabling easy dumping control.
Step 6: Final Assembly and Inspection
With your trailer built, it’s time to conduct a thorough inspection before taking it out on the road.
Check Frame and Body:
- Inspect for any loose bolts, exposed sharp edges, or structural weaknesses.
Test the Hydraulic System:
- Run tests with decreased loads before trying higher weights, ensuring smooth operation.
Road Coverage:
- Apply reflective tape or lights as required by local regulations for road safety.

Maintenance Tips for Longevity
Proper maintenance will extend the life of your small dump trailer significantly. Here are vital maintenance tips to keep your trailer functioning optimally:
- Regular Inspections: Inspect the frame, bed, and hydraulic system regularly for wear and tear.
- Lubrication: Lubricate moving parts to prevent rust and ensure smooth operation.
- Clean After Use: Clean out debris from the bed and inspect for damage after each use.
- Storage: Store your trailer in a dry place when not in use to prevent rust formation.
Common Problems and Solutions
Understanding potential issues that may arise can pave the way for quick resolutions.
| Problem | Possible Causes | Solutions |
|---|---|---|
| Hydraulic lift failure | Hydraulic fluid leak or low fluid level | Inspect the system for leaks; refill fluid. |
| Unstable towing behavior | Improper weight distribution | Adjust load placement; check tire pressure. |
| Frame bending under weight | Inadequate reinforcement | Reinforce weak points; reduce load. |
Conclusion: Empower Yourself with a Custom Dump Trailer
Creating your own small dump trailer not only gives you a sense of accomplishment but also equips you with a practical tool for various hauling needs. By following this precise guide, you can craft a tailored solution suitable for both personal and professional projects. The construction journey will surely hone your skills and expand your understanding of trailer mechanics, making your next DIY endeavor even more exciting.
In additional thought, meticulous attention to detail during each construction phase will directly correlate with the effectiveness and resilience of your dump trailer. Embrace the challenge, vote for versatility, and let your craftsmanship shine.


