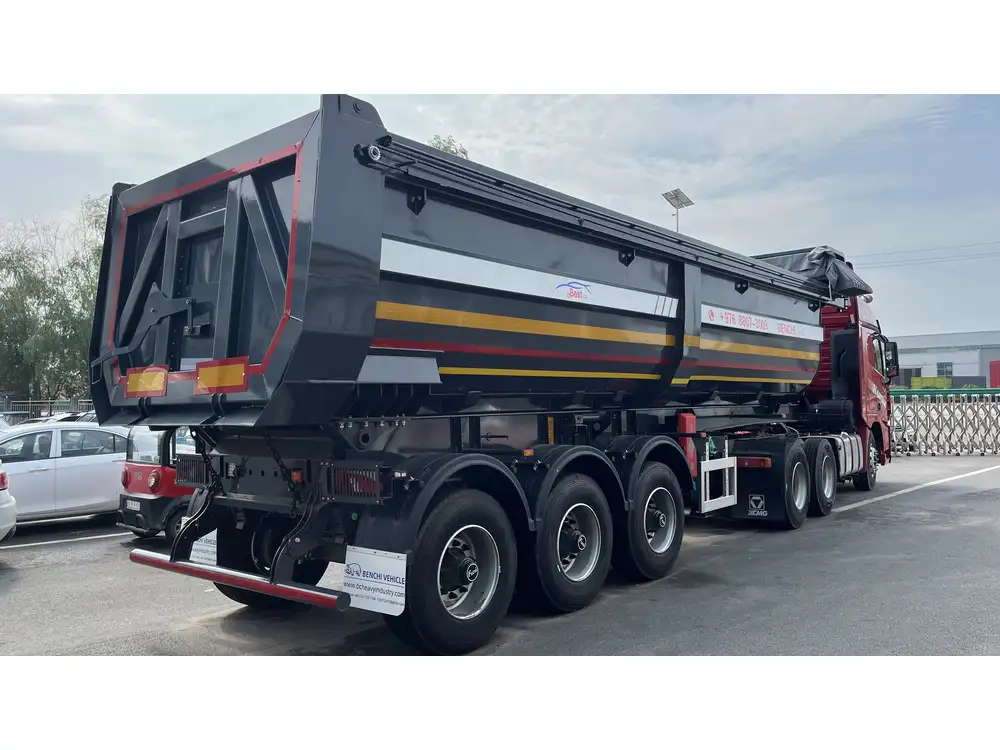
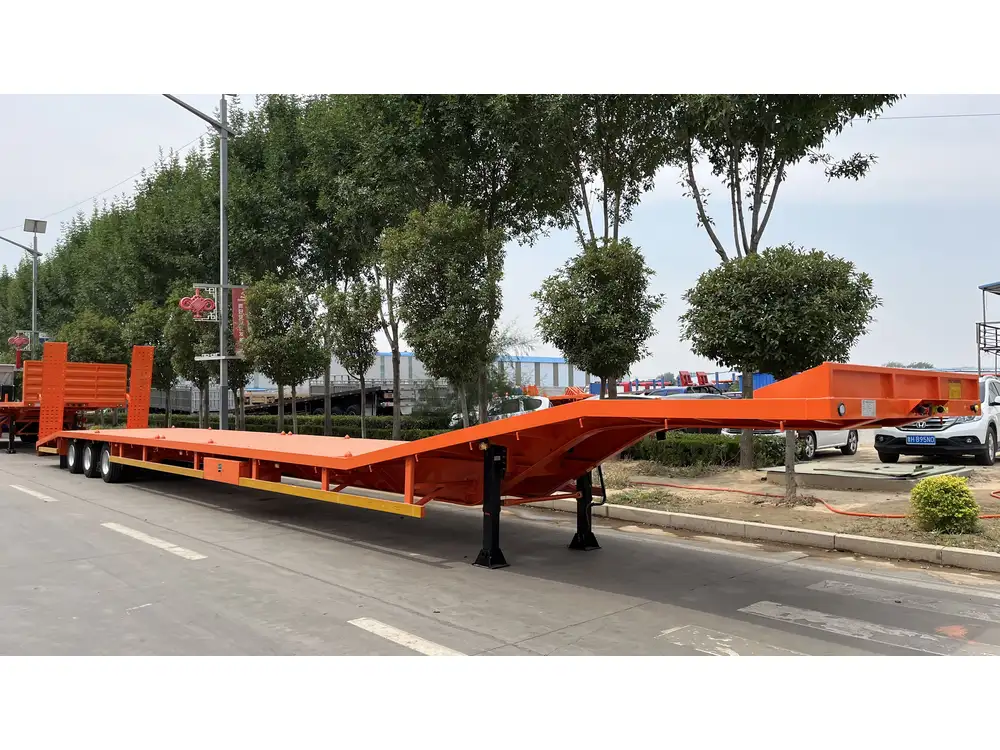
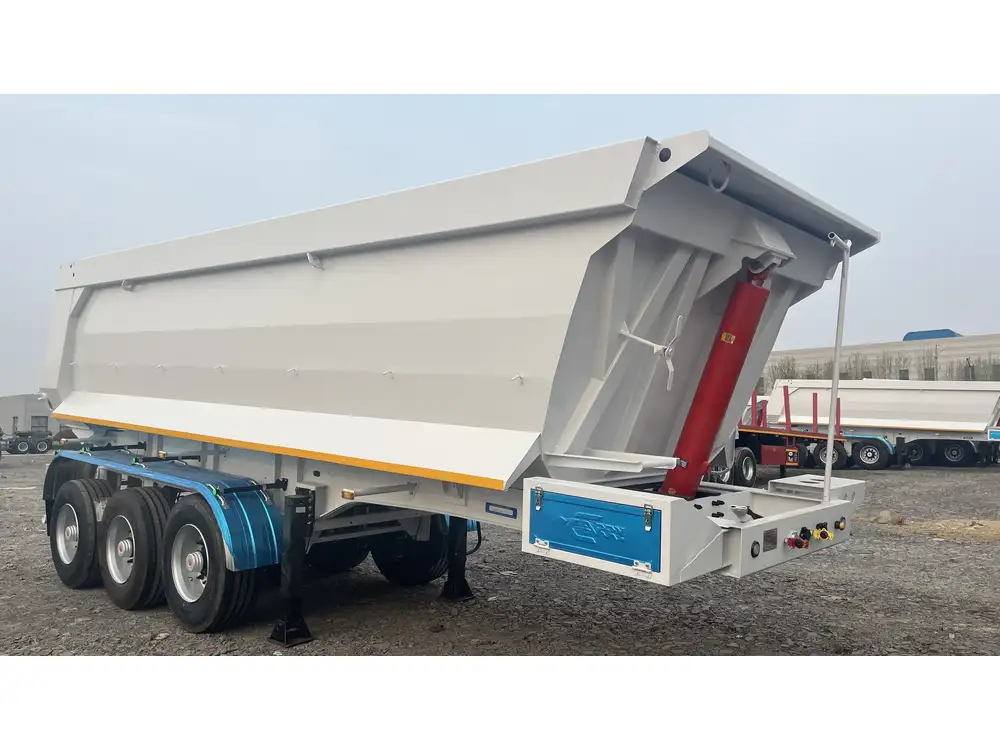
Creating a semi-trailer truck cake can be a delightful and rewarding experience, whether it’s for a special birthday celebration, a truck enthusiast, or a themed event. This guide will provide you detailed step-by-step instructions, tips, and creative ideas to ensure your semi-trailer truck cake is not only visually appealing but also scrumptious.
Understanding the Components of a Semi-Trailer Truck Cake
Before diving into the baking and decorating process, it’s essential to outline the key components that make up a semi-trailer truck. A standard truck cake typically consists of the following sections:
| Components | Description |
|---|---|
| Cab | The front part of the truck where the driver sits. |
| Trailer | The long section attached to the cab. |
| Wheels | Essential for giving an authentic look – usually made of fondant or chocolate. |
| Details | Add-ons such as lights, windows, and cargo, which enhance realism. |
Essential Ingredients and Tools
To create a semi-trailer truck cake, ensure you have the following ingredients and tools ready:

Ingredients
Cake Batter:
- 2 cups of all-purpose flour
- 1 ½ cups of granulated sugar
- 1 cup of unsalted butter
- 4 large eggs
- 1 cup of buttermilk
- 1 tbsp of vanilla extract
- 2 tsp of baking powder
- 1 tsp of baking soda
- ½ tsp of salt
Buttercream Frosting:
- 1 cup of unsalted butter (room temperature)
- 4 cups of powdered sugar
- 2 tbsp of milk
- 1 tsp of vanilla extract
- Food coloring (optional)
Fondant:
- 1 ½ cups of ready-to-use fondant in red or your desired colors.
Tools
- Cake Pans: Rectangular and circular for shaping the cab and trailer.
- Mixer: For smooth cake batter and frosting.
- Offset Spatula: For applying buttercream.
- Rolling Pin: For rolling fondant.
- Sharp Knife: For carving the cake into shape.
- Piping Bags and Nozzles: For decorative details.
Step-By-Step Process to Create a Semi-Trailer Truck Cake

Step 1: Baking the Cake
- Preparation: Preheat the oven to 350°F (175°C). Grease your cake pans to prevent sticking.
- Mix Ingredients: In a large mixing bowl, cream the butter and sugar until light and fluffy. Add eggs one at a time, mixing well after each.
- Dry Ingredients: In a separate bowl, whisk together flour, baking powder, baking soda, and salt. Gradually add to the butter mixture, alternating with buttermilk. Stir in vanilla until well blended.
- Bake: Pour the batter into prepared pans. Bake for 25-30 minutes or until a toothpick inserted in the center comes out clean.
- Cool the Cake: Allow cakes to cool in the pan for 10 minutes before transferring them to wire racks. Let them cool completely.
Step 2: Assembling the Cake
- Shape the Cake: Once cooled, use a sharp knife to trim the edges of one rectangular layer into a cab shape (approximately 6 inches long and 4 inches wide). The remaining layers will serve as the trailer.
- Level the Layers: Use a serrated knife to level the tops of each cake layer to ensure a flat surface.
- Stacking Layers: Place one rectangular layer on a serving board, spread a layer of buttercream frosting on top, and place another layer on top. Repeat this for all trailer layers.
Step 3: Preparing the Buttercream Frosting
- Mixing: In a mixing bowl, beat the butter until creamy. Gradually add powdered sugar, milk, and vanilla extract. Mix until smooth and creamy.
- Color Your Frosting: If desired, separate some frosting and color it using food coloring to match truck themes.

Step 4: Decorating the Cake
- Base Coat: Apply a thin layer of buttercream frosting over the entire cake as a base coat. This helps seal in crumbs.
- Rolling Fondant: Roll out your fondant on a clean surface. Use a rolling pin to create an even thickness (about ¼ inch).
- Covering the Cake: Gently lift the fondant over the cake. Smooth it down carefully, removing any air bubbles.
- Creating Truck Details: Roll out small pieces of fondant to create wheels, lights, and other truck components. Attach using small dabs of water.
- Piping Details: Use a piping bag to add intricate designs, such as windows and lines to represent truck details.
Step 5: Final Touches
- Cargo Display: Consider adding fondant boxes or other cargo items on top of the trailer for an engaging look.
- Personalize: Include a birthday message or name on the cab using edible markers or piped frosting.
- Finishing Accents: Add sparkle with edible glitter or shimmering dust to enhance visual appeal.
Troubleshooting Common Decorating Issues
While creating your semi-trailer truck cake, you may encounter specific challenges. Here are some common issues and how to solve them:
| Issue | Solution |
|---|---|
| Fondant Cracking | Keep fondant covered when not in use; re-knead it. |
| Cake Layers Sliding | Use a bit of frosting as glue between layers to stabilize. |
| Uneven Colors in Fondant | Knead in color evenly to prevent marbling. |
| Buttercream Melting | Keep your frosting chilled in hot weather or use a stabilizer. |

Innovative Serving Ideas
The presentation of your semi-trailer truck cake can make a significant difference in your event’s success. Consider these creative serving ideas:
- Themed Plates and Utensils: Use truck-themed plates and napkins to enhance the theme.
- Delivery Presentation: Serve the cake on a large platter decorated with toy trucks or using mini cones as “road signs”.
- Surrounding Decorations: Set the cake on a table decorated with a miniature construction site or rural backdrop to intensify the trucking theme.
Conclusion: Enjoying Celebration and Creativity
Making a semi-trailer truck cake is more than just baking; it’s an opportunity to unleash creativity while celebrating special moments. With this comprehensive guide, you can confidently create a stunning cake that will be the centerpiece of any event. Remember to have fun throughout the process, experiment with designs, and take the time to personalize every aspect for the perfect finish. Capturing the essence of a semi-trailer truck in cake form is a culinary art that will surely delight truck lovers of all ages!
Feel free to adapt this process to various cake flavors and designs, ensuring that your final creation is truly unique and represents your personal style. Happy baking!


