
Creating a dump trailer is a rewarding endeavor, combining engineering knowledge with practical skills. This article serves as a thorough guide for those who wish to construct their own dump trailer, covering every aspect from design to completion. Whether you are a seasoned manufacturer or a DIY enthusiast, we will explore essential components, tools required, construction steps, and maintenance tips to ensure longevity and efficiency.
Understanding the Basics of a Dump Trailer
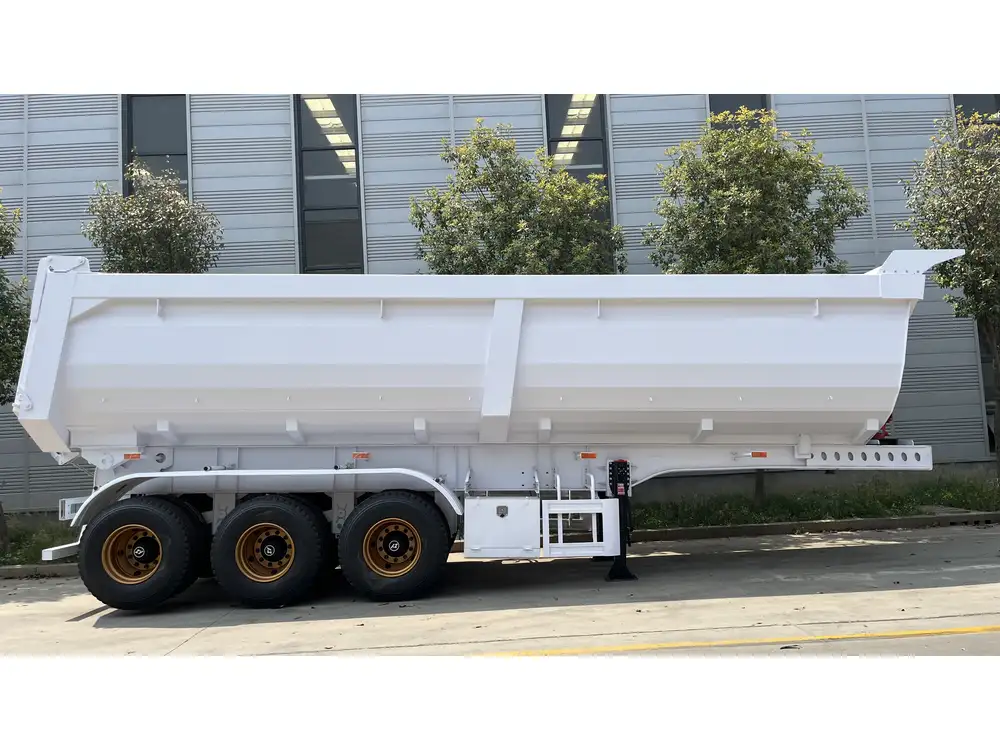
Before diving into construction, it is critical to understand what a dump trailer is and its primary functionalities. A dump trailer is a type of trailer that features a hydraulic lift mechanism, allowing it to unload its contents by tilting the trailer bed. Commonly used in construction, landscaping, and waste management, dump trailers are versatile transportation solutions for bulk materials.
Key Features of Dump Trailers
| Feature | Description |
|---|---|
| Hydraulic System | Mechanism used to raise and lower the trailer bed. |
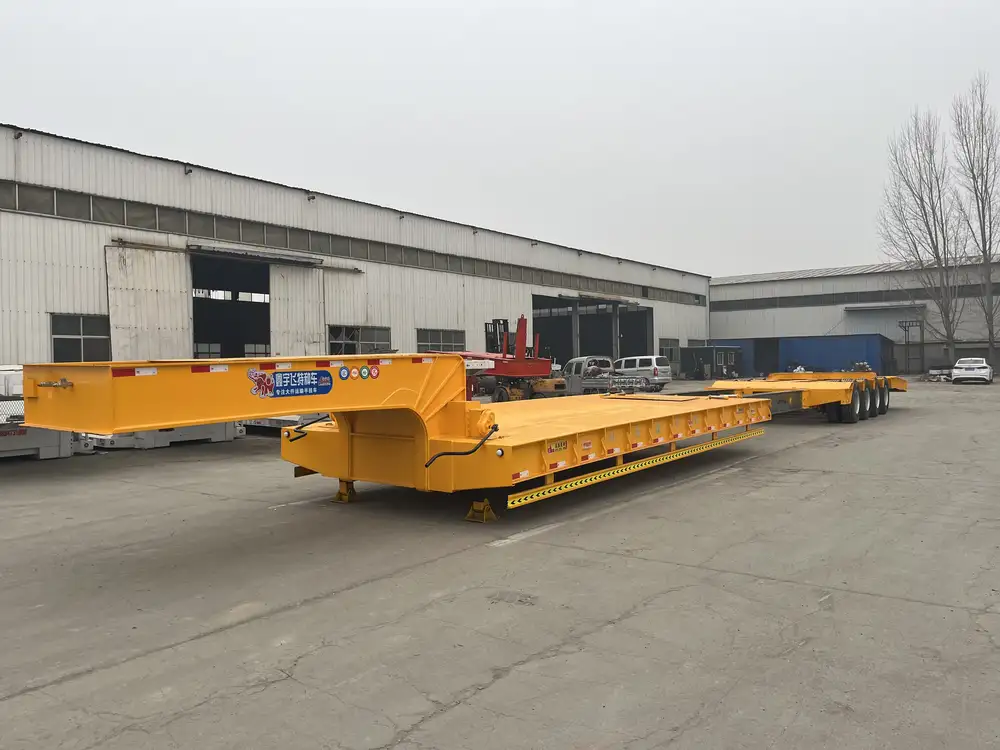
| Frame Construction | Sturdy frame made from steel or aluminum for durability. |
| Tires and Axles | Heavy-duty tires with appropriate axles to support load. |
| Safety Features | Includes brakes, lights, and safety chains for secure towing. |
Essential Materials and Tools Needed
To successfully build a dump trailer, one must assemble the necessary materials and tools. Below is a detailed list of what you’d need to start.
Materials
- Steel Tubing: For constructing the main frame.
- Hydraulic Cylinder: Essential for the lifting mechanism.
- Plywood or Steel Sheet: For the trailer bed.
- Wheels and Tires: Choose based on load capacity.
- Axles: Ensure durability and appropriate load distribution.
- Battery and Hydraulic Pump: Parts of the hydraulic system.
- Paint or Coating: For protection from rust and elements.
Tools
- Welder: For joining metal components.
- Grinder: To cut and shape materials.
- Drill: For making holes in metal and securing components.
- Wrenches and Sockets: For fastening bolts and nuts.
- Measuring Tape: To ensure accurate dimensions.
Step-by-Step Construction Process
Step 1: Design Planning
Before any cutting or welding, create a detailed plan. This blueprint should outline the dimensions of the trailer, including the height of the bed and overall length. Use software for design simulations or sketch manually, ensuring all measurements align.
Step 2: Frame Construction
Using the steel tubing:
- Cut the Tubing: According to your design specifications.
- Weld the Frame: Assemble the frame by welding joints at the corners. Use steel plates to reinforce critical stress points.
- Check for Levelness: Ensure that the frame is level and squared.

Step 3: Adding the Axles and Tires
- Mount the Axles: Secure the axle brackets to the frame before attaching the axles.
- Install Tires: Choose tires that can handle the expected load. Attach the wheels securely, checking that they spin freely.
Step 4: Constructing the Bed
- Prepare the Bed Materials: Cut plywood or steel sheets to the desired bed size.
- Attach the Bed to the Frame: Secure the bed using bolts or welding methods.
- Ensure Proper Sealing: If using wood, treat it with a protective sealant against moisture.
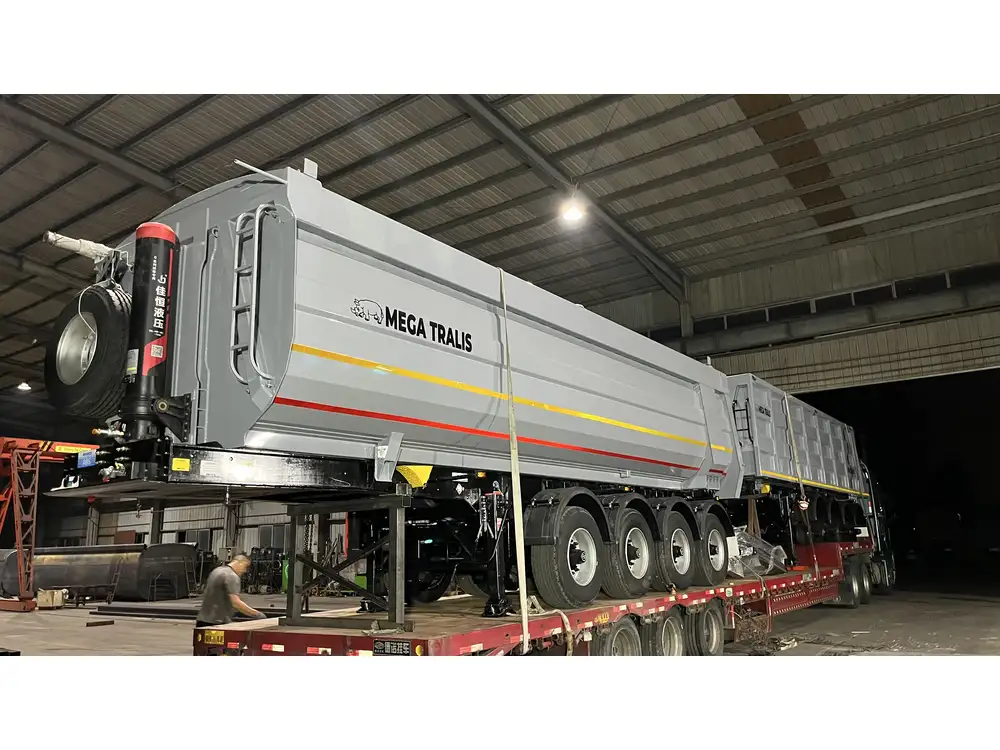
Step 5: Integrating the Hydraulic System
- Install the Hydraulic Cylinder: Position it between the frame and the trailer bed. Ensure it is aligned and secured.
- Connect the Hydraulic Pump and Battery: Follow the manufacturer’s instructions to wire the pump to the battery, ensuring proper voltage.
- Check Line Connections: Make sure all hydraulic lines are secured against leaks.
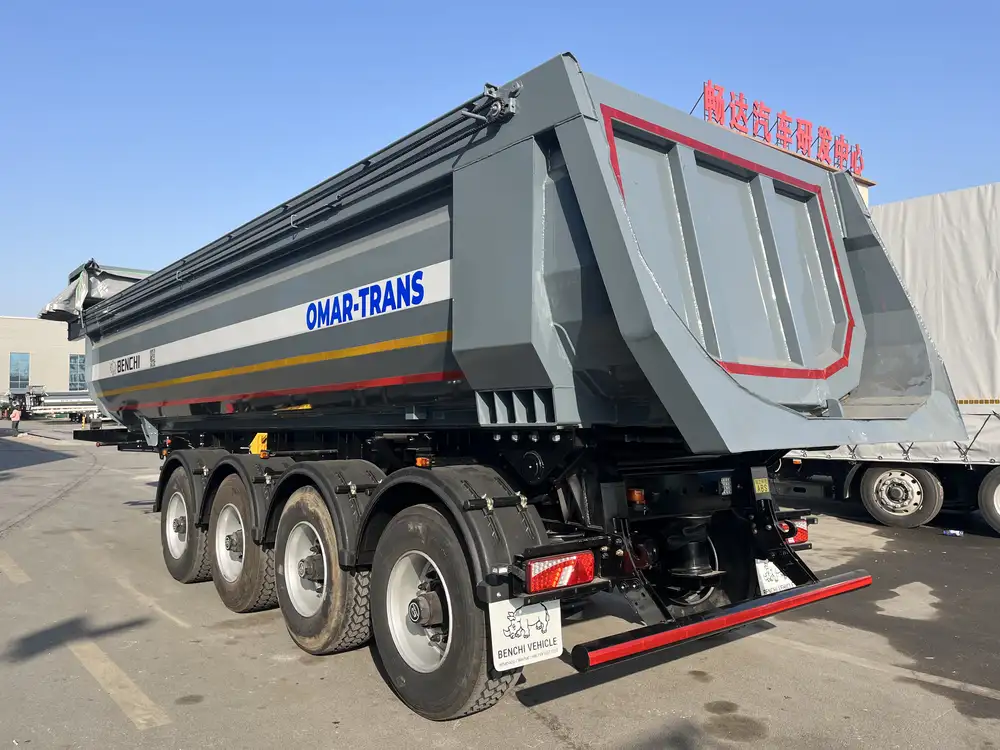
Step 6: Electrical and Safety Setup
- Install Tail Lights and Brake Lights: Follow local regulations regarding trailer lighting.
- Attach Safety Chains: Ensure they are properly secured and long enough to connect the trailer to the towing vehicle.
- Test Brakes: Confirm that braking systems function adequately when connected to a towing vehicle.
Step 7: Final Adjustments and Finishing Touches
- Paint and Corrosion Protection: Apply rust-resistant paint on the exterior and treat exposed metal areas.
- Inspect the Trailer: Perform a thorough check for any structural weaknesses or loose components.
- Test Drive: Safely tow the trailer to ensure all systems work efficiently.
Maintenance Tips for Longevity
Creating a dump trailer is just the beginning; regular maintenance ensures that it lasts. Here are key practices:

Regular Inspection
- Check for wear and tear on tires, brakes, and the hydraulic system.
- Regularly inspect weld joints for cracks.
Lubrication
- Grease moving parts, especially the hinges and hydraulic lift points, to avoid rust and ensure smooth operation.
Cleanliness
- Rinse off any debris or material leftover after use to prevent buildup that can lead to corrosion.
Seasonal Checks
- Before winter, inspect the trailer for any required repairs and secure it against harsh weather elements.
Conclusion
Building your own dump trailer can be both fulfilling and practical, whether you need it for personal use or as a part of a business venture. By understanding the essential components, meticulously planning your design, and following the detailed construction steps outlined in this guide, you can create a durable asset tailored to your needs. Additionally, maintaining your trailer through regular inspections and care will ensure it remains functional for years to come.
Remember, safety is paramount in trailer design and use. Adhere to local regulations regarding towing capacities and road safety to maximize your investment. With these tools, techniques, and tips, we hope you feel empowered to embark on your dump trailer construction journey confidently. Happy building!

