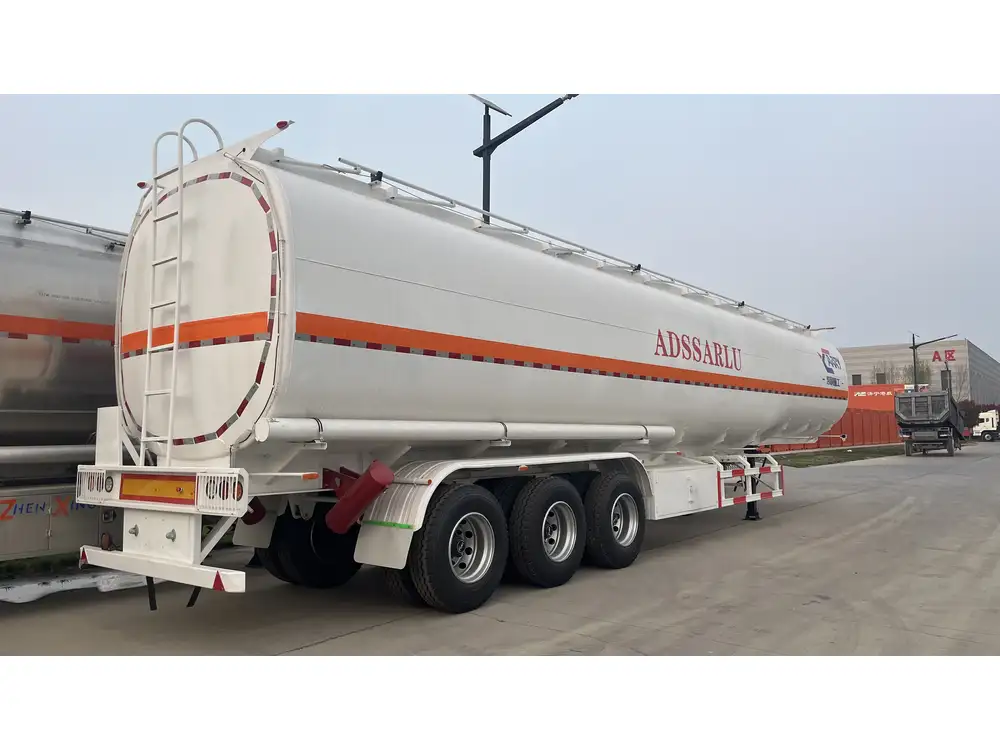
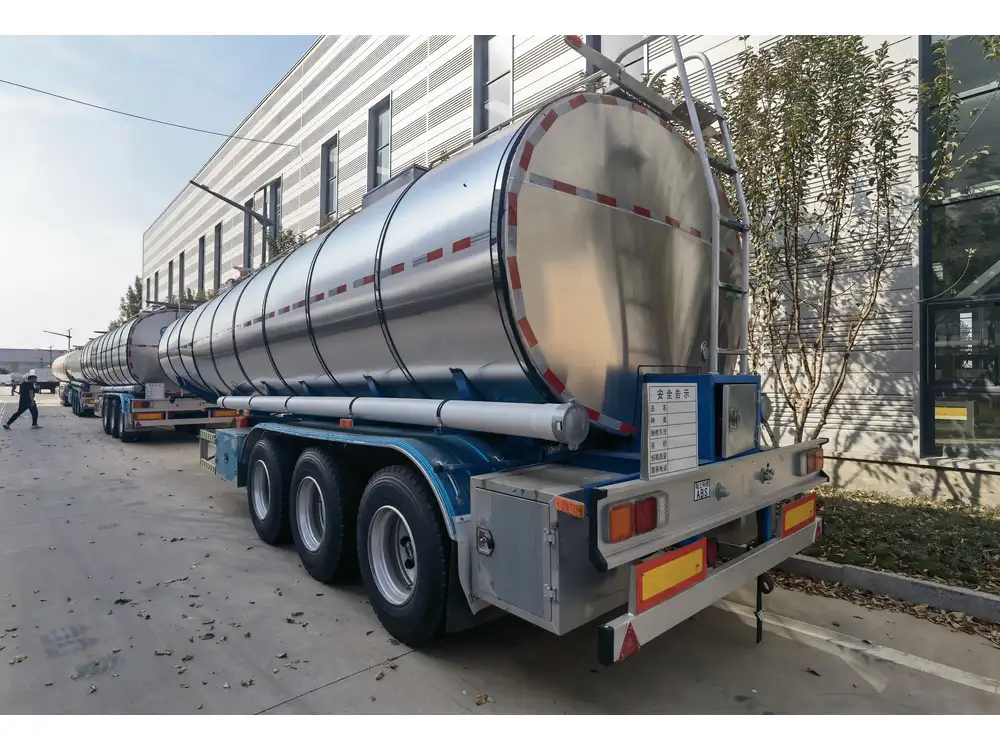
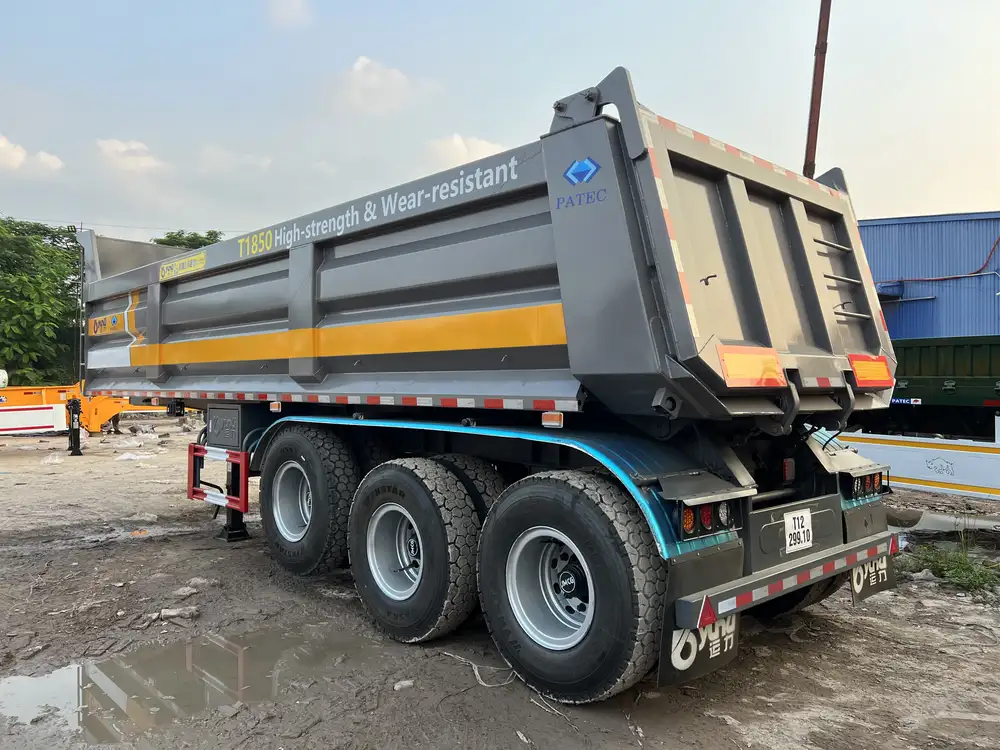
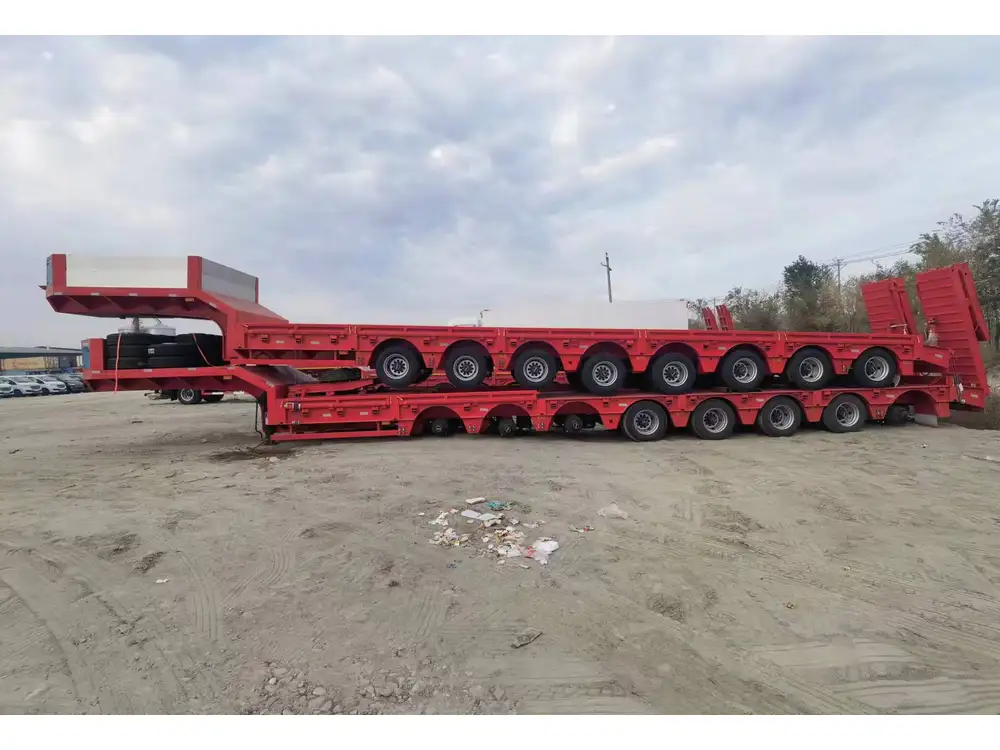
Installing brakes on a semi-trailer is not just an essential maintenance procedure; it is crucial for safety, efficiency, and compliance with transportation regulations. Whether you’re a seasoned technician or a fleet owner looking to enhance your knowledge, understanding the complexities of brake installation is vital. This guide outlines each step in meticulous detail, tackling potential difficulties and addressing common questions you might not consider but would find valuable.
Table of Contents
- Understanding Semi-Trailer Brake Components
- Tools and Equipment Required
- Safety Precautions
- Step-by-Step Brake Installation Process
- Common Issues and Troubleshooting
- Maintenance Tips to Enhance Longevity
- Conclusion
Understanding Semi-Trailer Brake Components
Before delving into the installation process, it is imperative to familiarize yourself with the key components involved in the brake system of a semi-trailer. Each element plays a vital role in ensuring the system’s overall functionality and reliability.
| Component | Description |
|---|---|
| Brake Shoes | These are critical for creating friction against the drum. |
| Brake Drums | Houses the brake shoes and provides a surface for them to operate. |
| Air Tank | Stores air pressure to engage the brakes efficiently. |
| Slack Adjusters | Automatically adjust the brake shoes’ position as they wear down. |
| Brake Chambers | Converts air pressure into mechanical force to engage the brakes. |
| Push Rods | Transfers the force from the brake chamber to the slack adjusters and brake shoes. |
Understanding these components will facilitate effective communication when troubleshooting and will ensure a smoother installation process.

Tools and Equipment Required
Before you begin the installation, ensure you have the following tools and equipment at your disposal:
Essential Tools
- Socket set (including impact sockets)
- Wrench set
- Torque wrench
- Brake spring tool
- Hammer
- Pry bars
- Chisel
Safety Equipment
- Safety goggles
- Heavy-duty gloves
- Steel-toed boots
- Reflective vests
Having the right tools not only simplifies the installation process but also enhances safety and efficiency.

Safety Precautions
Safety should always be your first priority when undertaking any mechanical task. Here are essential precautions to consider:
- Wear Protective Gear: Always wear safety goggles and gloves to protect against debris and sharp edges.
- Work on a Level Surface: Ensure that the semi-trailer is on a stable and flat surface to avoid any unintended movement.
- Properly Support the Trailer: Utilize jack stands to support the trailer’s frame before starting work underneath.
- Release Air Pressure: Disengage the air system before beginning any work to prevent accidental brake engagement.
Applying these precautions will help create a secure working environment.
Step-by-Step Brake Installation Process
Step 1: Prepare the Semi-Trailer
- Disconnect the Truck: Remove the semi-trailer from the tractor unit to provide better access.
- Inspect the System: Check for any visible damage to the brake components before installation.

Step 2: Remove Old Brake Components
- Loosen and Remove the Wheel: Use a socket to unfasten the lug nuts and carefully take off the wheel to expose the brake assembly.
- Detach the Brake Drum: Utilize a hammer to gently tap on the drum if it’s stuck. Remove the bolts securing it and slide it off.
- Remove the Old Brake Shoes: Release the retaining springs using a brake spring tool, then remove the brake shoes and other components.
Step 3: Install New Brake Shoes
- Position the New Brake Shoes: Align the new brake shoes within the drum. Ensure they sit correctly within the mounting brackets.
- Secure with Springs: Use the brake spring tool to attach the retaining springs, ensuring they are firmly in place. Pay particular attention to the configuration, as incorrect installation can cause brake failure.
- Adjust Slack Adjusters: Initially set the slack adjusters for proper distance between the shoes and drum.
Step 4: Reattach Brake Drum
- Carefully slide the brake drum back into position and secure it with the necessary bolts. Torque the bolts to the manufacturer’s specifications to ensure a tight fit.

Step 5: Test Air Chambers and Lines
- Reconnect Air Lines: Ensure connections to the brake chambers are secure.
- Check for Leaks: With the trailer connected to the air supply, check for any air leaks from the chambers or lines.
- Manually Check Operation: Push the brake pedal lightly to check for any abnormal behavior.
Step 6: Reinstall Wheel and Lower the Trailer
- Reattach the wheel and hand-tighten the lug nuts. Lower the semi-trailer, then use a torque wrench to tighten the nuts to the recommended specifications in a crisscross pattern.
Step 7: Final Check
- Ensure all tools have been removed from the job site, conduct a thorough safety and functionality check of the braking system, and complete a test drive under controlled conditions if necessary.
By following these steps diligently, you can achieve a successful brake installation on your semi-trailer.

Common Issues and Troubleshooting
Even with careful installation, issues may arise. Here are some common problems and solutions:
| Issue | Possible Causes | Solutions |
|---|---|---|
| Squeaking or Grinding Noises | Worn out components or improper installation | Check alignment, replace worn parts, lubricate |
| Brake Fade | Overheating or improper adjustment | Inspect for leaks, adjust slack adjusters |
| Uneven Wear on Brake Shoes | Misalignment or incorrect installation | Ensure correct position and secure fitting |
| Air Leaks | Worn seals or damaged air lines | Inspect and replace faulty components |
Identifying and addressing these issues promptly ensures operational safety and reduces further complications down the line.
Maintenance Tips to Enhance Longevity
To ensure the longevity of your brake system, adhere to the following maintenance tips:
- Regular Inspections: Conduct inspections every few months to identify early signs of wear or malfunction.
- Proper Adjustment: Regularly check and adjust slack adjusters to maintain effective braking pressure.
- Brake Fluid Checks: Monitor the condition and level of the brake fluid to ensure optimal performance.
- Replace Worn Components: Do not delay the replacement of worn-out parts to prevent further damage to the system.
By committing to a proactive maintenance strategy, you can avoid costly repairs and ensure the reliability of your operation.
Conclusion
Installing brakes on a semi-trailer may seem daunting but can be accomplished efficiently with the correct knowledge, tools, and careful execution. By understanding the intricate components involved, preparing adequately, and adhering to the outlined steps, you can ensure each installation meets the necessary standards for safety and performance.
Remember, proper installation not only enhances safety but also boosts the overall longevity and reliability of your semi-trailer. Should you encounter any issues or have further questions, consulting with a professional or referring to manufacturer guidelines can provide additional clarity. Stay proactive with maintenance, and your brakes will serve you well on the road.


