Introduction
Installing a winch on a gooseneck flatbed trailer can significantly enhance your hauling capabilities. A well-placed winch aids in loading vehicles, machinery, or heavy equipment, making your trailer an indispensable asset for any transport operation. In this guide, we delve into the meticulous process of winch installation, tackling each step with precision. By the end, you will have a clear roadmap to expertly install a winch on your gooseneck flatbed trailer, ensuring safety and optimal functionality.
Understanding the Importance of Winches on Gooseneck Trailers
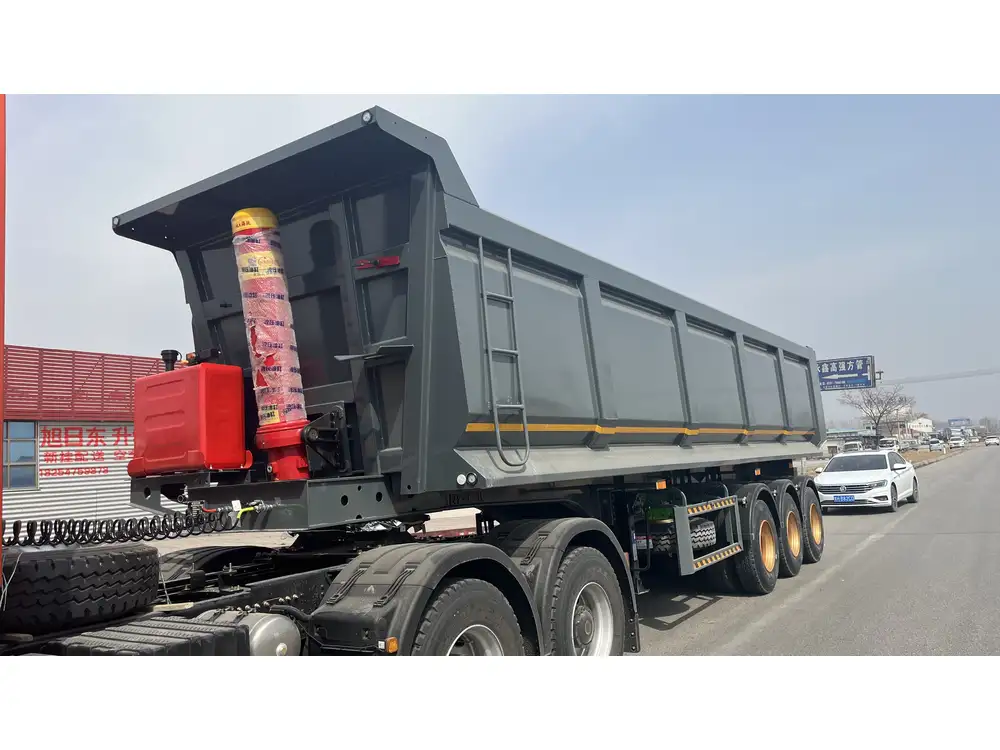
Benefits of Having a Winch
Enhanced Loading Efficiency
Using a winch allows for a smoother loading process, reducing the manual effort required to load heavy items onto the trailer.Increased Safety
Winches minimize the risks associated with manually straining to load items, as they can handle substantial weights with ease. Proper installation reduces the likelihood of accidents.Versatile Applications
Whether you’re transporting vehicles, construction materials, or agricultural equipment, a winch can adapt to various loads.
Types of Winches
Electric Winches: Ideal for frequent use and heavy loads; powered by a vehicle’s battery or a separate power source.
Hydraulic Winches: Best for heavy-duty applications, requiring hydraulic power, often preferred in commercial settings.
Manual Winches: Cost-effective for lighter loads, allowing for manual operation and portability.
Step-by-Step Guide to Installing a Winch on a Gooseneck Flatbed Trailer

Preparing for Installation
Before starting the installation process, ensure you have the following tools and materials ready:
Tools Needed:
- Socket set
- Wrenches
- Drill and drill bits
- Safety goggles and gloves
- Measuring tape
Materials Required:
- Winch (suitable capacity)
- Mounting plate (specific to your trailer and winch)
- Winch fairlead
- Bolts and nuts (grade 8 recommended)
- Electrical wiring (if using an electric winch)
- Circuit breaker (for electric winches)
- Remote control (if applicable)
Step 1: Selecting the Right Location for the Winch
Assessing the Trailer Configuration
Identify Load Distribution Points:
Choose a location that provides a balanced weight distribution across the trailer, preventing sway and enhancing stability.Avoid Obstructions:
Ensure the chosen mounting area is free from existing components, such as tie-down hooks or trailer lights, which may hinder functionality or accessibility.Consider Accessibility:
The winch should be easily accessible for operation and maintenance. This consideration is paramount for safety during loading and unloading.
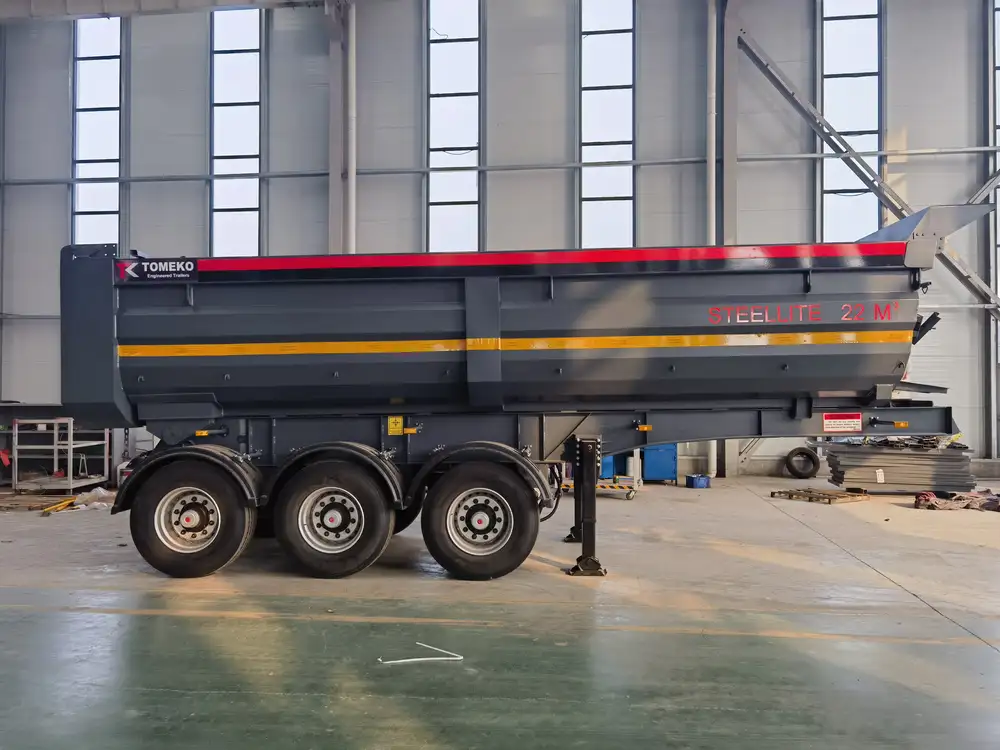
Recommended Mounting Locations
| Location | Pros | Cons |
|---|---|---|
| Front Center | Ideal for balanced weight; easy access | May require structural reinforcement |
| Rear Center | Effective for pulling from a distance | Reduced visibility while loading |
| Off to Side | Reduces distraction during loading | Requires careful planning for cable routing |
Step 2: Preparing the Mounting Surface
Cleaning the Area
- Remove any dirt, debris, or rust from the selected area to ensure a clean contact surface, promoting optimal strength and longevity of the installation.

Reinforcing the Mounting Surface
- Depending on your trailer’s construction, it may be necessary to reinforce the area where you will mount the winch. Use a mounting plate compatible with your trailer and winch specifications, ensuring it distributes the stress evenly.
Step 3: Mounting the Winch
Positioning the Winch
Align the Winch with the Mounting Plate:
Use the mounting holes as a reference. Align the winch, ensuring it is centered.Mark and Drill Holes:
With the winch positioned, mark the drilling points on the trailer. Remove the winch and drill holes into the mounting surface according to the marked points.
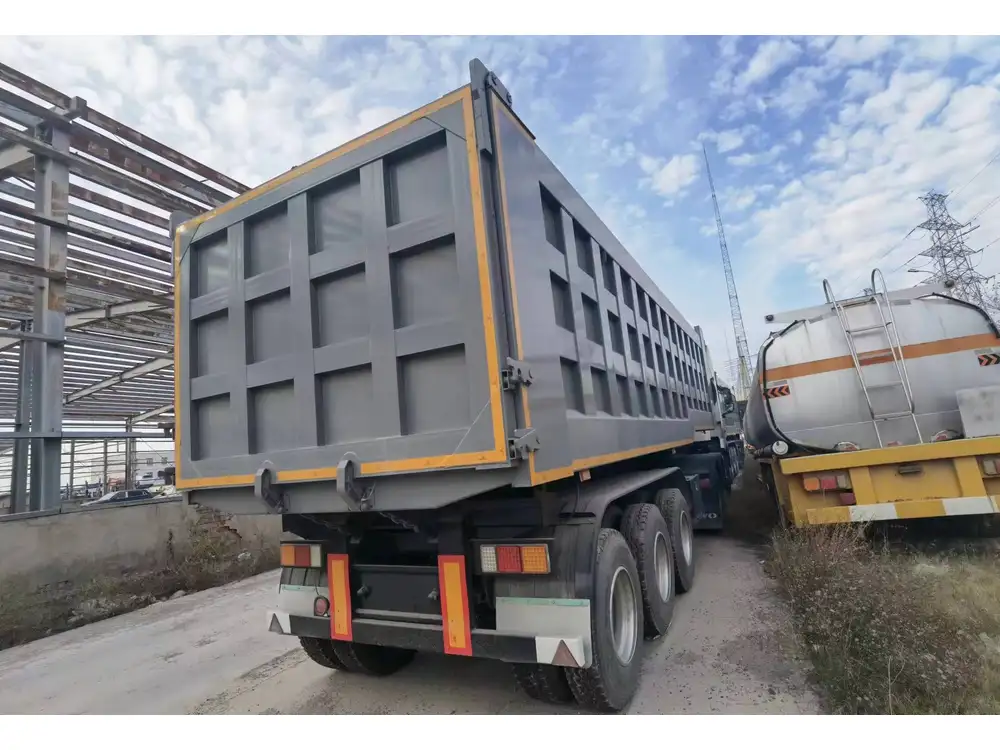
Installing the Winch
Bolt the Winch to the Plate:
Using the wrench and bolts provided, securely fasten the winch to the mounting plate.Attach the Mounting Plate to the Trailer:
Position the mounting plate on the trailer, aligning it with the pre-drilled holes. Use bolts and nuts to fix the plate securely. Utilize a torque wrench to ensure all bolts are tightened to the manufacturer’s specifications.
Step 4: Installing the Winch Fairlead
Fairlead Types and Their Importance
Roller Fairlead: Best for large cables; helps manage wear and tear while guiding the cable.
Hawse Fairlead: Suitable for synthetic ropes, providing a sleeker appearance.

Installation Process
Select the Appropriate Fairlead:
Choose based on the type of winch cable you will be using.Positioning the Fairlead:
Mount the fairlead at the front of the winch following the manufacturer’s guidelines.Secure the Fairlead:
Bolt the fairlead to the designated location on the trailer. Ensure it aligns with the winch for optimal functioning of the cable.
Step 5: Wiring the Winch (Electric Models)
Understanding Electrical Requirements
- Ensure you have the proper wiring gauge for your winch’s power needs. The length of wiring runs should also factor into your gauge selection to minimize voltage drop.

Wiring Steps
Disconnect Battery:
Always disconnect the battery before handling electrical components.Run Wires from the Winch to the Battery:
Route the power leads from the winch to the vehicle’s battery. Make sure to choose a route that avoids sharp edges and potential heat sources.Install Circuit Breaker:
Position a circuit breaker close to the battery connection. This adds a layer of safety by preventing electrical overload.Connect the Wires:
Connect the winch wiring to the battery, ensuring correct polarity (usually red for positive and black for negative).Check Connections:
Once all wiring is connected, double-check for any loose or exposed wires.
Step 6: Testing the Winch
Safety First
- Before testing the winch under load, conduct a safety inspection. Ensure that all components are secure, including the winch itself and the fairlead.
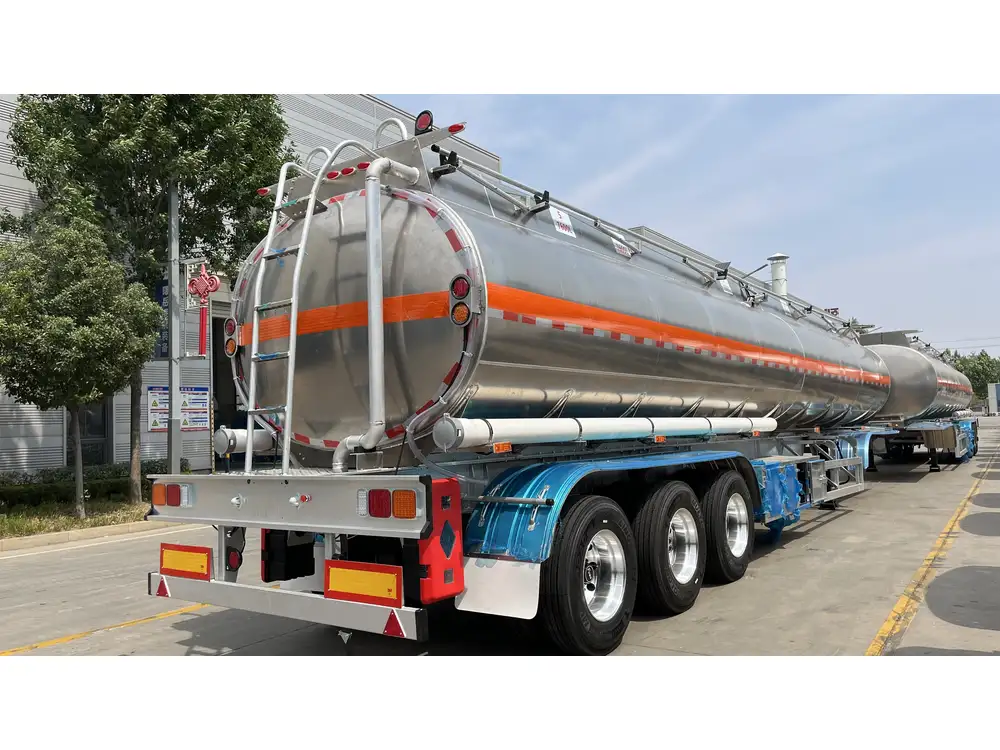
Conducting a Function Test
Reconnect the Battery:
Power the winch by reconnecting the battery.Run Winch Unloaded:
Operate the winch with no load. Check for smooth operation, listen for unusual noises, and observe that the cable spools correctly.Test with a Load:
Gradually increase the load to assess the winch’s capacity, monitoring its response during operation.
Step 7: Routine Maintenance
Periodic Checks
Inspect Wiring and Connections:
Regularly check for wear or corrosion on electrical components.Lubricate Components:
Keep moving parts well-lubricated, as per manufacturer instructions, to minimize friction and prolong life.Assess Cable Condition:
Inspect the winch cable or rope for fraying or damage, replacing as necessary to ensure safety.
Cleaning the Winch
- Routinely remove dirt and debris from the winch, which can cause wear over time. A simple solution of soap and water can be effective without damaging components.
Conclusion
Installing a winch on a gooseneck flatbed trailer involves thoughtful preparation, meticulous execution, and routine maintenance. By following this comprehensive guide, you ensure not just the functional capability of your trailer but also enhance safety during transportation tasks. A well-installed winch improves operational efficiency, making your gooseneck flatbed trailer a powerful tool. Embrace the process, ensure precision, and keep safety at the forefront. Happy hauling!


