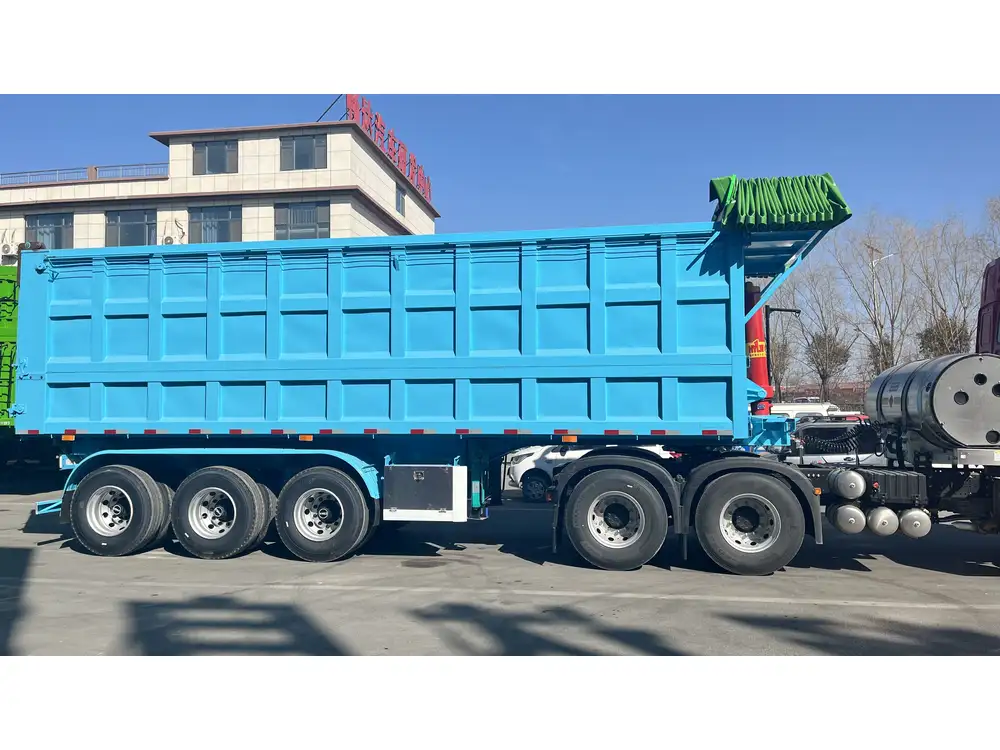
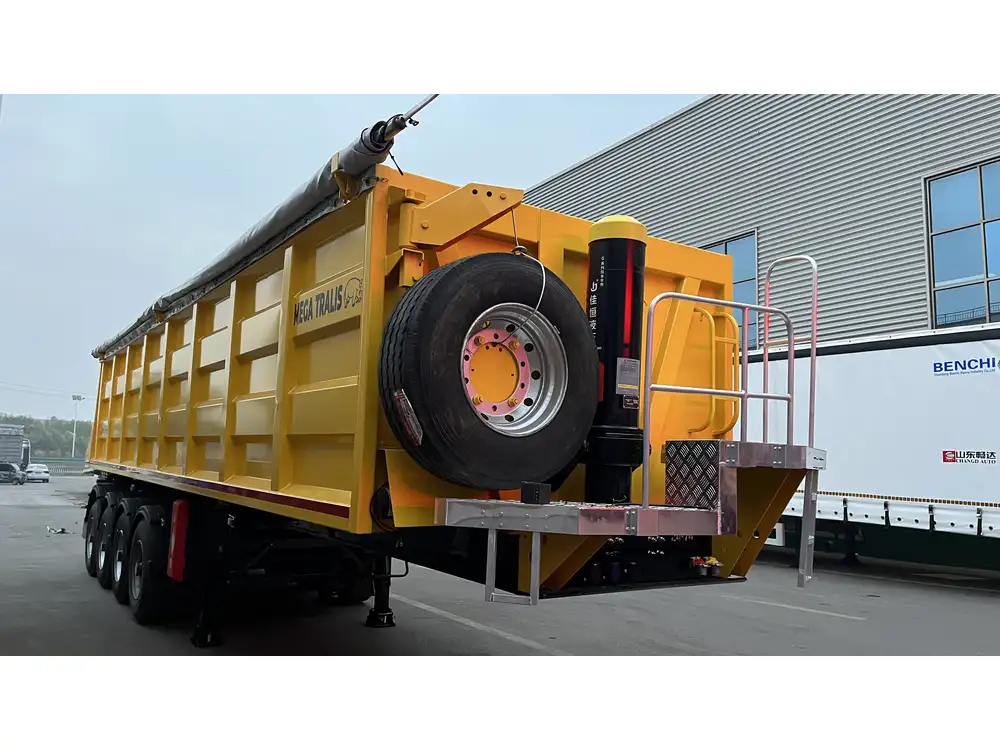
Installing a dump valve on a trailer is a crucial process that not only enhances efficiency but also improves safety during hauling operations. Dump valves play a vital role in managing air suspension systems, allowing for optimal control of trailer ride heights and load distribution. In this guide, we will explore the step-by-step process of installing a dump valve on a semi-trailer, discuss the components involved, and address common issues along with their solutions.
Understanding the Dump Valve and Its Functionality
A dump valve, also known as an air dump valve, is an essential component of the air suspension system. It regulates the air pressure in the suspension bags, enabling them to deflate to a minimum height quickly. This functionality is particularly advantageous for:
- Loading and Unloading: Reducing the trailer height facilitates easier loading and unloading of cargo.
- Departing from Tight Locations: Lowering the trailer can help in navigating low overheads or tight spaces.
- Improving Stability: A low position can enhance the stability of the trailer when parked.
Components of a Dump Valve System
Before diving into the installation process, it is vital to understand the components that make up a dump valve system:
| Component | Description |
|---|---|
| Dump Valve | The primary device that regulates air pressure. |
| Air Lines | Tubing that carries air to and from the suspension. |
| Fittings | Connectors that secure the air lines. |
| Control Switch | An electrical switch used to signal the dump valve. |
| Power Source | Battery or vehicle power supply for the control switch. |

Tools Required for Installation
Having the right tools at your disposal will make the installation process more efficient and straightforward. Prepare the following tools:
- Wrenches: For securing fittings and connections.
- Air Pressure Gauge: To measure the air pressure in the suspension system.
- Drill with Bits: For creating mounting holes if necessary.
- Teflon Tape: For sealing threads on fittings to prevent leaks.
- Wire Strippers and Connectors: For electrical connections.
- Safety Gloves and Goggles: For personal protection during the installation.
Step-by-Step Installation Guide
Follow these precise steps to install your dump valve effectively. Pay close attention to details to ensure a successful setup.
Step 1: Safety First
Before beginning the installation, ensure that the trailer is parked on a level surface and that the air suspension system is depressurized. This step is crucial to avoid any unexpected releases of air.

Step 2: Select the Appropriate Location for the Dump Valve
Choose a location that allows easy access for operation and maintenance. The valve should be placed away from moving parts but close enough to the air suspension system for efficient connectivity. Common mounting locations include:
- Near the air suspension bag.
- On the trailer frame.
- Under the trailer’s belly for protection against environmental elements.
Step 3: Prepare the Mounting Area
If the installation area needs drilling, use a drill to create holes for the mounting bracket of the dump valve. Ensure that the holes are appropriately sized and located to accommodate the valve and prevent interference with other components.
Step 4: Mount the Dump Valve
Using screws or bolts, secure the dump valve in place. Ensure that it is firmly attached and that there is no excessive movement.

Step 5: Connect the Air Lines
Connect the air lines to the dump valve. Properly route the lines to prevent obstruction or wear against other components. The connection points should be thoroughly cleaned, and Teflon tape should be applied to the threads of the fittings before screwing them in to ensure an airtight seal.
Identify the Inlet and Outlet Ports:
- The inlet port connects to the air supply.
- The outlet port connects to the air suspension bags.
Secure the Connections:
- Tighten the fittings using the appropriate wrenches but do not overtighten to avoid damaging the components.
Step 6: Electrical Connections
The control switch must be wired to the dump valve for operation. Follow these instructions:
Locate the Power Source: This could be the trailer’s main battery or a dedicated power line.
Connect the Wiring:
- Use wire strippers to expose the ends of the wires.
- Connect the outgoing wire from the dump valve to the switch.
- Connect the control switch to the power source, ensuring all connections are secure.
- Use electrical connectors to avoid loose wires.
Test the Electrical Connection: Make sure the switch operates correctly by briefly activating the dump valve to ensure it opens and closes without issues.
Step 7: Testing the System
After completing all connections, it is essential to test the system:
Re-pressurize the Air Suspension: Use an air compressor to replenish the air.
Operate the Dump Valve: Activate the control switch to ensure the valve functions appropriately. It should allow air to escape from the suspension bags quickly and return to its original position when the switch is turned off.
Check for Leaks: Inspect all connections for signs of air leaks. If any are found, re-tighten the fittings or replace faulty components as necessary.

Step 8: Final Adjustments
After successful testing, make any necessary adjustments, such as:
- Height Calibration: Ensure that the trailer is at the desired height during normal operation.
- Fine-tune the Switch: Modify the switch location for ease of access during usage.
Common Issues and Troubleshooting Tips
Even experienced mechanics can face challenges when installing a dump valve. Below are common issues along with their solutions:
1. Valve Not Opening or Closing
- Possible Cause: Poor electrical connection or faulty switch.
- Solution: Check the wiring for loose connections and inspect the switch for functionality.

2. Air Leaks
- Possible Cause: Loose fittings or damaged air lines.
- Solution: Tighten all connections and replace any damaged air lines or fittings.
3. Inconsistent Suspension Height
- Possible Cause: Faulty dump valve or incorrect installation.
- Solution: Ensure that the dump valve is properly installed and test to confirm it’s operational. Replace if necessary.
Maintenance Tips for Your Dump Valve
To ensure the longevity and efficiency of your dump valve system, adhere to these maintenance tips:
- Regular Inspection: Check for wear and damage at least once a month.
- Ensure Cleanliness: Keep the valve and air lines clean from dirt or debris.
- Monitor Air Pressure: Regularly check the air pressure in the suspension bags and ensure it’s within operational standards.
- Lubricate Connections: Apply appropriate lubricant to moving parts to prevent wear over time.

Conclusion
Installing a dump valve on a trailer is a straightforward process that brings numerous benefits, including improved loading efficiency and enhanced safety. By following this comprehensive guide, you can ensure a successful installation that meets your operational needs. The ability to effectively manage trailer height and air pressure not only helps in daily operations but also contributes to the overall longevity of your semi-trailer.
Further Reading and Resources
For those wishing to learn more about air suspension systems, trailer maintenance, or advanced upgrades, here are some additional resources:
- Manufacturer Manuals: Refer to the manufacturer’s manual for specifics on your trailer model.
- Online Forums: Engage with online communities for shared experiences and troubleshooting advice.
- Professional Training Courses: Consider enrolling in workshops related to trailer maintenance and safety.
By equipping yourself with the right knowledge and tools, you can maximize the utility and performance of your trailer, ensuring successful and safe hauling for years to come.


