
Dump trailers are invaluable assets for contractors, landscapers, and heavy equipment operators, providing an efficient means of transporting materials—including heavy, wet dirt. However, removing damp dirt from a dump trailer can pose significant challenges. In this comprehensive guide, we will delve into practical strategies, tools, and methods for effectively clearing damp dirt from your dump trailer.
Understanding the Challenges of Removing Damp Dirt
The Nature of Damp Dirt
Damp dirt often becomes clumpy and caked onto the trailer’s surface, complicating removal. Factors such as the moisture content and type of soil can impact how difficult it is to unload:
| Factor | Description |
|---|---|
| Moisture Content | The higher the moisture, the stickier and denser the dirt. |
| Soil Type | Clay soils tend to hold moisture, while sandy soils release easier. |
| Temperature | Cold temperatures can freeze damp dirt, making it more challenging to remove. |

Tools You May Need
To streamline the cleanup process, it’s essential to have the right tools and materials at your disposal. Below are vital items for tackling damp dirt in a dump trailer:
| Tool | Purpose |
|---|---|
| Shovel | For manual digging and dislodging dirt. |
| Rake | To break apart clods of dirt and level the surface. |
| Pressure Washer | For washing down the trailer bed and removing stubborn dirt. |
| Water Hose | To add moisture for easier removal or rinse off dirt clumps. |
| Wheelbarrow | For transporting dirt away once it’s loosened. |
| Pry Bar / Scraper | To assist in loosening hard-packed dirt. |
Steps to Effectively Remove Damp Dirt
Step 1: Assess the Situation
Before proceeding, evaluate the amount and condition of the damp dirt. It’s crucial to understand whether it’s merely moist or has become mud-like and compacted. Knowing this will inform your approach.

Step 2: Use Water Strategically
Applying Additional Water: In cases where dirt is extremely caked, adding a little more water can help. While it seems counterintuitive, this can alter the soil’s consistency, making it easier to remove. Use a garden hose to lightly saturate the dirt.
Step 3: Allow Time for Soaking
After applying water, give the dirt some time to soak. This will aid in breaking down clumps and loosening packed soil. Typically, 10-15 minutes is ample.
Tip: If you are dealing with larger volumes of moist soil, consider using a spray nozzle that provides a more even distribution.
Step 4: Manual Removal
Shovel Action: Once the dirt has had time to saturate, use your shovel to begin scooping the loosened soil into your wheelbarrow.
Raking Techniques:
Utilize the rake to break apart larger chunks of dirt that remain in place. This tool is particularly useful for achieving a smooth surface in the trailer bed.
Step 5: Use Mechanical Assistance When Necessary
If the damp dirt has become particularly difficult to manage, consider employing mechanical assistance.
Options for Mechanical Assistance:
| Equipment | Description |
|---|---|
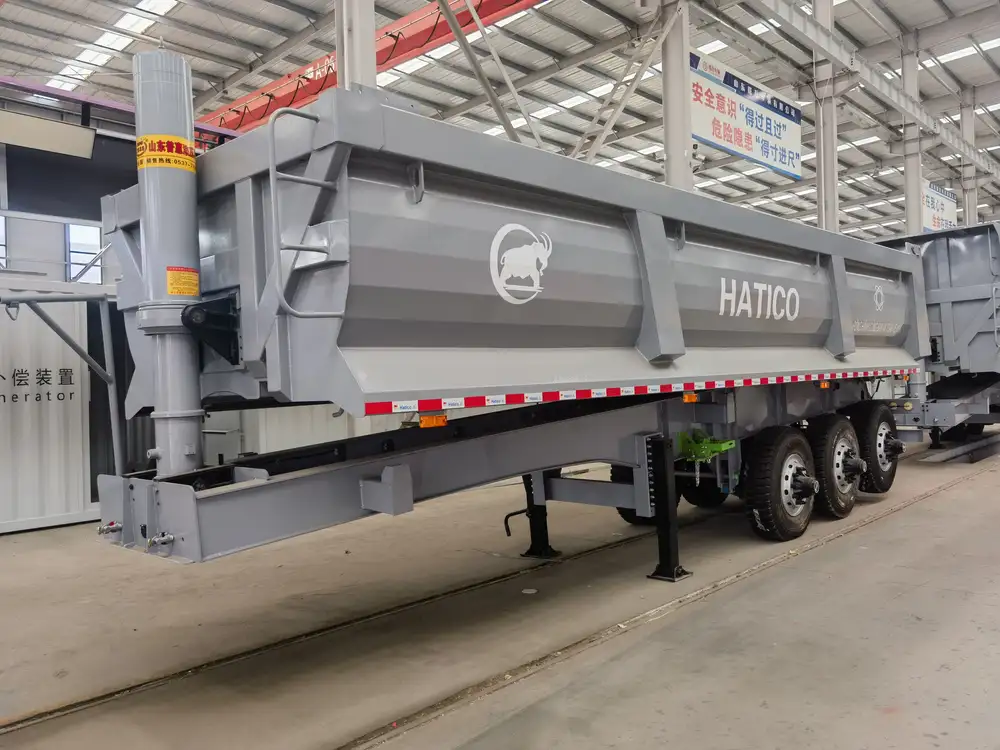
| Dump Trailer Tilt | Many dump trailers can be tilted to help dislodge stuck dirt. |
| Excavator or Mini Loader | For larger amounts of dirt, renting equipment can expedite the process. |
| Jackhammer | In extreme circumstances, a jackhammer can help break up stubborn clumps. |
Step 6: Clean the Trailer Thoroughly
Once the bulk of the dirt has been removed, clean the trailer bed to prevent mud and residue build-up.
Using a Pressure Washer:
- Angle the nozzles: Direct the pressure washer in an angle to dislodge remaining dirt.
- Focus on corners: Pay special attention to the trailer’s corners where dirt accumulates.
Water and Soap Mixture:
- Apply a cleaning solution if residual dirt persists after washing.
- Scrub with a stiff-bristled brush to eliminate stubborn residues.

Step 7: Dry and Inspect the Trailer
After cleaning, allow the trailer to dry completely. Once dry, inspect for any remaining dirt or signs of damage that the damp conditions may have caused.
Preventive Measures for Future Use
To mitigate the challenges faced when removing damp dirt from a dump trailer, consider these proactive strategies:
1. Trailer Maintenance
Prepare your dump trailer for the hauling season by:
- Regular washing to prevent the accumulation of earth and grime.
- Checking for wear and tear, especially the hydraulic system, to ensure smooth operations.
2. Choose the Right Timing
Whenever feasible, plan your loadings based on weather conditions. Removing dirt soon after hauling can prevent it from becoming compacted when settling occurs.
3. Modify Load Volume
Be mindful of load volume and wet conditions; offloading too-large amounts of damp dirt can complicate removal.
Success Stories: Real-World Tips from Professionals
Contractor’s Edge: “I always keep a water source close when working with damp soil; sometimes a little extra moisture is invaluable!” — Laura K., Landscape Contractor.
Efficiency Expert: “A well-timed tilt of the trailer can make all the difference in getting stubborn dirt out. Always utilize those hydraulic features!” — Sam P., Construction Manager.
Conclusion
The task of removing damp dirt from a dump trailer can appear daunting. However, by arming yourself with the right tools, techniques, and preventive strategies, you can streamline the process. Always remember the importance of assessing your situation and using both manual and mechanical assistance wisely. With a proactive approach, you can ensure that your dump trailer remains in optimal condition and ready for your next project. Embrace these insights and transform your cleanup routine for a more efficient hauling experience.

