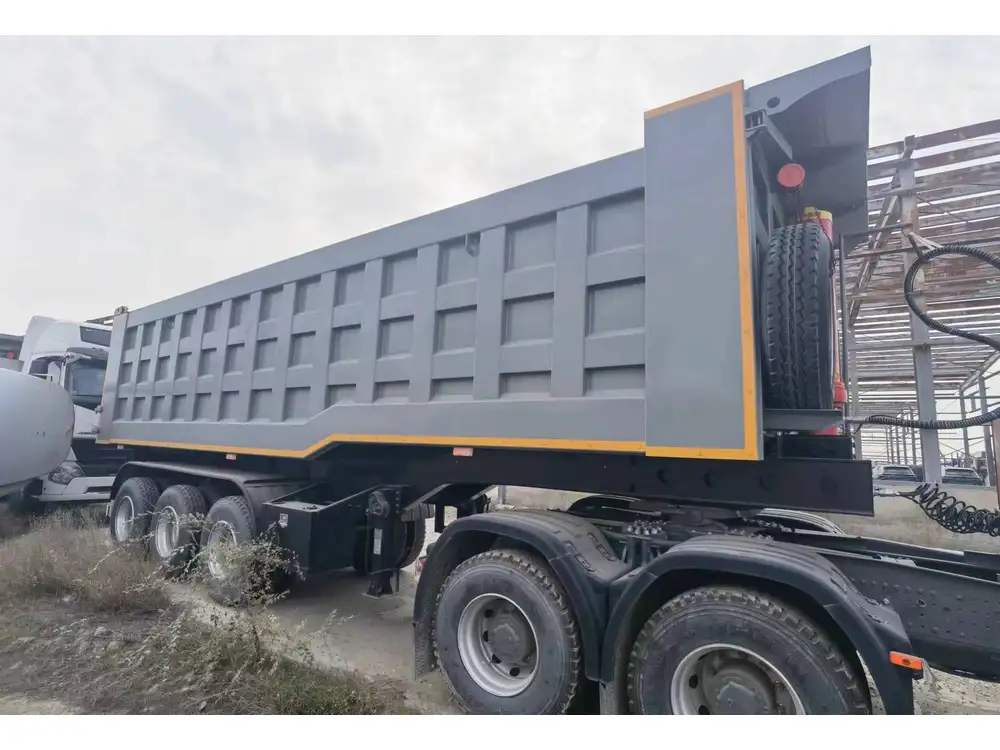
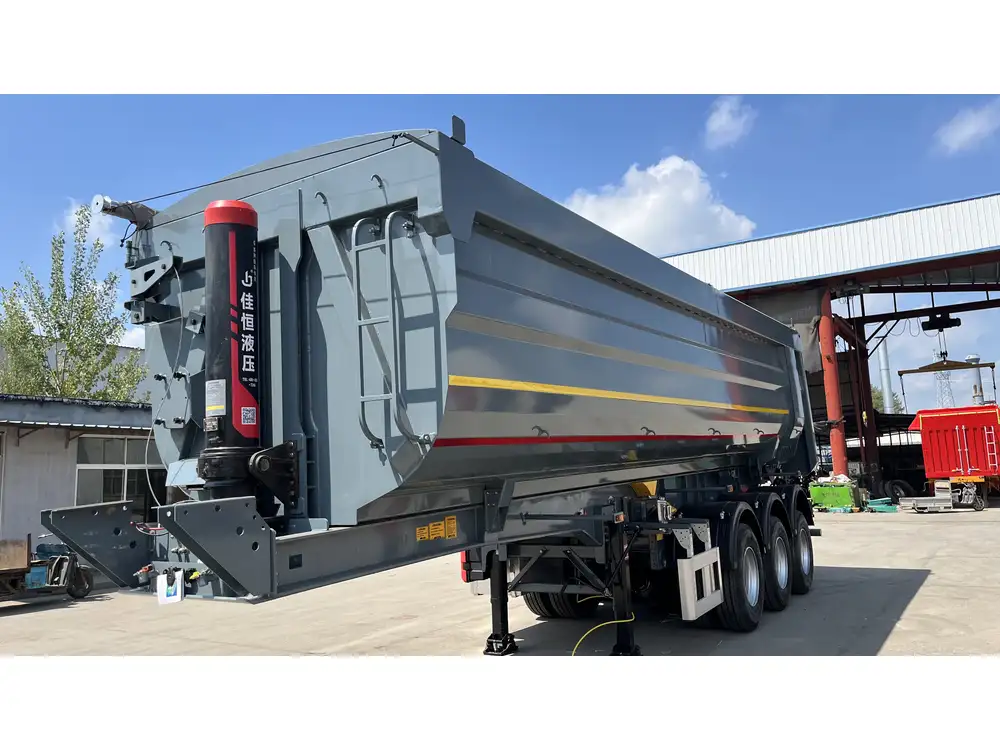
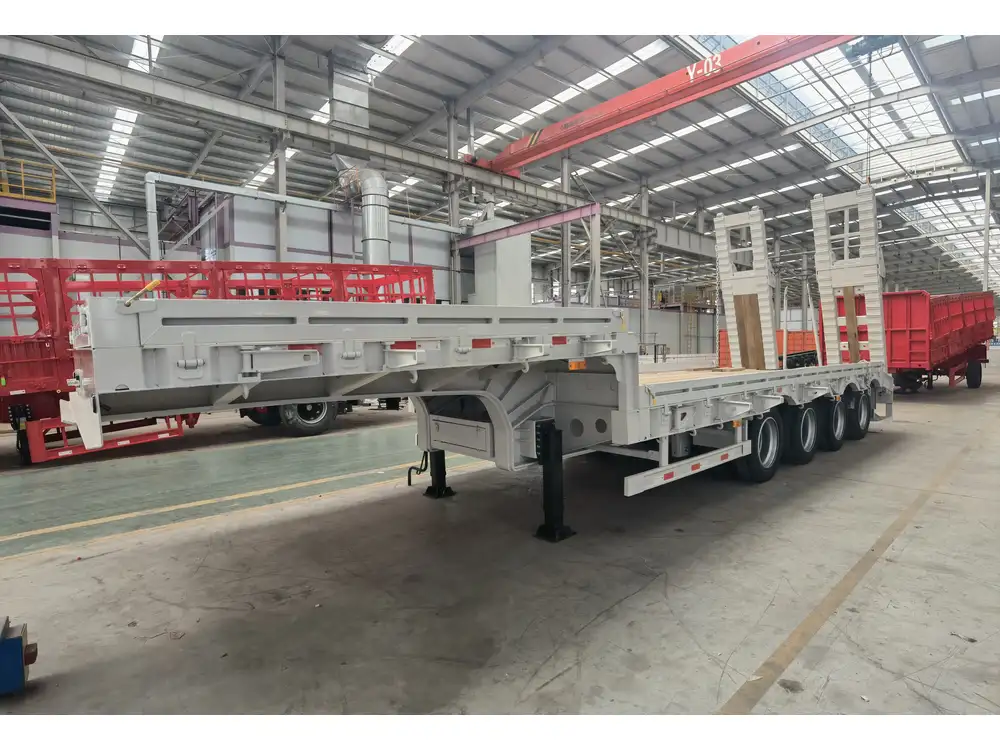
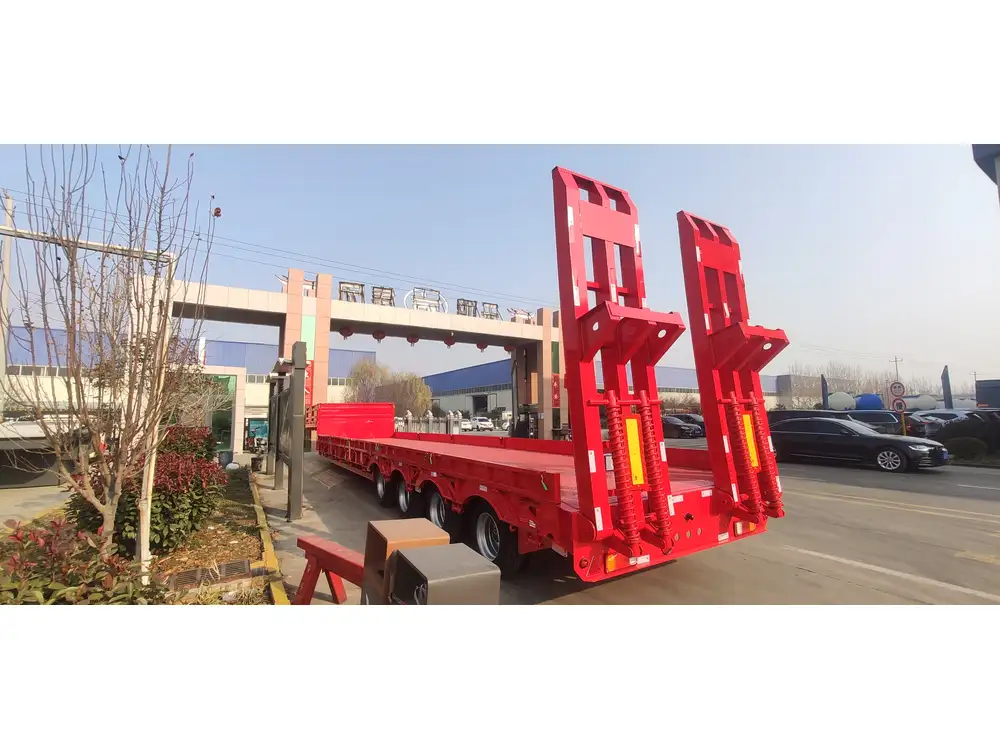
Ensuring the proper functioning of your semi-trailer running lights is crucial. Not only do they enhance safety on the road, but they are also a legal requirement when transporting goods. Identifying and addressing electrical shorts can be a daunting task, but with a systematic approach, it becomes manageable. This guide will walk you through the necessary steps to diagnose electrical issues in your semi-trailer running lights effectively.
Understanding the Basics of Trailer Light Systems
Key Components of Semi-Trailer Running Lights
- Wiring Harness: The network of wires connecting the light fixtures to the tractor’s electrical system.
- Light Fixtures: Incandescent bulbs or LED lights designed for high visibility.
- Connectors and Plugs: Interface points that translate power from the tractor to the trailer.
- Ground Connections: Electrical returns ensuring that the current flows properly.
- Fuses and Relays: Safety devices that protect the circuit from overloads.

Common Problems with Semi-Trailer Running Lights
- Burnt Out Bulbs: Frequent malfunction due to wear.
- Corroded Connectors: Deterioration over time, leading to poor connections.
- Broken Wires: Physical damage resulting from wear and tear or environmental exposure.
- Faulty Grounding: Poorly established ground connections causing flickering or dimming lights.
Step-by-Step Guide to Finding a Short in Semi-Trailer Running Lights
Step 1: Prepare Your Tools
Before diving into diagnostics, gather the necessary tools:
- Multimeter: For measuring voltage and continuity.
- Voltage Tester: To check for live circuits.
- Basic Hand Tools: Including wire strippers, crimpers, and screwdrivers.
- Wire Es: To facilitate the isolation of wires and testing.

Step 2: Initial Inspection
- Visual Examination: Conduct a comprehensive visual inspection of the light fixtures, wiring, and connectors. Look for any signs of damage, corrosion, or wear.
- Check the Bulbs: Ensure that the bulbs are not burnt out. Replace any faulty bulbs to eliminate them as a variable.
Step 3: Verify Ground Connections
Ground issues commonly lead to electrical shorts. Follow these steps:
- Locate the Ground Points: Typically found near the light fixtures and at the trailer’s frame.
- Check for Corrosion: Inspect the ground points for any rust or corrosion that may hinder a solid electrical connection.
- Test Grounding: Using a multimeter, check continuity between the ground terminal of the light fixture and a clean metal part of the trailer frame. A reading of zero ohms indicates a good connection.
Step 4: Testing the Wiring Harness

A. Continuity Test
- Disconnect the Harness: Isolate the wiring harness from both the trailer and the tractor.
- Use a Multimeter: Set it to continuity mode, then touch the leads to each end of the harness wire.
- Check for Breaks: A consistent beep or reading indicates a healthy wire. Inconsistencies point towards breaks needing repair.
B. Voltage Test
- Reconnect the Harness: Ensure all connections are secure.
- Activate Running Lights: Turn on the vehicle and the trailer’s running lights.
- Measure Voltage: Use the multimeter to check for voltage at the light fixture terminals. You should receive a reading close to the battery voltage. If not, trace back towards the power source.
Step 5: Inspect the Connectors
- Look for Damage: Examine all connectors for signs of wear, corrosion, or damage.
- Clean the Contacts: Use electrical contact cleaner to remove any dirt and corrosion.
- Replace if Necessary: If they appear damaged, replace the connectors to ensure a secure fit.

Step 6: Identify Shorts
A. Isolating the Wires
- Single Out Wires: Begin disconnecting wires from the harness one at a time.
- Test Each Segment: Perform continuity and voltage tests on individual wires.
- Observe Changes: If you find a wire that, when disconnected, eliminates the short, you have located the source.
B. Using a Circuit Breaker/Fuse Test
- Install a Circuit Breaker: Replace fuses with circuit breakers during testing to allow for repeated attempts without blowing fuses.
- Observe Breaker Tripping: If the breaker trips with a specific wire/component disconnected, that wire or component is likely the source of the short.

Step 7: Electrical Diagrams
Having access to an electrical diagram specific to your semi-trailer can significantly aid in troubleshooting. It will help visualize the wiring layout, component location, and termination points, making it easier to trace faults systematically.
Step 8: Repairing and Replacing Faulty Parts
- Choosing the Right Components: Ensure any replacement parts meet OEM specifications for compatibility.
- Soldering Connections: For bolt-on connectors, consider soldering for a more resilient connection.
- Shrink Tubing: Use heat-shrink tubing to insulate new connections and protect against environmental factors.
Step 9: Testing After Repairs
- Conduct a Comprehensive Function Test: After repairs, reconnect everything and turn on the running lights.
- Check All Functions: Verify that all lights are functioning correctly, including turn signals and brake lights.

Common Questions and Answers
Q1: Why do my running lights flicker or fail intermittently?
Flickering or intermittent failures are typically indicative of grounding issues or corroded connectors. Ensuring proper grounding and cleaning or replacing connectors often resolves this.
Q2: How often should I perform maintenance on my trailer light system?
Regular inspections should occur at least once a year or before long trips, especially in regions with extreme weather conditions that can accelerate wear.

Q3: Can I use LED lights to replace incandescent bulbs?
Yes, but ensure that your trailer’s wiring and fuses can handle the change, as LED lights typically require different load management compared to traditional bulbs.
Q4: What should I do if I can’t locate the short?
If you exhaust all options and still can’t find the short, it may be wise to consult a professional or an electrical repair service that specializes in trailer systems.
Conclusion
In conclusion, finding a short in your semi-trailer running lights does not need to be an overwhelming task. By following this systematic approach—preparing your tools, conducting thorough inspections, testing connections, and making necessary repairs—you can restore functionality to your trailer’s lighting system. Regular maintenance and attentive care will ensure safety and compliance while on the road, making it essential for every semi-trailer operator.
Keep this guide on hand for future reference, allowing you to troubleshoot effectively and maintain the integrity of your trailer lighting system, ensuring safe travels for you and your cargo.


