
Filling the water tank of a 5-ravel trailer is a fundamental yet often overlooked task that can significantly affect the efficiency and functionality of your trailer’s operations. Whether you’re preparing for a long-haul transport or executing regular maintenance, knowing the optimal methods for filling your water tank is essential. In this guide, we will delve into the most efficient techniques, tools, and practices that surround the process of filling a 5-ravel trailer water tank, ensuring you maintain peak performance while also adhering to safety and operational guidelines.
Understanding the Basics: What is a 5-Ravel Trailer?
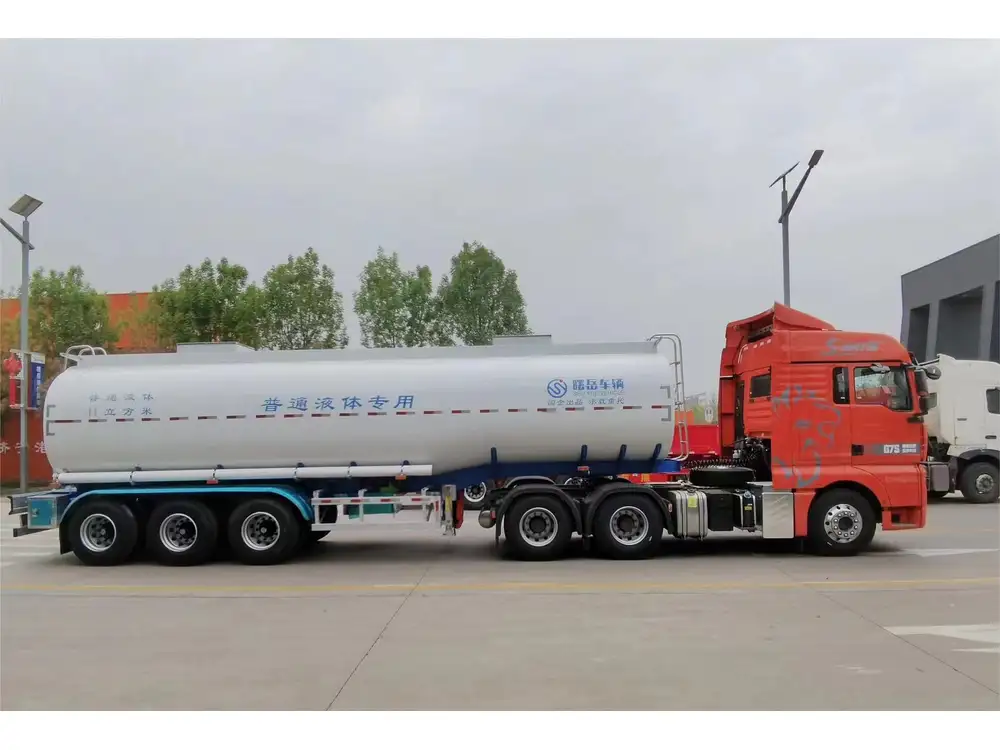
A 5-ravel trailer, often referred to in contexts of water transport or agricultural applications, typically features robust structures designed to handle varying loads. Key characteristics include:
Capacity: Generally, these trailers can hold a substantial volume of water, often exceeding thousands of gallons depending on design specifications.
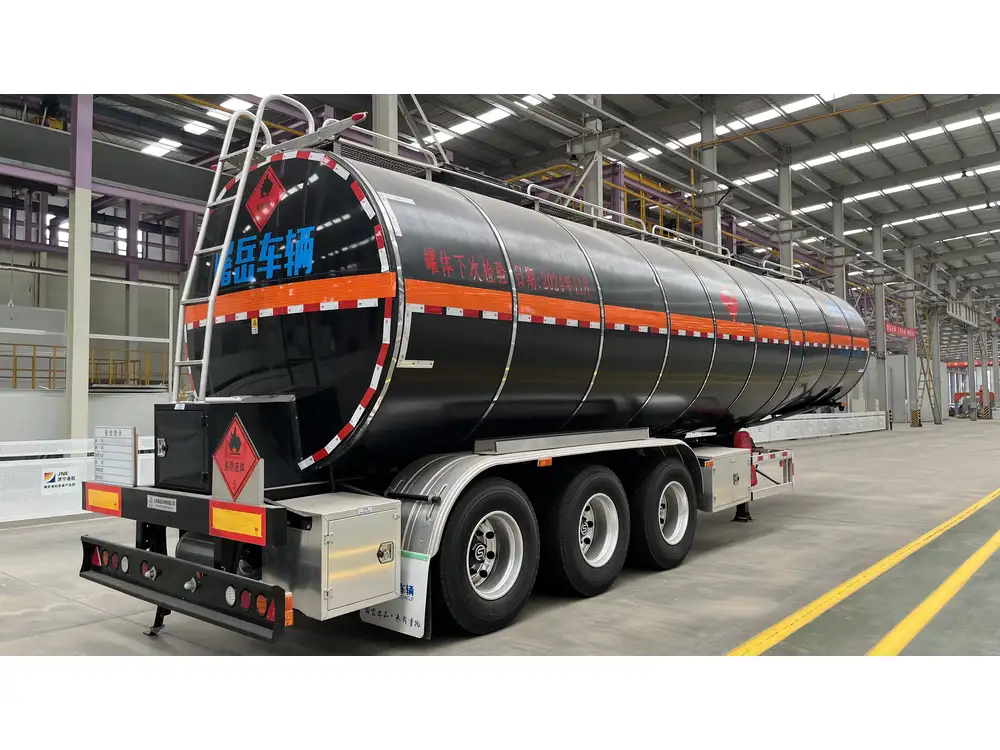
Material Composition: Most 5-ravel trailers utilize durable materials like aluminum or stainless steel to prevent corrosion and ensure longevity.
Water System Integration: These trailers are often integral to a broader system that includes pumps, hoses, and filtration systems to manage water delivery effectively.
Understanding these components is crucial, as it influences how you approach filling the trailer’s water tank.
Why Efficient Filling Matters
Efficiency in filling your 5-ravel trailer water tank not only saves time but also resources. It minimizes wastage, enhances the longevity of the tank, prevents contamination of the water supply, and optimizes the overall logistics of your operation. Improper filling can lead to issues such as:
- Overfilling: Can cause leaks, excessive weight, and operational hazards.
- Underfilling: May impede the functionality of pumps and other connected systems.
- Contaminated Water Supply: A poorly managed filling process can introduce impurities into the water tank.
Preparation Steps Before Filling the Water Tank
Before you proceed with filling your trailer’s water tank, ensure you take the following preparatory measures:
1. Inspect the Trailer
| Inspection Item | Action Required |
|---|---|
| Water Tank for Leaks | Examine for any visible cracks or leaks |
| Hoses and Connections | Check for wear, tear, or blockages |
| Pumps and Valves | Ensure they operate smoothly |
| Structural Integrity | Inspect chassis and support structures |
2. Gather Necessary Tools and Equipment
| Item | Purpose |
|---|---|
| Water Hose | To connect and transfer water |
| Nozzle or Sprayer | Controls water flow when filling |
| Pressure Gauge | Monitors water pressure |
| Safety Gear | Gloves, goggles to protect while working |

3. Identify Clean Water Source
Ensure that the water supply is clean and free from contaminants. Sources might include municipal supplies, wells, or dedicated water pumping stations.
The Step-by-Step Process of Filling the Water Tank
Step 1: Connect Your Hose
- Choose the Right Hose Length: The hose should be long enough to reach from the water source to your trailer without stretching or kinking.
- Secure Connection: Attach one end of the hose to the water source. Ensure it is tightly clamped to prevent any leaks while the water flows.

Step 2: Position Trailer and Align Hose
- Alignment: Position the trailer close to the water source, ensuring that the hose lies flat on the ground to avoid kinks that could slow water flow.
- Elevate Trailer: If possible, slightly elevate the trailer to use gravity for easier filling.
Step 3: Open the Valves
- Tank Valve: Open the water tank valve to allow water to enter the tank.
- Pressure Relief Valve: Open any pressure relief valves as necessary to allow airflow, preventing back pressure during filling.
Step 4: Begin Water Flow
- Start Water Supply: Turn on the water source and gradually increase the flow rate.
- Monitor Flow: Watch for any irregularities, such as sudden pressure drops or unusual noises, indicative of blockage or malfunction.

Step 5: Monitor Tank Capacity
- Check Volume: Regularly check the water volume, especially if the tank has a built-in monitoring system or use a dipstick if necessary.
- Avoid Overfilling: Shut off the water before reaching the maximum capacity to prevent spills.
Step 6: Close Valves and Disconnect
- Complete Fill: Once at the desired level, cease water flow.
- Close the Tank Valve: Securely close all valves to maintain water integrity.
- Disconnect Hose: Carefully detach the hose from both tank and source, avoiding spills.
Ensuring Water Quality: After Filling Procedures
Once the tank is filled, several critical procedures should ensure the quality of the water is maintained:
1. Conduct Water Quality Tests
- Regular Testing: Schedule microbiological and chemical tests of the water to ensure it meets safety standards. Key parameters to check include pH, turbidity, and pathogen presence.
2. Maintain Tank Cleanliness
| Maintenance Task | Frequency | Purpose |
|---|---|---|
| Tank Inspection | Monthly | To check for corrosion or deposits |
| Cleaning | Bi-annual | To prevent algae and microbial growth |
3. Retain Documentation
Keep thorough records of:
- Filling Dates: Note when the tank was last filled to manage logistical cycles.
- Water Quality Reports: Document test results for future reference.
- Maintenance Logs: Note any repairs or upkeep actions taken.
Troubleshooting Common Issues During Filling
While filling a 5-ravel trailer water tank may seem straightforward, several common issues can arise:
Issue: Low Water Pressure
Potential Causes & Solutions
| Cause | Solution |
|---|---|
| Kinked Hose | Straighten and reposition the hose |
| Blocked Supply | Check supply lines for blockages; clear as needed |
| Inadequate Water Source | Verify the source can handle your flow requirements |
Issue: Water Overflow
Potential Causes & Solutions
| Cause | Solution |
|---|---|
| Failed Float Valve | Inspect and replace float valves |
| Improper Monitoring | Regularly check tank levels during the fill process |
| Incorrect Valve Closure Timing | Carefully plan shut-off protocols based on tank size |
Issue: Contaminated Water

Potential Causes & Solutions
| Cause | Solution |
|---|---|
| Dirty Hose or Source | Regularly clean hoses; avoid cross-contamination |
| Source Contamination | Test water source regularly; use filtration systems |
Conclusion: Effective Practices for a Successful Fill
Successfully filling a 5-ravel trailer water tank requires proper preparation, efficient methods, and ongoing maintenance. Adhering to these outlined strategies ensures operational integrity and enhances the longevity of the trailer itself. By proactively addressing potential issues, maintaining water quality, and systematically testing your systems, your trailer will be well-equipped to handle demands while delivering reliable performance in various applications.
We encourage all operators and manufacturers to implement these best practices in their operations, fostering a safe, efficient, and effective water management system that meets both operational needs and regulatory standards. This diligence not only supports immediate operational goals but also contributes significantly to the long-term success of your ventures in the trailer industry. Embrace these measures, ensure quality, and drive your operations toward exceptional efficiency.
This comprehensive guide aims to empower users with the crucial knowledge they need to adeptly handle filling 5-ravel trailer water tanks, addressing common pitfalls and promoting proactive maintenance that will serve them in the long haul.

