
Introduction to Dump Trailers and Their Functionality
Dump trailers have become indispensable tools for a multitude of industries, including construction, landscaping, and waste management. Their ability to transport heavy loads and efficiently offload materials makes them a preferred choice. However, like any piece of equipment, they can encounter issues, particularly with their electrical systems. One common problem is the malfunctioning solenoid, which can impede the functionality of a dump trailer. This article provides a comprehensive guide on how to jump the solenoid of a dump trailer, enabling operators to troubleshoot and resolve this issue effectively.
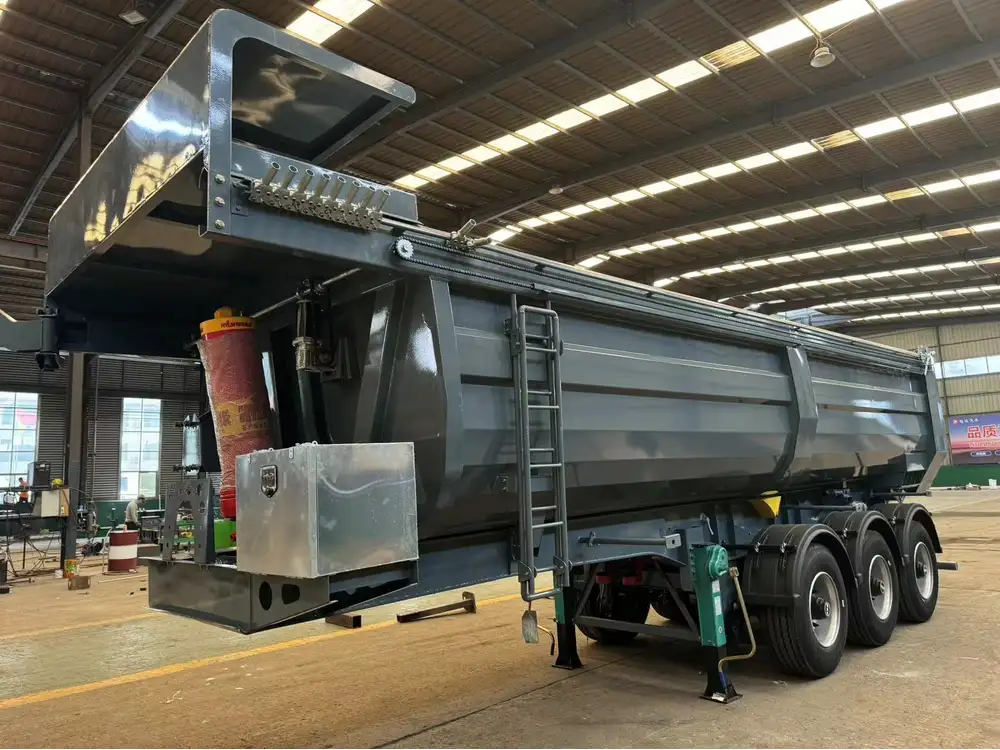
Understanding the Role of the Solenoid in Dump Trailers
Before diving into the jumping process, it’s crucial to comprehend what a solenoid is and its role within the dump trailer system.
What is a Solenoid?
A solenoid is an electromagnet that converts electrical energy into mechanical energy, facilitating the movement of various components within the dump trailer. In a dump trailer, the solenoid is often engaged to activate the hydraulic system responsible for lifting and dumping loads.
The Common Symptoms of a Malfunctioning Solenoid
When the solenoid fails, it may exhibit several symptoms, including:
- No Response: The trailer’s hydraulic system doesn’t respond when the control switch is activated.
- Intermittent Operation: The dump function works sporadically, indicating an unstable connection.
- Clicks but No Lift: The solenoid makes an audible clicking sound, but the hydraulic system remains inactive.
Identifying these symptoms early can save time and reduce potential damage to the trailer’s hydraulic system.
Equipment and Tools Needed for Jumping the Solenoid
To undertake the task of jumping the solenoid, ensure you have the following tools and equipment:
| Tool | Purpose |
|---|---|
| Multimeter | To test electrical connections and voltage. |
| Insulated Jumper Wires | To create a temporary connection for jumping the solenoid. |
| Wrench or Socket Set | To access and remove electrical connections. |
| Safety Goggles | To protect your eyes while working. |
| Gloves | To ensure safety while handling electrical components. |
| Flashlight | To illuminate the workspace as needed. |
Step-by-Step Guide on How to Jump the Solenoid
Step 1: Safety Precautions First
Prioritize safety before commencing any repairs. Wear safety goggles and gloves to protect against electrical shocks and physical injuries. Ensure the trailer is on a flat surface, and the key is removed from the ignition to prevent accidental engagement of systems.
Step 2: Locate the Solenoid
Identify Location: The solenoid is typically located near the battery or the hydraulic pump. Consult the trailer’s owner manual for precise positioning.
Visual Inspection: Examine the area for any corrosion or loose wires, which may highlight existing issues.
Step 3: Test the Solenoid
Before jumping the solenoid, confirm its functionality:
- Use a Multimeter: Set your multimeter to measure voltage. Place the probes on the solenoid terminals while a helper operates the control switch.
- Check for Voltage: A reading of about 12 volts indicates proper voltage supply. If there is a lack of voltage, the issue could be toward the battery or wiring.
Step 4: Prepare to Jump the Solenoid
Isolate the Solenoid: Disconnect the power supply to the solenoid by removing the negative cable from the battery.
Remove Connections: Carefully disconnect the wires from the solenoid terminals, taking note of their positions for reinstallation.
Step 5: Jump the Solenoid
Identify Terminals: Find the two larger terminals on the solenoid. One is connected to the battery, and the other connects to the hydraulic pump.
Connect Jumper Wires:
- Attach one end of the first jumper wire to the positive terminal of the battery.
- Connect the other end to the terminal leading to the hydraulic pump.
- Using the second jumper wire, attach one end to the battery’s negative terminal, and touch the other end to the solenoid’s other terminal.
Step 6: Test Functionality
Reconnect the Battery: Once the jumper wires are securely in place, reconnect the battery.
Activate the Control Switch: Engage the control switch to see if the hydraulic system responds. If it operates correctly, this confirms that the solenoid was the issue.
Step 7: Reassemble the Components
If jumping the solenoid resolves the issue:
- Disconnect Jumper Wires: Remove the jumper wires carefully.
- Reconnect Solenoid Wires: Reconnect the original wires to their respective terminals on the solenoid, ensuring a snug fit.
- Reinstall the Negative Battery Cable: Securely reattach the negative cable to prevent electrical shocks or shorts.
Common Issues After Jumping the Solenoid
Even after successfully jumping the solenoid, you might encounter ongoing issues. Be vigilant in troubleshooting further:

1. Electrical Faults in Wiring
- Inspect Wiring: Examine the wiring harness for frays or breaks. Corroded connections can lead to malfunctions.
- Repair or Replace: Repair any damaged wiring or replace corroded connectors.
2. Failing Solenoid
If problems persist post-jumping, the solenoid itself may be defective.
- Consider Replacement: If the solenoid is faulty, obtain a compatible replacement from a reputable supplier. Ensure the replacement is suitable for your model.
3. Hydraulic System Check
If the solenoid is operational but the hydraulic system still fails to engage, inspection of the hydraulic fluid level and pump may be necessary.
Check Fluid Levels: Ensure that the hydraulic fluid is at the recommended level. Low fluid levels can hinder lifting capabilities.
Inspect the Hydraulic Pump: A malfunctioning pump will require repair or replacement to restore functionality.

Preventing Solenoid Malfunctions in the Future
Taking preventive measures can significantly extend the lifespan of your dump trailer’s solenoid and electrical systems.
Regular Maintenance Checks
Establish a routine maintenance schedule that includes:
- Weekly Inspections: Look for signs of wear or damage in solenoid connections.
- Fluid Levels: Regularly check and top up hydraulic fluid as needed.
Clean Connectors and Terminals
- Use Contact Cleaner: Regularly apply contact cleaner to solenoid terminals and wiring to remove grime and corrosion.
- Protective Coatings: Consider applying protective lubricants to connectors to prevent moisture ingress.
Keep the Trailer Stored Properly
When not in use, store the dump trailer in a dry, sheltered location to avoid exposure to harsh environmental conditions that can lead to rust and electrical failures.
Conclusion
Jumping the solenoid of a dump trailer is an essential skill for operators and maintenance personnel. Understanding the symptoms of a malfunction, the necessary tools, and the step-by-step procedures allows for quick diagnosis and resolution of issues. Furthermore, implementing preventive measures helps maintain the integrity of electrical systems and prolongs the operational life of your dump trailer. Should problems arise beyond solenoid issues, consulting with a professional may provide the guidance needed for a complete resolution.

