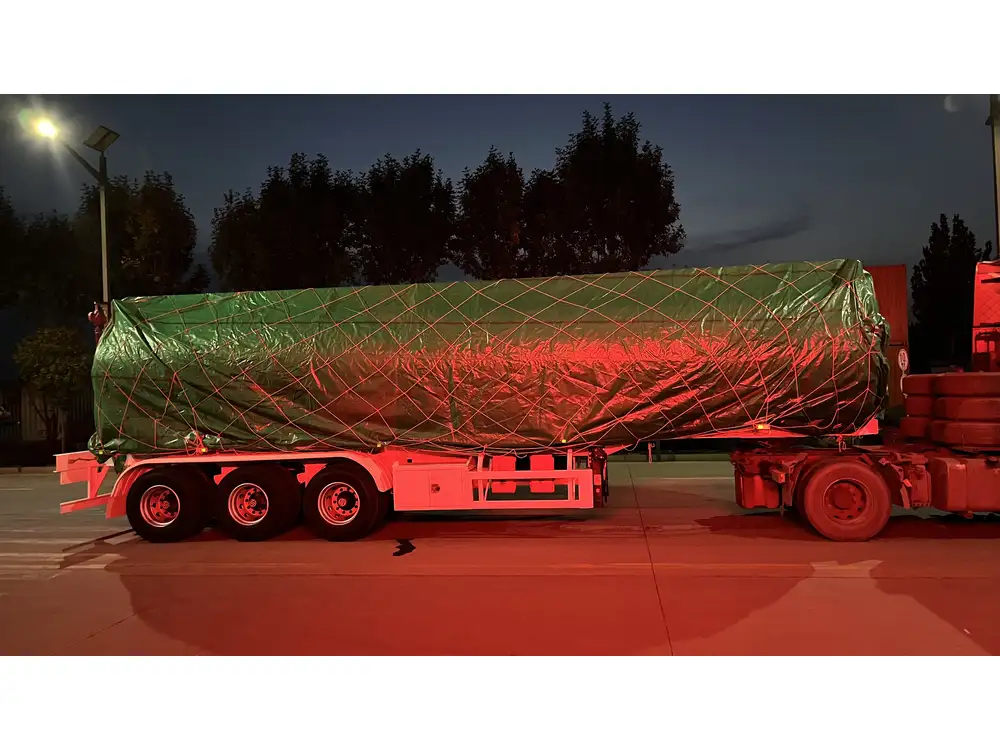
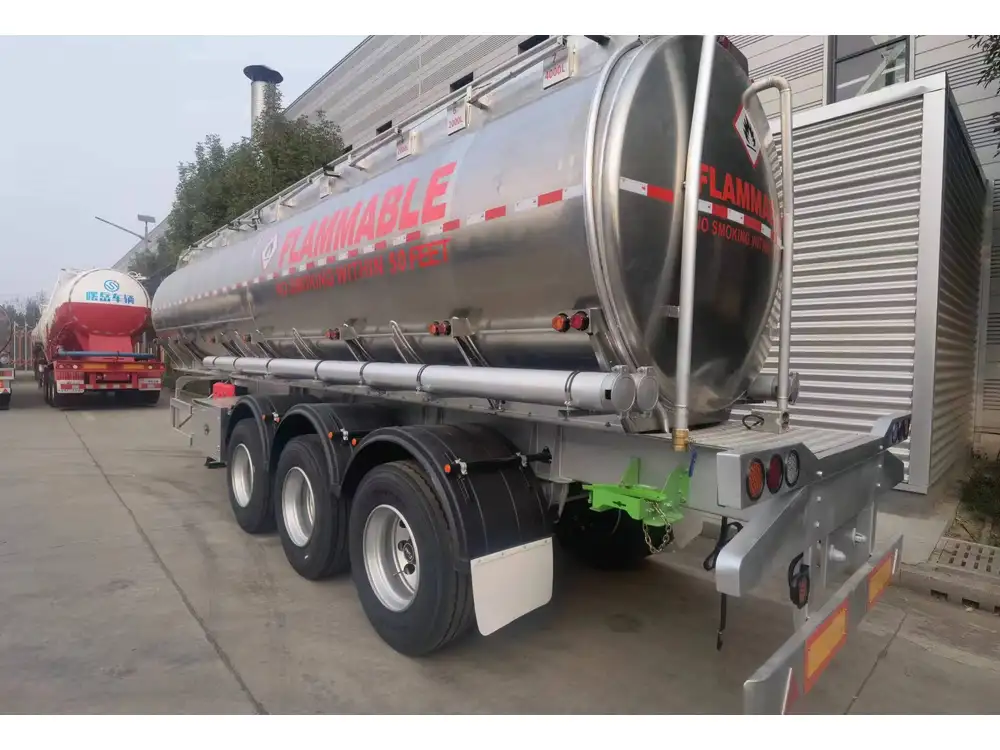
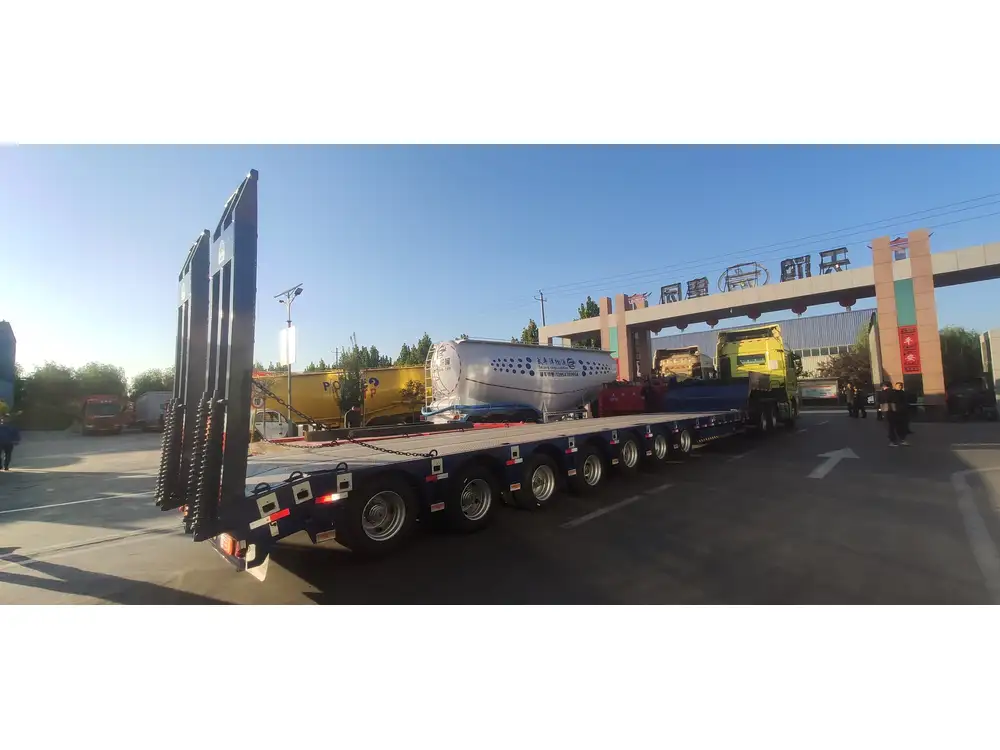
Drawing a semi-trailer might appear daunting at first, but with the right guidance and a systematic approach, you can create an impressive representation of this pivotal component of the transportation industry. This comprehensive guide will walk you through the process step by step, ensuring that you grasp both the basic structure and intricate details necessary to capture the essence of a semi-trailer.
Understanding the Components of a Semi-Trailer
Before we delve into the drawing process, it is essential to have a basic understanding of the key elements that make up a semi-trailer. Here’s a breakdown:
| Component | Description |
|---|---|
| Tractor Unit | The front cab that houses the driver and engine. |
| Trailer Chassis | The primary structural frame that supports cargo. |
| Axles | Wheels mounted on axles that support the trailer. |
| Cargo Area | The enclosed space where goods are transported. |
| Landing Gear | The foldable support legs at the front of the trailer that stabilize it when detached. |
| Rear Doors | Access points for loading and unloading cargo. |
Knowing these components will aid in crafting a detailed and accurate drawing.
Step 1: Gather Your Materials
To start drawing a semi-trailer, you will need some basic materials:
- Pencil and Eraser: For sketching and corrections.
- Drawing Paper: Preferably larger format for detailed work.
- Ruler: To maintain straight lines and correct proportions.
- Colored Pencils or Markers: For adding details and finishing touches.
- Reference Images: Finding high-quality images of semi-trailers can serve as an excellent guide.

Step 2: Sketch the Basic Shapes
Begin your drawing by outlining the fundamental shapes. Here’s a structured approach:
2.1 Draw the Tractor Unit
- Cab Shape: Start with a rectangle for the cab. It should have a slightly sloped front to depict the windshield.
- Hood: Add a parallelogram shape extending from the front of the cab to create the hood.
- Wheels: Draw two circles below the cab to represent the front wheels.
2.2 Outline the Trailer
- Base Rectangle: Draw a large rectangle extending from the rear of your tractor unit to represent the trailer chassis. Ensure it’s proportionately longer to emphasize its importance.
- Height Measurement: Add vertical lines at the corners to give the trailer height.
- Additional Details: Add small rectangles on the chassis to represent storage compartments.

2.3 Drawing the Axles and Wheels
- Mark the locations of the rear axles on the bottom of the trailer chassis. Generally, a semi-trailer has two or three axles.
- Draw circles for the wheels around the axle markers. Make sure they are evenly spaced and proportional to the trailer.
Step 3: Add Details to the Tractor Unit
3.1 Windows and Lights
- Sketch the windows on the tractor unit, using sharp lines that follow the contours of the cab shape.
- Add headlights and taillights by drawing small ovals on the front and rear corners of your drawing.

3.2 Detailing the Cab
- Draw door lines, side mirrors, and any additional design elements unique to the truck model you’re trying to replicate.
Step 4: Enhance the Trailer
4.1 Cargo Area Added Details
- Doors: Add large rectangular shapes at the rear of the trailer to represent the loading doors. You can separate them with a vertical line to show they can open.
- Load Markings: Incorporate lines or patterns on the sides to depict lashing points, tie-downs, or branded areas.

4.2 Add Texture and Shadows
- Use shading techniques to give depth to your drawing. Lightly shade the sides of the trailer, wheels, and any recessed areas to create a three-dimensional appearance.
Step 5: Final Touches
5.1 Clean Up and Refine
- Erase any unnecessary guidelines and refine the lines using a sharper pencil or pen to make the final drawing stand out.
- Use a ruler to ensure straight lines, particularly around the trailer body and axles.

5.2 Coloring
- If you’re using colors, refer to your reference images to select appropriate hues for both the tractor and trailer. Remember to consider the effects of light and shadow when applying color.
Step 6: Reflect on Your Work
After completing your drawing, take a moment to step back:
- Does it capture the essence of a semi-trailer?
- Are the proportions and details consistent?
- What could be improved for next time?
Troubleshooting Common Drawing Issues
Here’s a structured table to address common issues that might arise during the drawing process:
| Issue | Solution |
|---|---|
| Proportions seem off | Use reference images to compare size and shape. |
| Lines look shaky | Practice steady hand control or use a ruler. |
| Details are overwhelming | Focus on one section at a time to avoid clutter. |
| Lacking depth | Add shadows and highlights for 3D effect. |
| Not satisfied with color choices | Experiment with different palettes on scrap paper. |

Conclusion
Drawing a semi-trailer is not only about replicating its form but also about understanding its function and role in logistics. By following the aforementioned steps and utilizing the provided insights, you can develop a striking representation of a semi-trailer that pays homage to its engineering magnificence.
With practice and patience, you will find that drawing becomes not only easier but also increasingly enjoyable. So gather your materials, follow the steps above, and unleash your creativity on this iconic vehicle!


