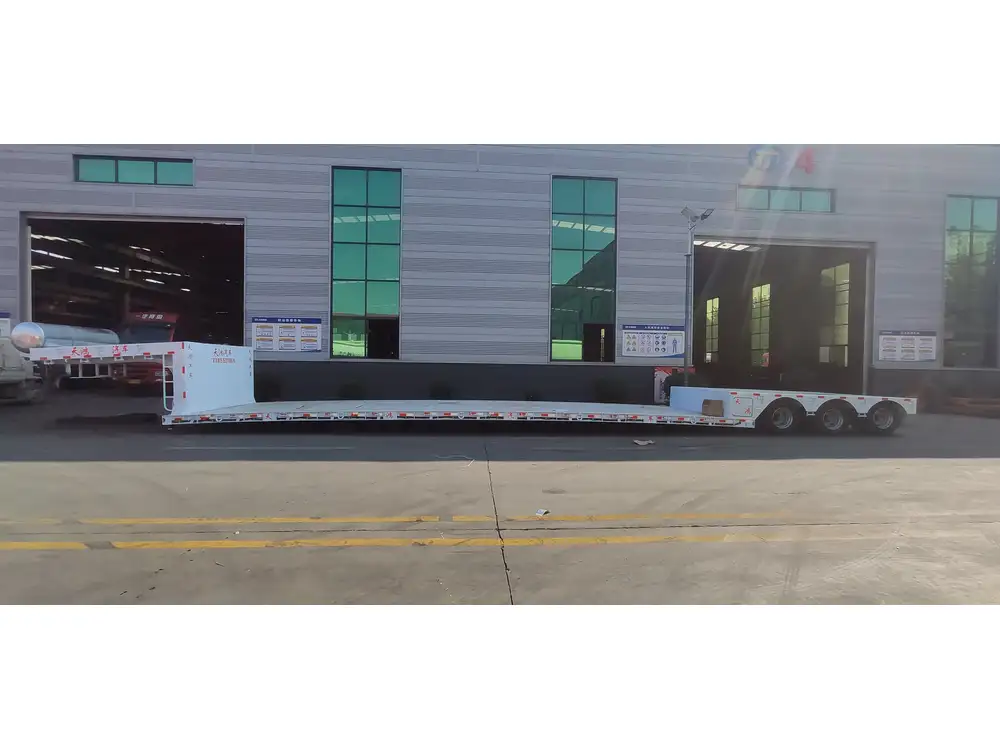
When it comes to modifying a semi-trailer, cutting a window hole in the side can be a daunting task. Whether it’s for ventilation, natural light, or for creating a mobile workspace, doing it correctly is essential for safety, structural integrity, and aesthetics. This article provides a detailed guide on how to cut a window hole in the side of a semi-trailer, ensuring that you follow best practices and achieve the desired results.
Understanding the Basics Before You Start
Key Considerations
Before diving into the project, several critical aspects should be considered:
Regulatory Compliance: Check local regulations regarding modifications to trailers. Ensure that your changes meet safety standards and do not violate regulations.
Proper Tools and Materials: Having the right tools is paramount. We recommend the following:
- Angle grinder or reciprocating saw
- Measuring tape
- Chalk line or marker
- Safety goggles and gloves
- Straight edge or level
Material of the Trailer: Identify whether your trailer’s walls are made of aluminum, steel, or fiberglass. This affects the tools you will need and the cutting techniques you will use.
Planning the Window Size and Location: Determine how large you want the window to be and where it should be placed. Consider both functionality and aesthetics, ensuring it doesn’t interfere with the structural integrity of the trailer.

Step-by-Step Instructions for Cutting a Window Hole
Step 1: Measure and Mark the Area
- Determine the Size of the Window: Standard window sizes can vary, but deciding on dimensions that fit your needs while maintaining structural integrity is key.
- Mark the Outline: Use a measuring tape to define the window’s width and height. Then, employ a chalk line or a marker to trace the outline on the semi-trailer wall.
Step 2: Safety First
Before starting any cutting work, make sure to put on safety goggles and gloves. This will help protect your eyes and hands from metal shards and sharp edges that may arise during the cutting process.

Step 3: Create a Pilot Hole
Using a drill, create a pilot hole at one corner of the window outline. This small hole will serve as an entry point for your cutting tool. It is vital because it prevents the tool from wandering off the marked area.
Step 4: Cutting the Window Hole
- Select Your Tool: Depending on the trailer material, choose an appropriate cutting tool. An angle grinder works well for steel, while fiber-reinforced plastic requires a jigsaw or reciprocating saw.
- Begin Cutting: Start from the pilot hole and follow the outline carefully. Ensure that you maintain a steady hand to achieve clean edges.
- Smoothing Edges: After cutting, use a metal file or sandpaper to smooth any rough edges. This prevents injuries later and ensures a better fit for the window frame.
Step 5: Install a Window Frame and Seal
- Choose a Frame: Select a window frame that fits the cut-out perfectly. This frame is essential for structural support and aesthetics.
- Seal the Frame: Apply a weather-resistant sealant around the perimeter before securing the frame. Proper sealing prevents water ingress, which could lead to rust and structural issues.

Step 6: Install the Window
- Window Placement: Carefully place the window into the frame. Ensure that it is level and aligned correctly.
- Fastening: Use screws or rivets to secure the window frame firmly into the semi-trailer’s side. Make sure the fasteners are spaced evenly for maximum support.
Post-Cutting Considerations
Regular Maintenance Check
After installing a window, it’s crucial to conduct regular maintenance checks to ensure that the seal remains intact and does not allow moisture or debris to enter the trailer. Inspect the window frame for any signs of wear or damage.

Enhancing the Aesthetic
Consider painting or finishing the area around the new window to match the overall appearance of the trailer. It enhances aesthetics and protects the exposed edges from corrosion or deterioration.
Potential Challenges and Solutions
| Potential Challenge | Solution |
|---|---|
| Improper cutting alignment | Re-measure and mark again |
| Uneven edges on the cut-out | Use a file or sandpaper to smooth |
| Moisture leakage after installation | Apply additional sealant |
| Regulatory compliance issues | Consult local guidelines for modifications |
Conclusion
Cutting a window hole in the side of a semi-trailer can enhance functionality and livability. By following this detailed guide, you can ensure that the installation is executed with precision and care. Safety, planning, and installation integrity are paramount in achieving a successful result.
If you have any inquiries or require assistance with trailer modifications, our experienced team is here to help you navigate through the process, ensuring your project meets both your expectations and regulatory standards. Whether it’s enhancing the functionality of your trailer or simply making it more comfortable, we are committed to providing the highest quality solutions tailored to your needs.


