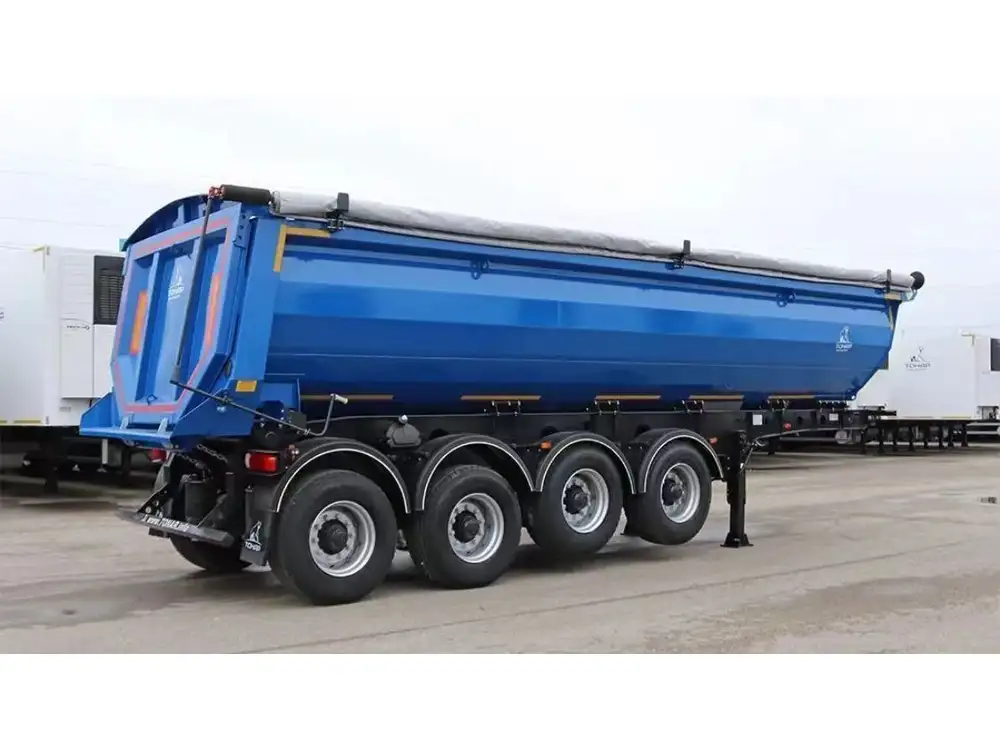
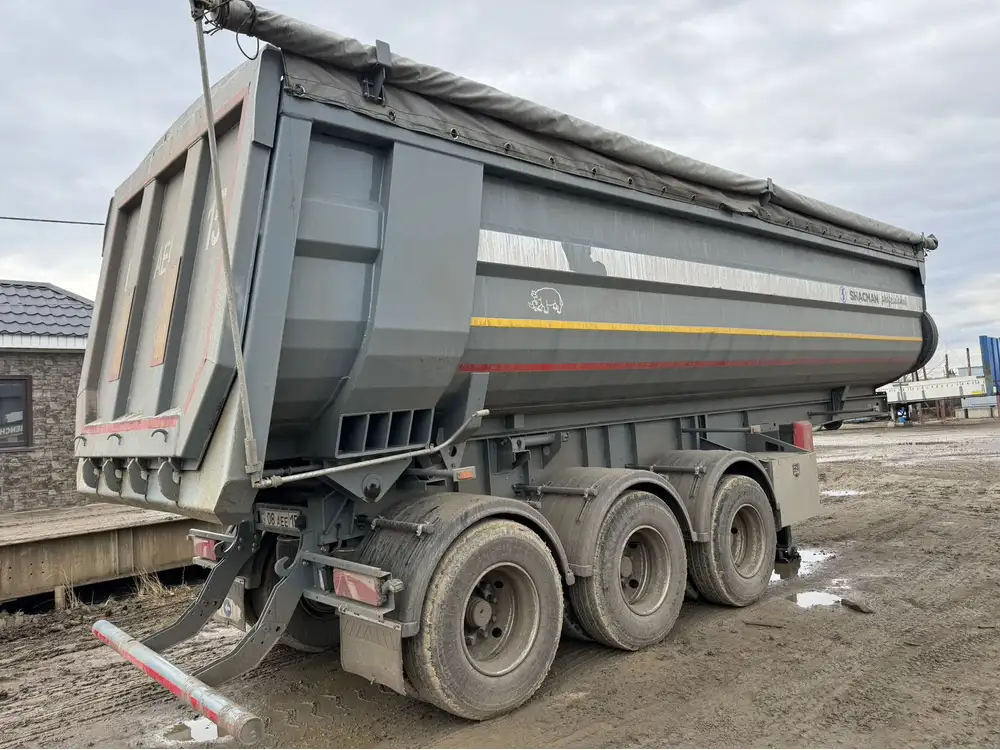
When it comes to the mechanics of transporting bulk materials, belly dump trailers play a pivotal role. Understanding the intricacies of these trailers, especially how to connect the door switch, is crucial for any operator looking to optimize loading and unloading processes. This guide aims to provide you with a thorough understanding of the belly dump trailer door switch, its functionalities, and a step-by-step approach on how to connect it effectively.
Understanding Belly Dump Trailer Door Switches
What is a Belly Dump Trailer?
A belly dump trailer is designed to enable rapid unloading of granular materials, such as sand, gravel, or asphalt, by opening its doors from the bottom. This design allows for precise control over material flow, making it ideal for construction projects where efficiency is paramount.

The Importance of a Door Switch
The door switch on a belly dump trailer controls the hydraulic mechanism that opens and closes the trailer’s doors. This switch is vital in ensuring safe and efficient unloading operations. A malfunctioning switch can lead to material spillage, operational delays, or risks to operator safety.
Components Involved in the Connection Process
Before delving into the connection process, it’s important to understand the key components involved:
| Component | Description |
|---|---|
| Door Switch | The switch that controls the opening and closing of the trailer doors. |
| Hydraulic Control Unit | Manages the hydraulic system that operates the trailer doors. |
| Wiring Harness | The network of wires that connects the switch to the hydraulic control unit. |
| Connectors | Devices that join electrical circuits and ensure seamless connectivity. |
Step-by-Step Guide to Connecting a Belly Dump Trailer Door Switch

Step 1: Safety Precautions
Before beginning any electrical connection, it is paramount to prioritize safety:
- Disconnect the Power: Ensure that the trailer is disconnected from the vehicle’s power source to prevent accidental activation.
- Wear Safety Gear: Use gloves and safety glasses to protect against electrical hazards and debris.
Step 2: Locate the Door Switch Assembly
Identify the location of the door switch assembly. Typically, it’s situated close to the rear doors of the trailer for easy access. This assembly includes the switch itself and wiring connectors.
Step 3: Inspect the Wiring Harness
Examine the wiring harness for any signs of damage, such as frayed wires or corrosion. A damaged harness can compromise the functionality of the switch, leading to operational issues. If damage is found, replace the wiring harness before continuing.

Step 4: Disconnect the Old Switch
- Remove Connectors: Gently disconnect the wiring connectors from the old switch. This may require pressing a release tab or gently pulling the connector from the switch.
- Unscrew the Switch: If applicable, use a screwdriver to remove any screws securing the switch in its housing.
Step 5: Install the New Switch
- Position the New Switch: Place the new belly dump door switch in the same location as the old one, ensuring it fits securely within the housing.
- Secure the Switch: If screws were used to hold the previous switch in place, fasten the new switch using the same screws.
Step 6: Connect the Wiring Harness
Carefully connect the wiring harness to the new switch. Typically, there are color coding or marked connectors to ensure proper alignment:
| Wire Color | Connection |
|---|---|
| Red | Power Supply |
| Black | Ground Connection |
| Green | Signal Wire (to hydraulic unit) |
| Yellow | Safety Feature |

Step 7: Test the Connection
Once everything is connected:
- Re-establish Power: Reconnect the trailer to the power source carefully.
- Activate the Switch: Test the switch to ensure it opens and closes the trailer doors as intended.
Step 8: Final Inspection
Conduct a final check of the entire system:
- Inspect the mounting of the switch.
- Ensure there are no loose wires or connectors.
- Confirm that the hydraulic system responds appropriately to the switch activation.
Troubleshooting Common Issues
Even with the most diligent efforts, issues may occasionally arise. Below are common problems and their solutions:
| Issue | Potential Cause | Solution |
|---|---|---|
| Door does not open | Faulty Door Switch | Replace the door switch |
| Hydraulic system malfunction | Low Hydraulic Fluid | Check and refill the hydraulic fluid |
| Toggle switch works, but doors do not open | Blown Fuse | Replace the blown fuse |
| Intermittent functionality | Damaged Wiring Harness | Inspect and replace damaged wiring |

Key Maintenance Tips for Belly Dump Trailers
To ensure the longevity and optimal performance of your belly dump trailer, follow these maintenance tips:
- Regular Inspections: Schedule routine inspections of the hydraulic system, switch, and wiring harness.
- Keep It Clean: Regularly clean the switch and connectors to remove dust, dirt, and debris that could impede functionality.
- Monitor Fluid Levels: Keep an eye on hydraulic fluid levels and replace them as necessary to avoid poor performance.
- Inspect Connections: Periodically check all electrical and hydraulic connections for wear and tear.
- Scheduled Testing: Regularly test the door switch and hydraulic system to ensure everything operates smoothly.
Conclusion
Connecting a belly dump trailer door switch is a crucial skill that significantly impacts material handling efficiency in various industries. By following the comprehensive steps outlined in this guide, operators can ensure their belly dump trailers function optimally, reducing downtime and elevating operational efficiency. Regular maintenance and troubleshooting can further enhance the lifespan and reliability of the trailer, leading to safer and more effective transport of materials.
As always, remember to prioritize safety and quality in every connection you make. By doing so, you’ll contribute not only to your operational success but also to the broader standards of safety and efficiency in the transportation sector.


