Maintaining a camper trailer is not just about ensuring it looks good; it involves regular cleaning and service to ensure that all systems function optimally. One of the often-overlooked aspects of camper maintenance is cleaning the water tank. A clean water tank is vital for health and safety, preventing contaminants from spoiling your travel experience. In this guide, we will dissect the cleaning process, explore potential issues, and provide actionable insights on keeping your camper trailer water tank in pristine condition.
Understanding the Importance of Water Tank Maintenance
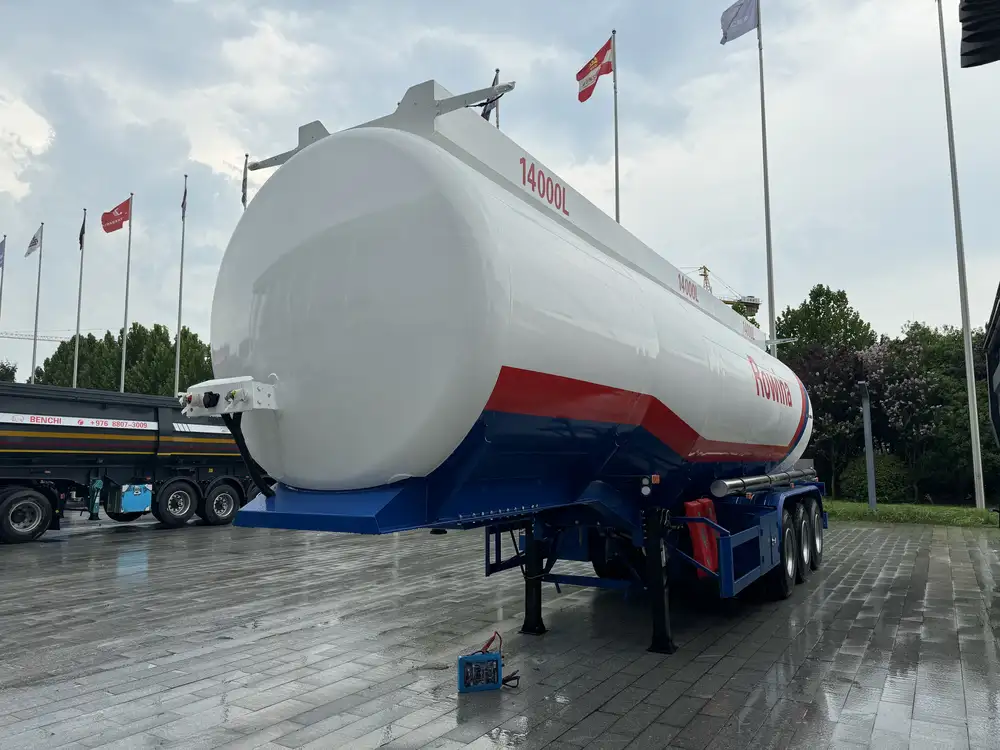
Water tanks in camper trailers serve various purposes—providing drinking water, washing dishes, and personal hygiene. Over time, these tanks can accumulate sediment, bacteria, and other impurities, affecting the quality of the water. Understanding the cleaning process helps in recognizing the benefits of regular maintenance:
- Preventing Contamination: Polluted water can lead to illnesses.
- Extending Tank Lifespan: Routine maintenance enhances the durability of your water tank.
- Improving Performance: A clean system can improve water flow and pressure.
Signs Your Water Tank Needs Cleaning

When to Consider Cleaning:
- Cloudy Water: If your water appears murky or discolored, immediate action is needed.
- Unusual Smells: A foul smell often indicates bacterial growth.
- Sludge Buildup: Visible sediment at the bottom of the tank is a clear sign of neglect.
Preparing for the Cleaning Process
Before embarking on the cleaning process, it is essential to gather the necessary tools and materials, as this will streamline your efforts. Here is a checklist:
| Item | Purpose |
|---|---|
| White Vinegar | Natural cleaner and deodorizer |
| Baking Soda | Effective in removing odors |
| Bleach | Disinfectant for killing bacteria |
| Water Pump | For emptying the tank |
| Hose | To rinse out the tank |
| Soft Scrub Brush | For scrubbing debris |
| Protective Gloves | Safety equipment for handling chemicals |
Step-by-Step Process to Clean Your Camper Trailer Water Tank

Step 1: Drain the Tank
Before starting the cleaning process, ensure that your water tank is empty. Here’s how:
- Turn Off Water Supply: Disconnect from the main water line.
- Activate the Water Pump: This should help drain the residual water.
- Open All Faucets: This releases any trapped air, hastening drainage.
- Inspect for Leftovers: Use a flashlight to ensure no water remains in hard-to-reach places.
Step 2: Prepare Cleaning Solution
To effectively clean the tank, create a cleaning solution with the following method:
- Vinegar and Water Mixture: Mix one part vinegar with three parts water. Vinegar is a gentle disinfectant that can remove mineral deposits.
- For Heavy Contamination: A mixture of 1 cup of bleach with 5 gallons of water can be used for disinfection. Note: Avoid mixing bleach with vinegar.
- Baking Soda Option: If odors persist, create a paste with baking soda and water.
Step 3: Scrub the Tank Interior
Once your cleaning solution is prepared, it’s time to scrub the tank interior. Here’s how:
- Pour Cleaning Solution: Carefully pour the vinegar mixture into the tank.
- Let it Sit: Allow it to sit for at least 30 minutes to ensure thorough cleaning.
- Scrub: Use a soft scrub brush to clean the sides and bottom of the tank, focusing on areas with visible grime or stains.
- Flush the Tank: After scrubbing, flush the tank thoroughly with clean water to remove any residues or loose contaminants.

Step 4: Disinfect the Tank
To ensure no bacteria remain post-cleaning, follow these steps:
- Add Bleach Solution: Add the bleach solution prepared earlier into the tank.
- Let it Sit: Allow it to sit for a minimum of 2 hours. For higher bacterial load, leave it for longer.
- Flush Again: After the sitting period, drain the bleach solution and flush the tank multiple times with clean water to remove all bleach residues.
Step 5: Final Checks and Refill
- Inspect the Tanks: Before refilling, inspect the tank to ensure it’s clean and free from any debris.
- Refill the Tank: Refill the tank with fresh water, and consider adding a water purifying agent.
- Run the System: Turn on the pump and let the system cycle through all faucets to check for water quality.
Maintenance Tips for Long-Lasting Cleanliness
To avoid a cumbersome cleaning process in the future, implement these maintenance tips:
- Regular Checks: Inspect your water tank at least once every three months.
- Use Quality Water: Always fill your tank with clean, reliable water.
- Install a Water Filter: Consider additional filtration methods to keep the water clean longer.
- Keep It Dry: When the camper is not in use, drain the tank to prevent bacteria growth.

Troubleshooting Common Water Tank Issues
Even with regular maintenance, issues can arise. Let’s examine some common problems and solutions:
| Issue | Symptoms | Solution |
|---|---|---|
| Algae Growth | Green or black film in tank | Use diluted bleach and scrub after draining. |
| Sediment Buildup | Clogged filters | Perform routine flushing every few months. |
| Bad Odors | Foul smell when opening faucet | Deep clean with vinegar and ensure proper rinsing. |
| Leaks | Water pooling around the tank | Inspect fittings and seals for damage and replace as needed. |
Understanding Water Quality Enhancements
Properly maintaining your water tank doesn’t just ensure cleanliness—it also enhances the overall quality of your water. Consider these enhancements:
- Water Filters: Invest in inline filters that remove sediments and chemicals.
- Water Purification Tablets: Keep a stock of these for emergency disinfection.
- Regular Sampling: Test water periodically for pH levels and contaminants.
Conclusion: The Path to a Cleaner Camper Trailer Experience
Cleaning your camper trailer’s water tank may seem like a daunting task, but with a structured approach and periodic evaluation, you can ensure that your water remains clean and safe for use. By addressing signs early, preparing adequately, and implementing routine maintenance, you create an environment that enhances your camping experiences. This not only preserves the health of your leisure time but also prolongs the life of your camper trailer’s water systems.
When equipped with the right knowledge, tools, and practices, cleaning a camper trailer water tank can transform from a cumbersome chore into a straightforward maintenance routine. Enjoy your journeys with confidence, knowing you’ve taken the necessary steps to clean and care for your camper trailer’s water tank effectively.


