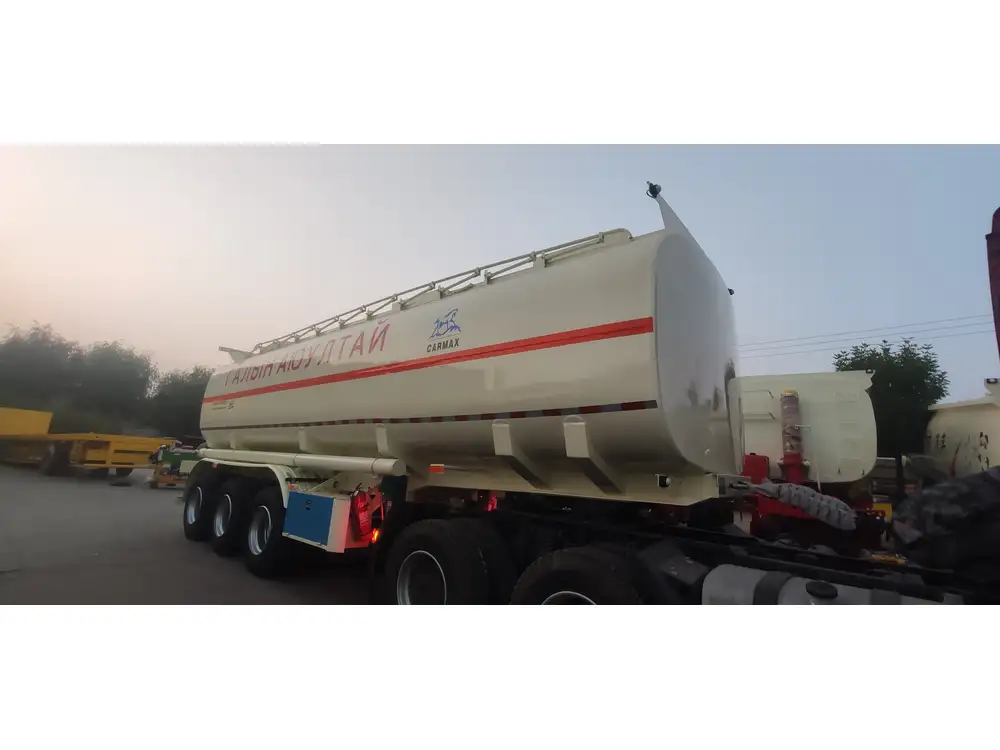
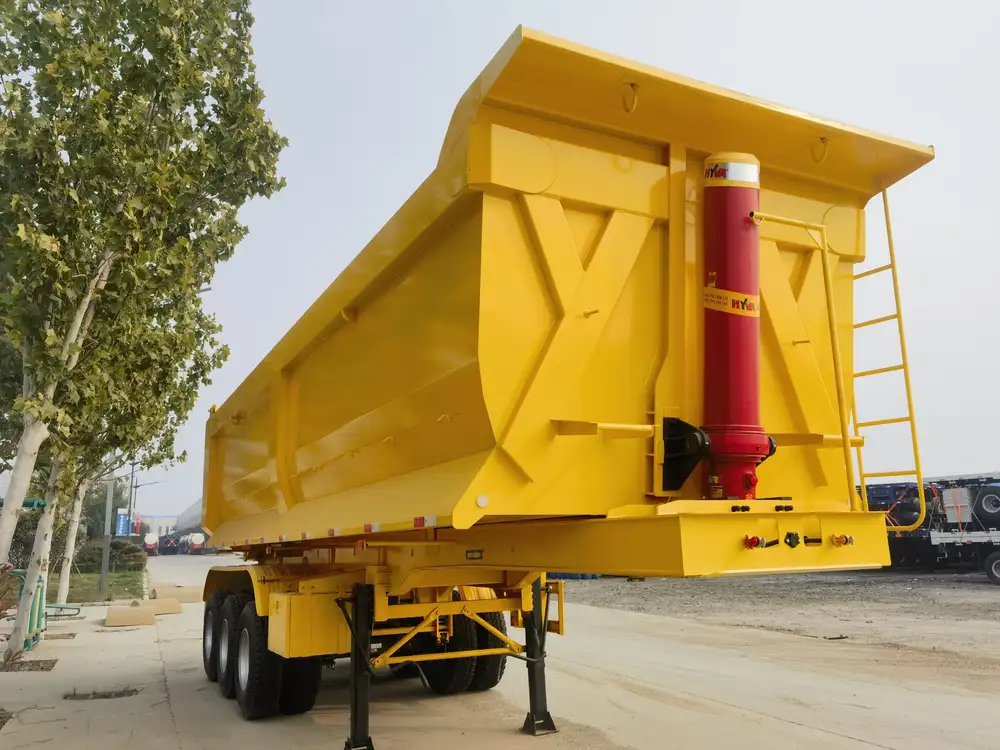
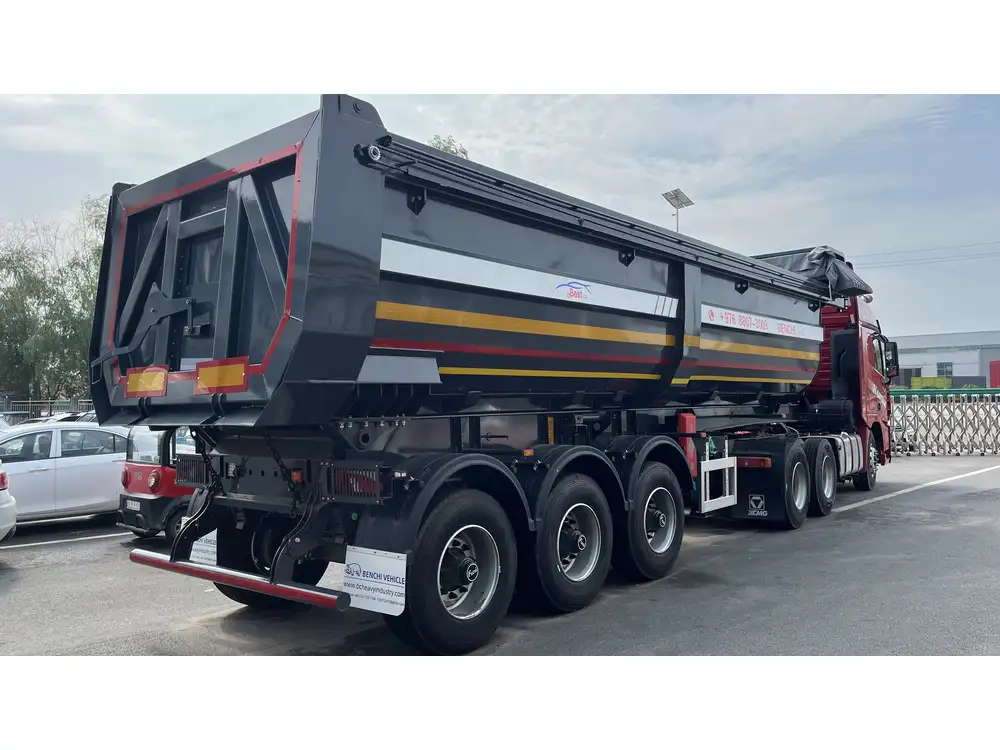
Understanding the importance of functionality in semi-trailer lights is crucial for maintaining safety on the road. Semi-trailer lights serve not only as a means of visibility but also as a signaling device that communicates with other drivers. Failing to properly check and ensure these lights are operational can lead to accidents, legal consequences, and damage to both vehicles and cargo. This guide provides an extensive overview on how to effectively check lights on a semi-trailer, ensuring that each light functions properly before setting off on your journey.
Why Proper Trailer Lighting is Essential
Safety on the Road
In the realm of transportation, visibility is paramount. Properly functioning lights on a semi-trailer serve to:
- Enhance visibility: They make the semi-trailer more visible to other road users, especially during night-time or inclement weather.
- Signal intentions: Brake lights and turn signals are essential for communicating actions such as stopping or changing lanes.

Legal Compliance
Adhering to legal requirements is non-negotiable; non-compliance can result in hefty fines and increased risks. Different jurisdictions have specific regulations regarding the functionality and placement of trailer lights. Regular checks ensure that your vehicle remains compliant with these laws.
Preventing Costly Repairs
Identifying issues early on can prevent extensive damage over time. Electrical faults or failures can lead to more serious problems within the wiring, potentially incurring significant repair costs.
Types of Lights on a Semi Trailer
Understanding the different types of lights commonly found on semi-trailers helps in identifying which ones to check:
| Light Type | Purpose |
|---|---|
| Tail Lights | Indicate the presence of the trailer |
| Brake Lights | Signal when the vehicle is slowing down |
| Turn Signals | Indicate direction changes |
| Reverse Lights | Illuminate when the trailer is backing up |
| Marker Lights | Show the trailer’s dimensions and outline |
| Reflectors | Enhance visibility in low-light conditions |
| License Plate Light | Ensure registration is visible at night |

Step-by-Step Guide to Checking Semi-Trailer Lights
1. Preparation: Gather Necessary Items
Before getting started, it’s essential to have the right tools and equipment. Here’s what you will need:
- Voltage Tester: A non-contact voltage tester or multimeter is crucial for checking electrical connections.
- Replacement Bulbs: Always carry extra bulbs that match your trailer specifications.
- Electrical Cleaner: This helps clear corrosion from connections.
- Gloves: Protect your hands while handling bulbs and electrical components.
2. Conduct a Visual Inspection
Seeing is believing! Start by visually inspecting each component. Be thorough in examining:
- Wiring Condition: Look for frays, wear, or exposed wires that could lead to failures.
- Bulb Housing: Check for cracks or damage that might cause moisture ingress, leading to corrosion.

3. Powering the Trailer Lights
To effectively check lights, you’ll need to power the trailer. If the trailer is not connected to the tractor unit, ensure it is plugged into a power source or use a standalone battery.
4. Testing Individual Lights
Tail Lights
- Action: Turn on your vehicle’s running lights.
- Observation: Ensure both tail lights illuminate evenly.

Brake Lights
- Action: Press down on the brake pedal.
- Observation: Confirm that both brake lights are bright and responsive to your input.
Turn Signals
- Action: Activate your left or right turn signal.
- Observation: Assess whether the corresponding light blinks consistently and clearly.
Reverse Lights
- Action: Shift the vehicle into reverse.
- Observation: Ensure reverse lights illuminate and are visible from behind.

Marker Lights
- Action: Turn on your vehicle’s headlights or parking lights.
- Observation: Confirm all marker lights are functioning.
License Plate Light
- Action: Check if the lighting activates with the parking lights or running lights.
- Observation: Ensure the license plate is well-illuminated.
5. Using a Voltage Tester
If any lights fail to respond, use a voltage tester:
- Attach the ground probe to a metal surface on the trailer.
- Probe the wiring leading to the light; if voltage is present but the light fails to illuminate, the bulb may need replacement.
- If no voltage is detected, trace back toward the power supply, checking connections along the way.

6. Cleaning and Replacing Faulty Components
- Cleaning: Use an electrical cleaner to clear any corrosion from connectors. Dry thoroughly before reattaching.
- Bulb Replacement: If a bulb is burned out, carefully remove it from the socket and insert a new one. Ensure it is seated properly to maintain a secure connection.
7. Final Testing
After completing all replacements and cleaning, perform a final round of checks:
- Engage the running lights and test each component once again.
- Walk around the trailer while someone else activates the lights to see them in action.
8. Regular Maintenance Schedule
Establishing a regular maintenance schedule for your semi-trailer’s lights can save time and enhance safety over the long term. Here’s a suggested checklist for light maintenance:
| Interval | Action Item |
|---|---|
| Before Every Trip | Check light functionality |
| Weekly | Inspect wiring and connectors |
| Monthly | Clean all lights and test bulbs |
| Seasonally | Comprehensive inspection of all electrical components |

Troubleshooting Common Issues
Understanding potential issues that may arise can offer you solutions on the fly. Here are some common problems with semi-trailer lights and their remedies:
| Problem | Possible Cause | Solutions |
|---|---|---|
| None of the lights work | Blown fuse or faulty wiring | Check the fuse box and replace blown fuses. Inspect wiring for breaks. |
| Intermittent lighting | Loose connections | Tighten or replace connectors. |
| One light not working | Burnt-out bulb | Replace the bulb and check socket corrosion. |
| Flickering lights | Voltage fluctuations | Test the voltage; check connections for stability. |
Conclusion: Essential Practices for Optimal Lighting Performance
In summary, the process of checking lights on a semi-trailer encompasses a detailed inspection and testing regimen. By following these steps, we can significantly enhance safety, ensure compliance, and reduce the risk of life-threatening incidents on the road. Regular maintenance cannot be emphasized enough; it saves costs while promoting safety and efficiency in our operations.
Taking these actions seriously is not just about preventing fines—it’s truly about prioritizing the safety of drivers, passengers, and everyone else on the road. With proper attention to trailer lights, we can make a tangible difference in our transportation network and uphold best practices within the industry.


