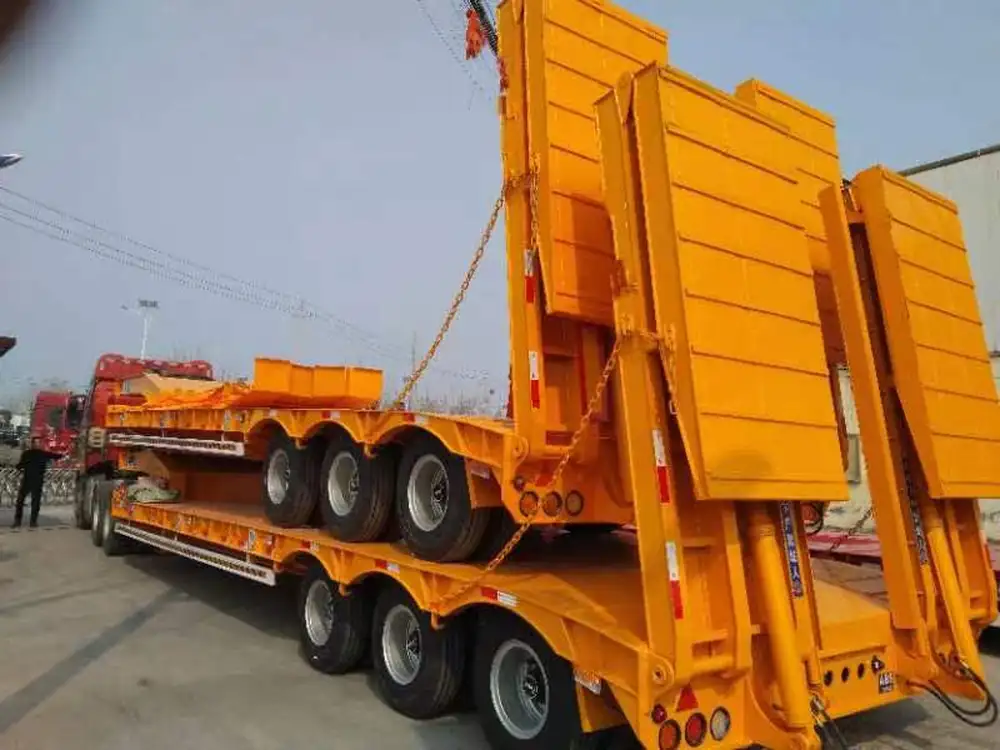
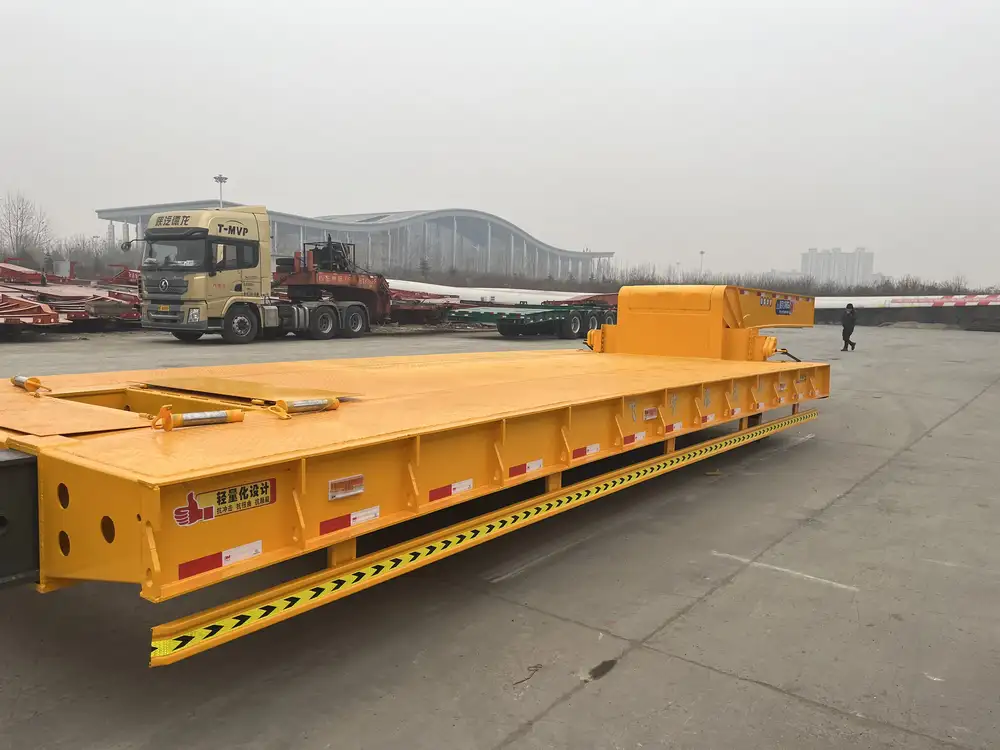
Maintaining the integrity of your semi-trailer lights is essential for safe and efficient operation. Ensuring your lights are functioning correctly not only complies with transportation regulations but also helps prevent accidents. In this article, we delve into the step-by-step process of changing semi-trailer lights, troubleshooting common electrical issues, and offering maintenance tips to enhance the longevity of your lighting systems.
Table of Contents
- Understanding Semi-Trailer Lighting Systems
- Tools Needed for Changing Semi-Trailer Lights
- Step-by-Step Guide to Changing Semi-Trailer Lights
- Common Issues with Semi-Trailer Lights
- Maintenance Tips for Semi-Trailer Lighting Systems
- FAQs
Understanding Semi-Trailer Lighting Systems
Semi-trailer lighting systems comprise various lights, including brake lights, turn signals, marker lights, and license plate lights. The functionality of these lights is crucial for communicating with other road users and complying with legal requirements. Generally, they fall into two categories:
- LED Lights: Known for their long lifespan and energy efficiency.
- Incandescent Lights: Traditionally used; however, they are less energy-efficient and have a shorter lifespan.
A successful transition from incandescent to LED lighting can enhance visibility and reduce energy consumption.

Key Light Types
| Light Type | Purpose | Typical Lifespan |
|---|---|---|
| Brake Lights | Indicates braking action | 2,000 hours |
| Turn Signals | Signals turns or lane changes | 1,000 hours |
| Marker Lights | Enhances visibility in low-light | 3,000 hours |
| License Plate Lights | Illuminates the license plate | 1,500 hours |
Tools Needed for Changing Semi-Trailer Lights
Before embarking on the task of changing your semi-trailer lights, gather the following tools to facilitate a smooth workflow:
- Safety Goggles: Protect your eyes from debris.
- Gloves: Prevent skin contact with electrical components.
- Screwdriver Set: Typically, a Phillips and flathead screwdriver are required.
- Wrenches: Useful for loosening and tightening connectors.
- Voltage Tester: Ensure all electrical systems are functioning properly.
- Replacement Bulbs or LED Units: Acquire the appropriate replacements tailored for your specific trailer model.
Step-by-Step Guide to Changing Semi-Trailer Lights

Identifying the Light to Be Changed
First, determine which light requires replacement. Inspect the entire lighting system for any burnouts or damage. The light might appear dim, flickering, or not illuminating at all. It’s critical to ensure the issue is stemming from the light itself rather than a faulty wiring connection.
Removing the Old Light
- Power Off the Trailer: To avoid electrical shock, disconnect the semi-trailer from the power source.
- Access the Light Assembly: For most trailer lights, this involves unscrewing the fixture or removing clips. If applicable, do this gently to avoid damaging the housing.
- Disconnect Wires: Carefully note or photograph how the old light’s wires are connected. Typically, there may be two or three wires: ground, power, and possibly a turn signal or brake function.
- Remove the Old Light Bulb or Unit: Gently twist and pull the bulb or light unit from its socket.
Installing the New Light
- Attach the New Light: Connect the new light’s connectors to the corresponding wires, ensuring a snug fit. If needed, refer to your previous notes or photographs for guidance.
- Secure the Light Assembly: Reattach the fixture or clips and ensure that everything is secure.
- Replace Any Gaskets or Seals: If your light assembly has them, ensure they are in good condition to prevent moisture ingress.

Testing the New Light
- Reconnect Power: Once everything is back in place, reconnect the trailer to the power source.
- Conduct a Function Check: Test the new light by activating the respective function (brake, turn signal, etc.). Verify functionality from multiple angles to ensure visibility.
Common Issues with Semi-Trailer Lights
Being aware of potential issues can save you time and troubleshooting effort:
- Corrosion: Accumulation of moisture can lead to corrosion, inhibiting electrical flow. Consider using dielectric grease on connectors to prevent moisture intrusion.
- Loose Connections: Over time, connections may loosen due to vibrations on the road. Regular inspections can help identify and remedy loose wires before they result in light failure.
- Burnt Out Bulbs: Routine checks are essential; burnt out bulbs may often be overlooked until a critical failure occurs.
- Faulty Wiring: Physical damage to wiring can cause shorts or open circuits, resulting in malfunctioning lights. Using a multimeter, you can test continuity along the wiring.
Maintenance Tips for Semi-Trailer Lighting Systems
To prolong the lifespan and efficacy of your semi-trailer lights, consider these maintenance strategies:
- Regular Inspections: Incorporate a lighting check into your pre-trip inspection routine.
- Protect Against Moisture: Utilize weatherproof connectors and regularly check seals on light assemblies.
- Clean Light Covers: Dirt and grime can diminish light output; consistently clean the plastic lenses with a non-abrasive cleaner.
- Upgrade to LED: If you frequently experience issues with incandescent bulbs, consider transitioning your entire lighting system to LED for improved performance.
- Document Replacements: Keep a maintenance log for tracking when lights were last replaced. This can help schedule preventative procedures effectively.

FAQs
How often should I check my semi-trailer lights?
Ideally, conduct a thorough review of your lights before every trip. Regular checks can prevent potential issues during transit.
Can I replace semi-trailer lights myself?
Yes, replacing semi-trailer lights is often a straightforward task that can be accomplished with basic tools and safety measures.

How do I know if my wiring is faulty?
Testing with a voltage tester or multimeter can help identify any faulty wiring. If no voltage is detected where it should be present, further investigation is warranted.
What do I do if my new light doesn’t work after installation?
If the new light does not illuminate, double-check all connections for security, test the light for defects, and verify the voltage at the connection points.
Should I use LED lights for my semi-trailer?
LED lights are highly recommended for semi-trailers due to their energy efficiency, longevity, and increased visibility.
Proper maintenance and knowledge of your semi-trailer lighting systems not only enhance safety but can also extend the lifespan of your trailer. Investing time and resources in keeping your lights in top condition is an essential part of trailer ownership that pays off in safety and performance on the road. By following this comprehensive guide on how to change semi-trailer lights, you’ll ensure compliance with road safety regulations and enhance the operational efficiency of your trailer fleet.


