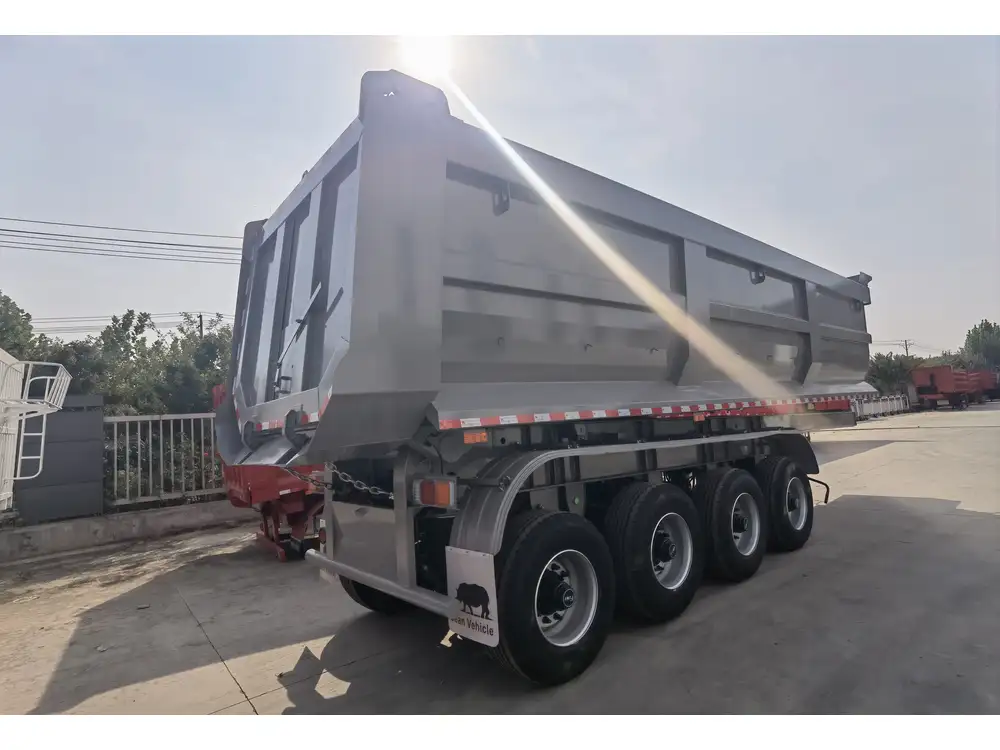
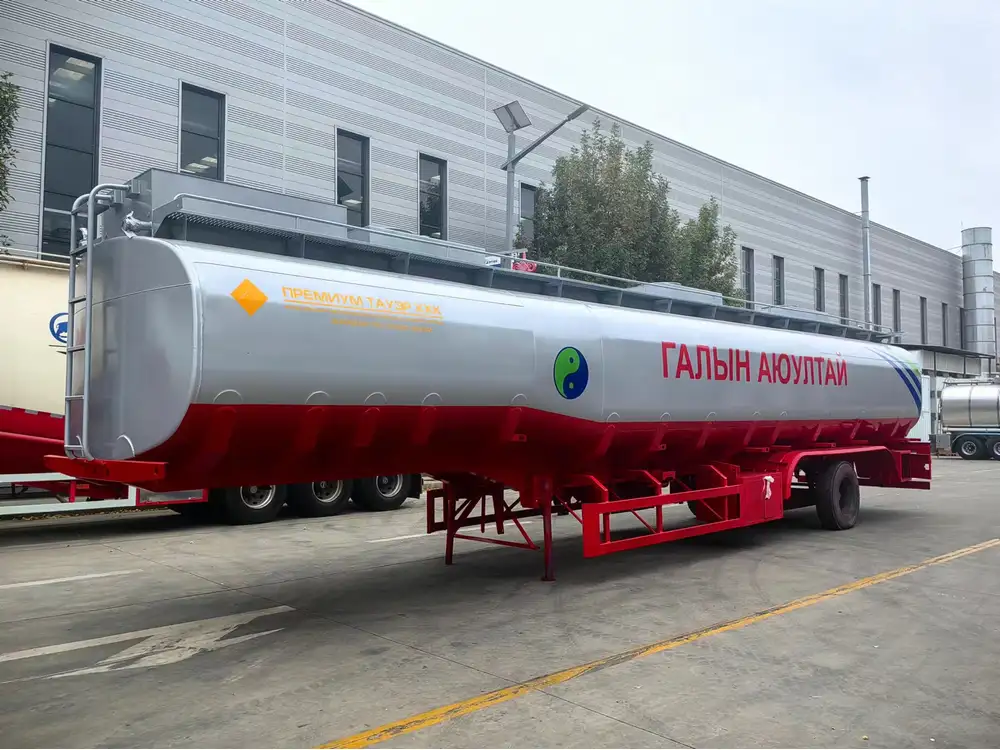
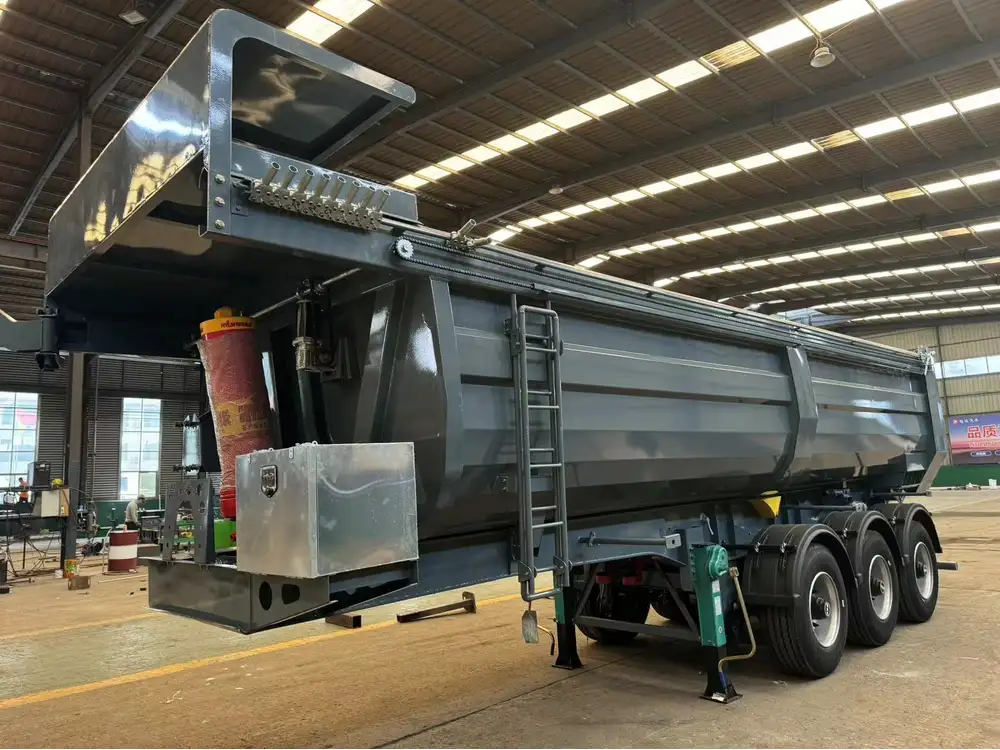
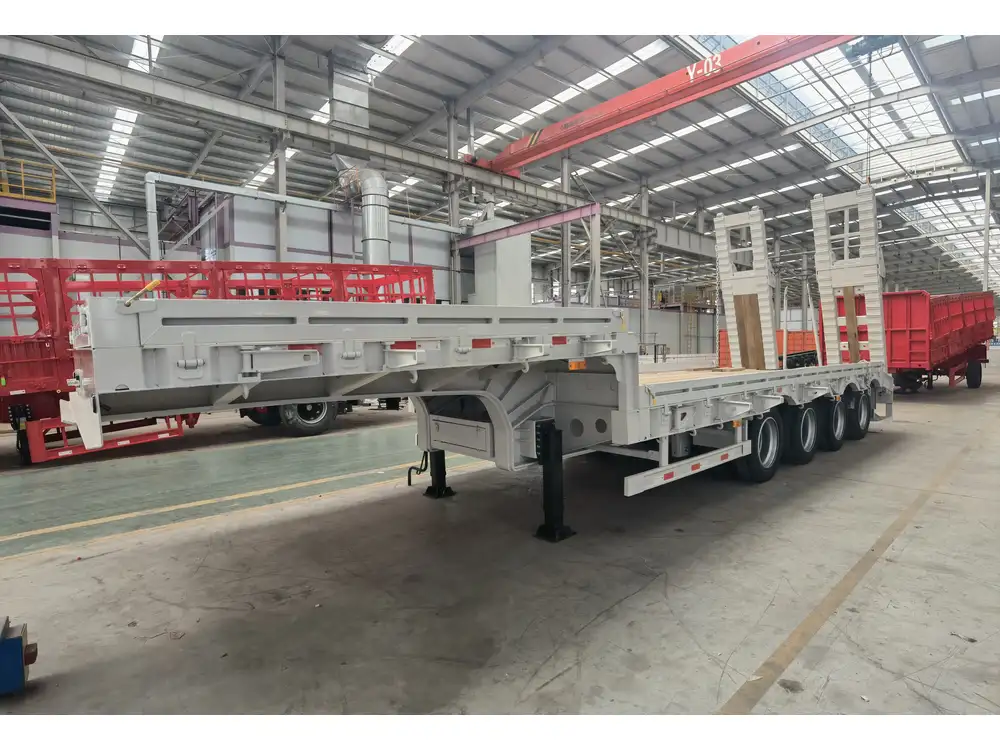
Changing the brakes on a semi-trailer is not just a routine maintenance task; it is a critical procedure that directly influences safety, performance, and longevity in heavy-duty transport. A meticulous approach to this task ensures optimal braking performance, minimizes downtime, and avoids costly repairs. This guide will offer a detailed, step-by-step process to efficiently replace your semi-trailer brakes.
Understanding the Importance of Brake Maintenance
Brakes are integral to any vehicle, especially in heavy-duty applications. The braking system’s efficiency can heavily impact driving safety and the ability to transport goods securely. Here’s a data-driven overview of failure risks if brakes are neglected:
| Risk Factor | Consequence | Prevention Methods |
|---|---|---|
| Worn Brake Pads | Reduced braking power, increased stopping distance | Regular inspections and timely replacements |
| Air Leaks | Brake system failure | Frequent system checks and maintenance |
| Overheated Brakes | Brake fade leading to failure | Ensure appropriate cooling measures are in place |
Regularly changing brakes not only enhances safety but also extends the overall life of the semi-trailer.
Tools Required for Brake Change
Before starting the brake change process, gather the necessary tools and materials:
- Safety Equipment: Safety glasses, gloves, and steel-toe boots
- Basic Tools: Wrench set, socket set, screwdrivers
- Specialized Tools: Brake caliper tool, brake line wrench, torque wrench
- Replacement Parts: Brake pads, brake rotors, calipers, brake fluid
- Additional Materials: Brake cleaner, anti-seize lubricant, rags or shop towels

Step-by-Step Process to Change Brakes on a Semi-Trailer
Step 1: Safety Precautions and Vehicle Preparation
- Park on Level Ground: Ensure the semi-trailer is positioned on a flat surface and engage the parking brake.
- Chock the Wheels: Place wheel chocks on the opposite wheels to prevent movement.
- Raise the Trailer: Use a hydraulic jack to lift the trailer’s axle. Place jack stands securely under the trailer for support.
Step 2: Remove the Wheel Assembly
- Loosen Lug Nuts: Using a lug wrench, loosen the nuts while the wheel is still on the ground to prevent it from spinning.
- Remove the Wheel: Once the nuts are loose, fully lift the wheel from the hub and set it aside.

Step 3: Inspect the Brake Assembly
Before proceeding with the actual brake replacement, perform a thorough inspection:
- Brake Pads: Check for wear indicators. If less than 1/4 inch remains, they should be replaced.
- Rotors: Look for grooves or warping. If the surface feels uneven, replacement is necessary.
- Brake Linings/Drums: Inspect for cracks or significant wear.
Step 4: Remove the Old Brake Components
- Disconnect the Brake Caliper: Use the appropriate wrench to remove the bolts securing the caliper. Slide the caliper away from the rotor and suspend it with a bungee cord to avoid damage to the brake line.
- Remove Old Brake Pads: With the caliper off, carefully slide out the old brake pads. Take note of their positioning for proper installation of the new pads.
- Replace the Rotor (if needed): If the rotor shows signs of damage:
- Remove bolts holding the rotor to the hub.
- Slide the old rotor off and replace it with the new rotor, ensuring it is properly seated.
Step 5: Install New Brake Components
- Install New Brake Pads: Position the new pads in the caliper bracket. Ensure the friction material aligns correctly.
- Reattach the Caliper: Slide the caliper back over the new brake pads and secure it with the previously removed bolts. Torque them to the manufacturer’s specifications.
- Bleed the Brake Lines: If the brake lines were disconnected, now is the time to bleed the system. Start with the farthest wheel from the master cylinder and move closer.

Step 6: Reassemble and Test
- Reattach the Wheel: Place the wheel back onto the hub. Hand-tighten the lug nuts before lowering the trailer.
- Lower the Trailer: Carefully remove the jack stands and lower the trailer to the ground.
- Tighten Lug Nuts: Using a torque wrench, tighten the lug nuts to the manufacturer’s specified torque.
- Perform a Brake Test: Before hitting the road, test the brakes in a controlled environment to ensure they function correctly.
Step 7: Documentation and Disposal
- Record Maintenance: Document the brake change in your maintenance log for future reference.
- Dispose of Old Parts: Follow local regulations for disposing of old brake pads and components.
FAQ: Common Questions About Changing Semi-Trailer Brakes

How Often Should Semi-Trailer Brakes Be Changed?
The frequency of changing semi-trailer brakes can vary based on usage, but a general guideline is to inspect them every 40,000 to 60,000 miles, or at least once a year.
What Signs Indicate Brake Problems?
Signs of potential issues include:
- Squeaking or grinding noises during braking
- Vibration or pulsation while applying brakes
- Uneven wearing of brake pads
- Warning lights on the dash
Can I Change Semi-Trailer Brakes Myself?
Yes, but ensure you possess the required tools and knowledge. Alternatively, employing a professional ensures safety and adherence to regulations.

How Does Weight Affect Brake Lifespan?
Heavier loads increase brake wear, stressing components and leading to faster degradation. Adhering to weight regulations can prolong brake life significantly.
Conclusion
Understanding how to change the brakes on a semi-trailer is vital for any owner/operator committed to maintaining safety standards and ensuring smooth operations. Regular maintenance not only enhances performance but also diminishes the risk of accidents on the road. By following the structured steps outlined in this guide, we trust you will be equipped to carry out this essential task proficiently. For further information or assistance, feel free to contact your semi-trailer manufacturer or a qualified mechanic for expert guidance.
As you delve into the nuts and bolts of brake maintenance, remember that each step contributes to a larger commitment to safety and reliability on the road.


