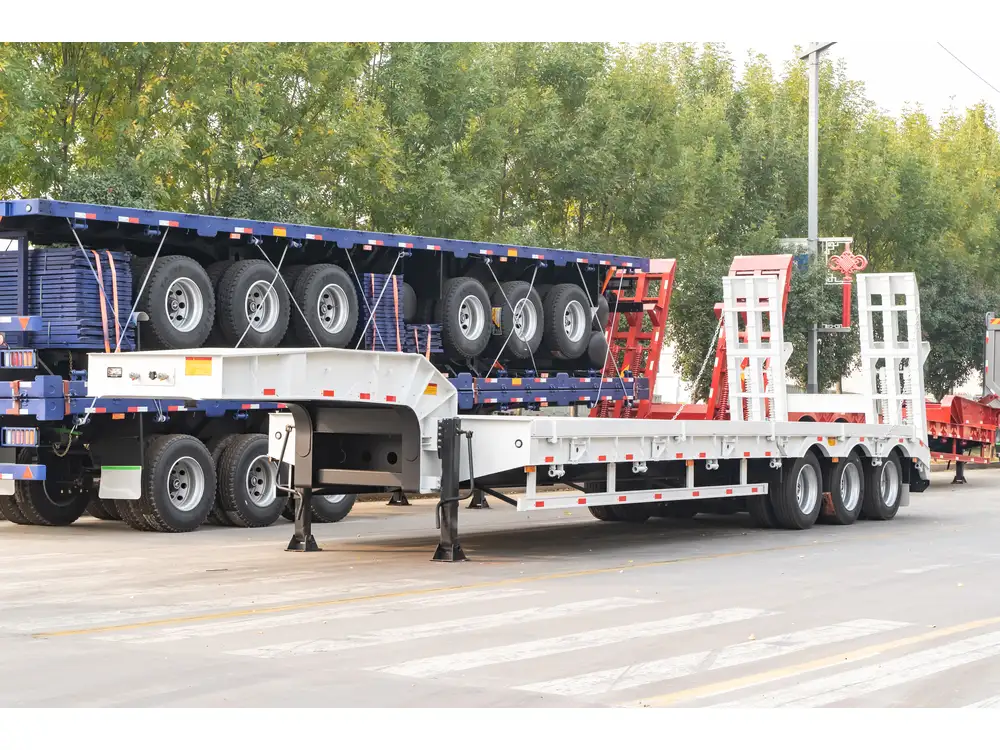
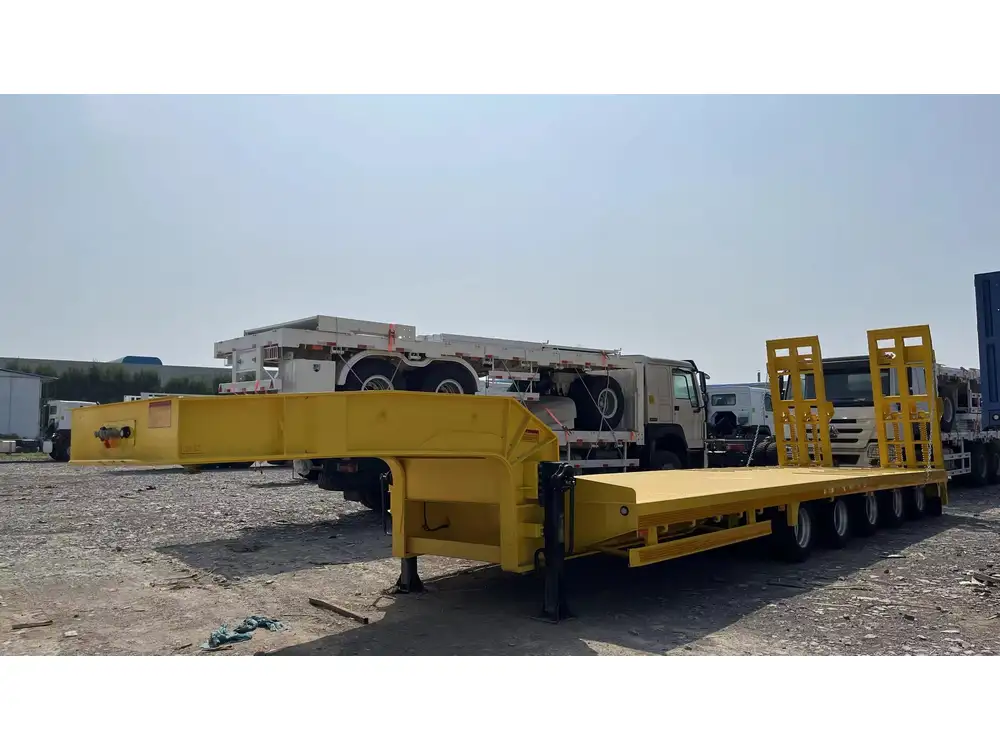
Understanding the intricacies of changing brake shoes on a semi-trailer is crucial for maintaining safety and ensuring operational efficiency. As experts in the semi-trailer manufacturing industry, we recognize that brakes are one of the most vital components of any semi-trailer. This guide aims to provide a thorough Walkthrough, touching upon every possible detail, from the tools required to troubleshooting common issues post-installation.
Table of Contents
- Understanding Brake Shoes
- Tools and Materials Required
- Safety Precautions
- Step-by-Step Guide to Change Brake Shoes
- Common Issues and Troubleshooting
- Best Practices for Maintenance
- Conclusion
Understanding Brake Shoes
Brake shoes are essential components in the brake system of semi-trailers. Their primary function is to provide friction against the brake drum, enabling the trailer to slow down or stop effectively. Typically made from materials such as cast iron or composite materials, brake shoes are designed to wear evenly over time. However, they can become degraded due to various factors including heavy usage, environmental conditions, and poor maintenance practices.

Tools and Materials Required
Having the right tools at your disposal can streamline the process of changing brake shoes on a semi-trailer. Here is a checklist of items needed:
| Tool/Material | Purpose |
|---|---|
| Safety Glasses | Protect eyes from debris during the procedure |
| Wrenches and Ratchets | To remove wheel and brake assembly components |
| Brake Shoe Kit | New brake shoes and springs for installation |
| Torque Wrench | Ensures proper tightening of bolts |
| Dust Mask | Protects lungs from brake dust |
| Grease | Lubrication for moving components |
| Cleaning Supplies (rags, cleaner) | To clean brake assembly before installation |
| Jack and Stands | To lift and secure the semi-trailer |
Safety Precautions
Safety is paramount when working on semi-trailers. Here are the essential precautions:
- Wear Protective Gear: Always don safety glasses and gloves to protect yourself from debris.
- Secure the Trailer: Use jack stands to stabilize the semi-trailer after lifting it with a hydraulic jack.
- Work in a Well-Ventilated Area: If working indoors, ensure that the area is adequately ventilated to disperse any harmful fumes.
- Disconnect the Battery: Prevent any accidental electrical feedback during the replacement process.
Step-by-Step Guide to Change Brake Shoes
Performing a brake shoe replacement involves several detailed steps. By following this structured methodology, we can ensure both safety and efficiency.

Removing the Wheel
- Park the Semi-Trailer: Ensure that the trailer is parked on a flat, stable surface.
- Loosen the Wheel Nuts: Use a wrench or ratchet to slightly loosen the wheel nuts before lifting the wheel.
- Lift the Trailer: Employ a hydraulic jack to raise the trailer, placing jack stands securely underneath for stability.
- Remove Wheel: Completely unscrew and remove the wheel nuts, then take the wheel off the axle.
Accessing the Brake Assembly
- Locate the Brake Assembly: After wheel removal, locate the brake drum which is fixed to the axle.
- Inspect for Damage: Before proceeding, inspect the brake drum for any signs of damage or excessive wear.
- Remove the Brake Drum: If your brake drum is secured with bolts, unscrew them. If it is stuck, use a rubber hammer to loosen it gently.
Removing Old Brake Shoes
- Identify the Spring Mechanism: Locate the retaining springs holding the brake shoes in place.
- Use a Spring Tool: Employ a brake spring tool to remove the retaining springs carefully. This tool is essential for preventing spring-related injuries.
- Take Out Old Brake Shoes: Once the springs are removed, detach the old brake shoes from their anchoring point. Take care to note their configuration for reference.

Installing New Brake Shoes
- Compare New Shoes with Old Shoes: Ensure the new brake shoes match the specifications of the old shoes.
- Position New Brake Shoes: Place the new brake shoes in their respective positions, ensuring they are oriented correctly as per the old setup.
- Reattach the Springs: Using the brake spring tool, carefully attach the retaining springs to secure the new shoes, ensuring they are tight and there are no loose components.
Reassembling the Wheel
- Reattach the Brake Drum: If it has been removed, place the brake drum back onto the axle, tightening any bolts that secure it.
- Put the Wheel Back: Place the wheel back onto the axle and secure it by tightening the wheel nuts by hand.
- Lower the Trailer: Remove the jack stands and lower the trailer back to the ground using the hydraulic jack.
- Tighten Wheel Nuts with Torque Wrench: Ensure the wheel nuts are tightened to the recommended torque specifications for optimal safety and performance.
Common Issues and Troubleshooting
Changing brake shoes can occasionally lead to issues if not done correctly. Below are common problems and their potential solutions:
| Problem | Possible Causes | Solution |
|---|---|---|
| Squeaking Noise | Insufficient lubrication or debris | Inspect and clean the brakes, apply grease where necessary |
| Poor Braking Performance | Incomplete installation or wore components | Reassess installation and inspect all components |
| Brake Dragging | Misaligned brake shoes | Check alignment and readjust the shoes accordingly |
| Uneven Wear of Brake Shoes | Poor adjustment or mismatch | Ensure proper adjustment and use matched sets of brake shoes |

Best Practices for Maintenance
Preventative maintenance is key to prolonging the life of brake shoes and ensuring the overall safety of the semi-trailer. Consider implementing the following best practices:
- Regular Inspections: Frequently inspect brake systems for signs of wear or damage, taking proactive measures before issues arise.
- Clean Brake Components: Regularly clean the brake drum and other components to minimize debris build-up that leads to wear.
- Monitor Brake Fluid: Ensure brake fluid levels are adequate and check for any leaks that could affect performance.
- Timely Replacements: Replace brake shoes at recommended intervals, particularly for those that are subject to heavy loads and frequent use.
Conclusion
The process of changing brake shoes on a semi-trailer, while intricate, becomes manageable with the right knowledge and tools. This guide has provided a detailed, step-by-step approach to ensure that you perform the job safely and effectively. By adhering to sanitation practices and maintaining a routine inspection schedule, you can extend the longevity of your trailer’s braking system, thereby offering a safer ride for all involved. For further inquiries or assistance with other trailer components, do not hesitate to reach out to our team of professionals ready to assist you with expertise and dedication.
Properly functioning brake shoes are not just a recommendation; they are essential. Maintaining them will ensure your semi-trailer operates safely under all conditions, paving the way for successful transport solutions.


