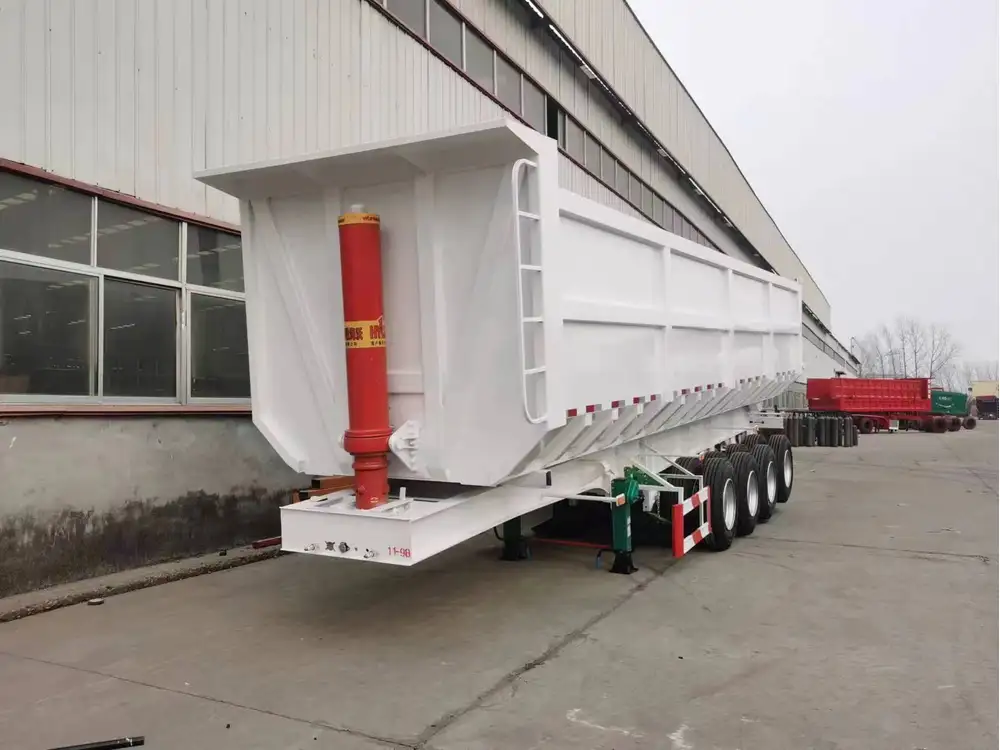
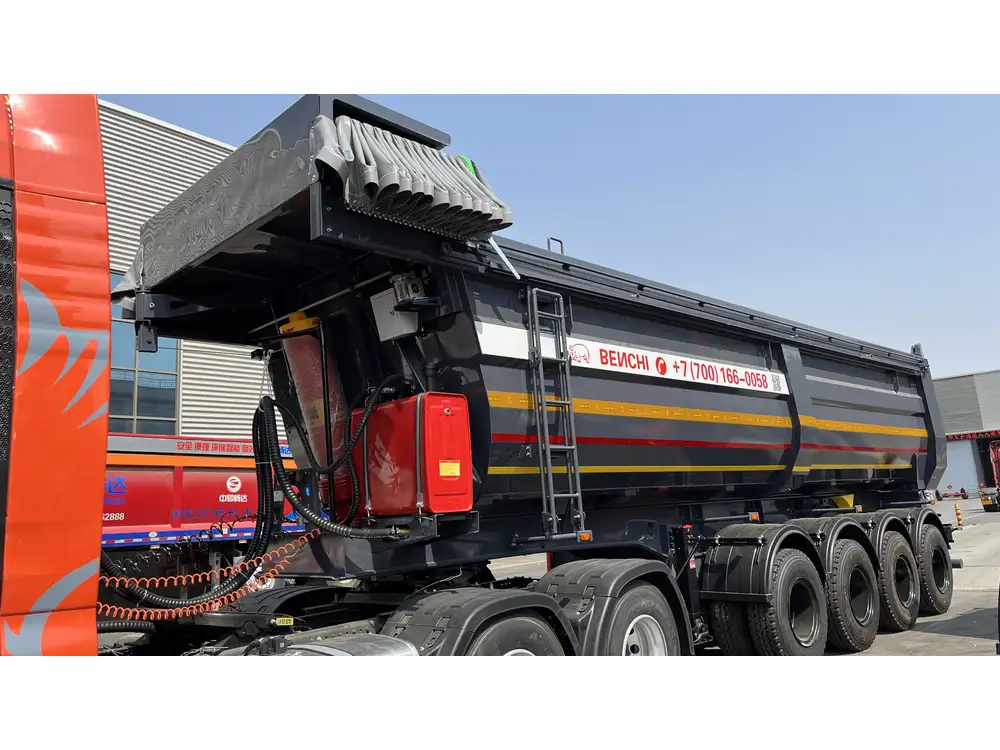
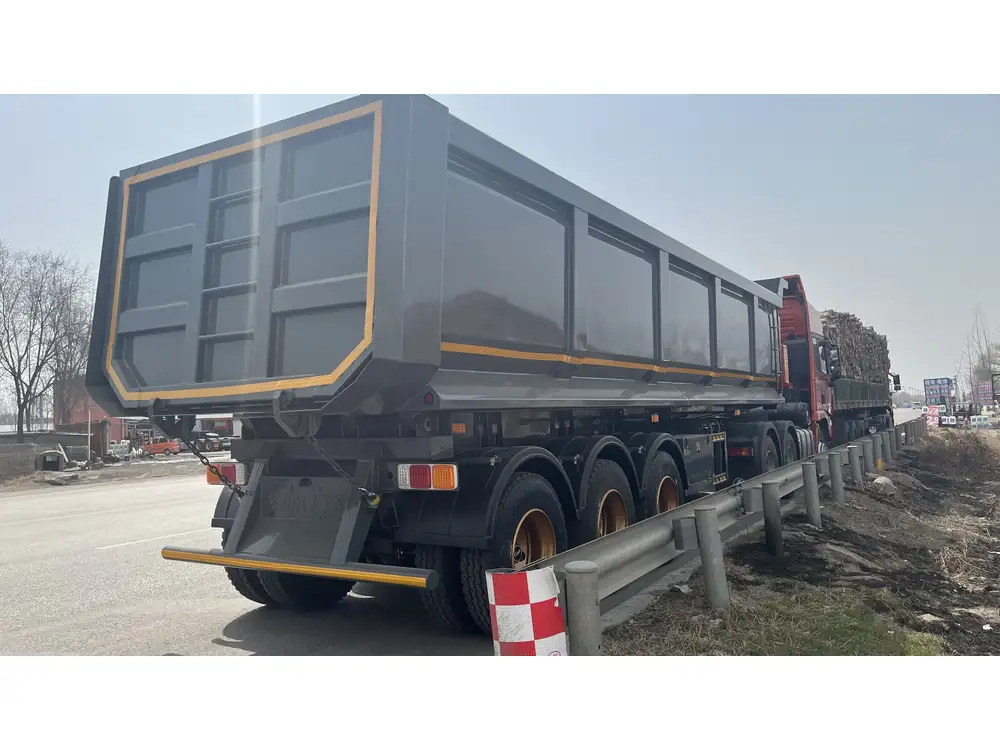
When it comes to customizing a dump trailer, nothing can be as transformative as adding wood sides. They improve the functionality of your trailer, allowing you to transport a wider array of materials securely. In this guide, we will delve into the intricacies of constructing wood sides for your dump trailer, providing you with a comprehensive step-by-step tutorial that addresses all essential elements.
Materials and Tools Needed
Before embarking on your project, it’s critical to gather all the necessary materials and tools. Here’s what you’ll need:
| Materials | Quantity |
|---|---|
| Treated lumber (2×8, 2×6) | As per your dumper size |
| Wood screws | 3-inch screws (box) |
| Wood sealant | 1 can |
| Hinges | 4 heavy-duty |
| L-brackets | 8 |
| Paint or wood stain | Optional |
| Heavy-duty tarp (for cover) | Optional |
| Tools | Purpose |
|---|---|
| Drill and drill bits | For screws and hinges |
| Saw (circular or miter) | For cutting wood |
| Measuring tape | For precise measurements |
| Level | For leveling sides |
| Screwdriver | For securing screws |
| Safety goggles | Safety while cutting |
Step-by-Step Process to Build Wood Sides

Step 1: Measure Your Dump Trailer’s Dimensions
Accurate measurements form the foundation of a successful wood side project. Use a measuring tape to:
- Measure the height and length of your dump trailer sides.
- Consider how high you want the wood sides to be; typically, a height of 1 to 2 feet works well for most applications.
This measurement will dictate the size of the lumber you should cut.
Step 2: Select and Cut the Lumber
Choose treated lumber for durability and resistance against the elements. Once you have your lumber:
Cut the Boards: Based on your measurements, cut the lumber into the desired lengths. For instance:
Component Length Lower Side Panels Length of trailer Vertical Supports Desired height Upper Side Panels Matching lower panel Ensure all cuts are clean and straight to enhance stability.
Step 3: Assemble the Wooden Sides
Now, it’s time to start forming the frame for your wood sides.
Create the Frame:
- Lay out the lower side panels parallel to each other, forming the base of your sides.
- Attach vertical support beams at regular intervals (usually every 24 inches) with screws.
Secure the Assembly:
- Fasten the lower panels to the supports using wood screws.
- Use L-brackets at the joints for additional stability.
Attach the Upper Panel:
- Connect the upper panels directly to the top of the vertical supports. This configuration will provide strength and rigidity to the assembly.

Step 4: Install the Hinges
Choosing the Right Hinges
Select heavy-duty hinges capable of bearing the weight and strain exerted during loading and unloading.
- Positioning the Hinges: Attach the hinges on one side of the wood panel, ensuring they are evenly spaced for balance and ease of operation.
Step 5: Fit the Wood Sides to Your Dump Trailer
Position the Wood Assembly: Raise the wood assembly and align it with the sides of your dump trailer.
Secure the Assembly:
- Once positioned, drill pilot holes into your trailer’s frame to prevent splitting.
- Use screws to secure the assembly firmly to the trailer’s walls.

Step 6: Seal and Paint
Sealing the Wood: Apply a wood sealant to increase the longevity of your sides and to guard against rot and decay. This step is essential if your trailer works in wet environments.
Painting/Staining: If desired, apply paint or stain for aesthetic appeal. Not only can this make your trailer more visually appealing, but it can also add an extra layer of protection against weathering.
Additional Considerations for Optimal Functionality
Load Capacity Safety
When building your wood sides, consider the trailer’s load capacity. Overloading can lead to safety issues and diminished lifespan for both your trailer and the wood sides. Always refer to your manufacturer’s guidelines regarding weight limits.

Maintenance Tips for Longevity
To maximize the lifespan of your wooden sides:
- Inspect Regularly: Check for signs of rot, decay, or damage after every major use.
- Refinish as Needed: Reapply sealant or stain annually or biannually, depending on exposure to elements.
Customization Options
- Add Reinforcements: Consider reinforcing corners and edges using additional metal brackets for superior strength.
- Install a Tarp System: If transporting loose materials like dirt or gravel, consider attaching a heavy-duty tarp system to keep your load contained and safe.
Enhancing Security with Locks
To deter theft, consider installing locking mechanisms on the gates of your newly built wood sides. This additional layer of security can be an attractive feature for potential buyers.

Conclusion: Transform Your Dump Trailer With Wood Sides
Building wood sides for your dump trailer is not merely a construction project; it’s an investment in enhanced functionality and versatility. By following the steps outlined in this comprehensive guide, you can successfully craft durable wood sides tailored to your specific needs. Your trailer will transform into a robust transport vehicle that can handle various materials efficiently.
With a blend of thoughtful customization, adherence to safety guidelines, and regular maintenance, your newly constructed wood sides will serve their purpose and withstand the rigors of everyday use. So roll up your sleeves, gather your materials, and enjoy the process of building something that’s not only practical but adds to the efficiency of your operations!
By addressing all critical aspects of building wood sides for dump trailers, this guide ensures that you not only meet your functional requirements but also enhance the visual aesthetic and security of your trailer. Turn your dump trailer into a reliable tool that stands the test of time and showcases your personal touch!


