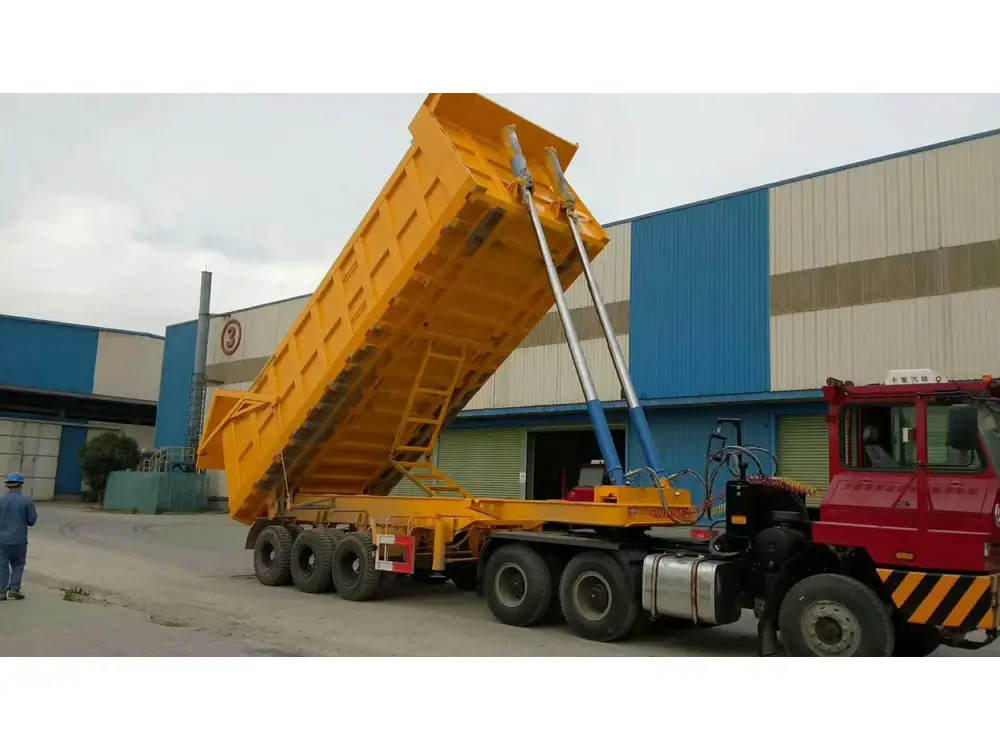
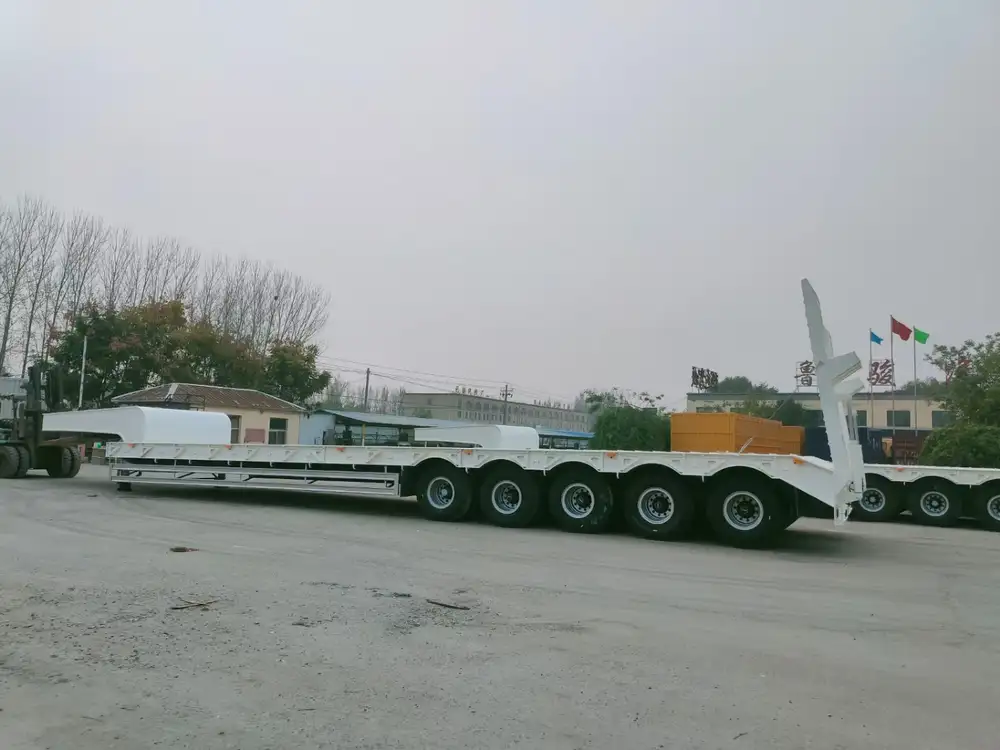
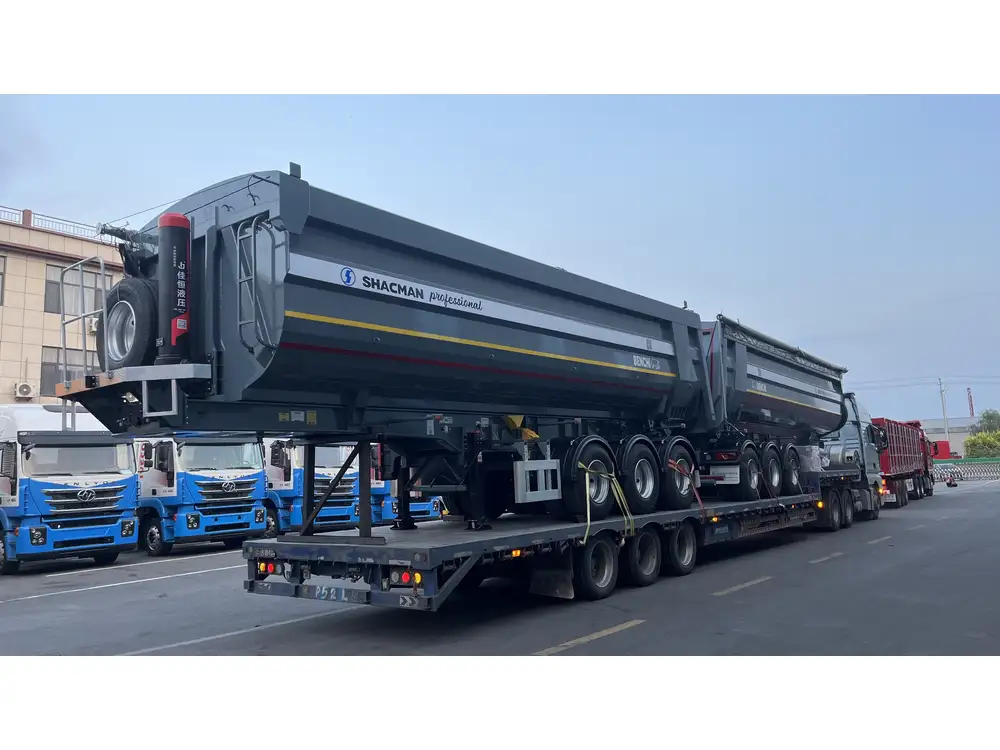
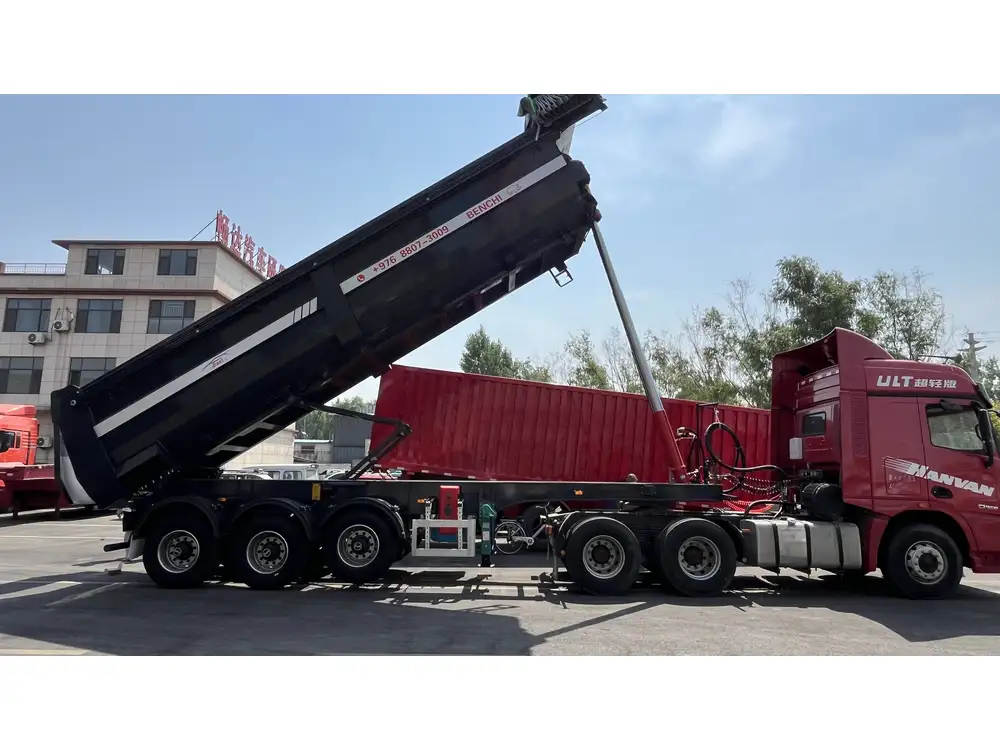
Creating a dump trailer that can transport two ATVs involves a blend of precision engineering, careful material selection, and an understanding of safety regulations. This comprehensive guide will walk you through the steps of building a trailer configured for your specific needs, ensuring it’s both functional and reliable.
Understanding Your Requirements
Before embarking on the construction of your trailer, it’s crucial to delineate your specific requirements. Consider the following:
- Weight Limitations: Determine the weight of your ATVs and any additional cargo you might transport.
- Dimensions: Understand the size of ATVs to ensure they fit comfortably on the trailer.
- Material Selection: Choose materials that provide strength without excessive weight.
- Functional Features: Identify features, such as a ramp for loading and unloading, tie-down points, and the ability to dump loads if necessary.
Materials Needed for Building an ATV Dump Trailer
| Component | Material Options | Recommended Specs |
|---|---|---|
| Trailer Frame | Steel tubing, Aluminum | Steel tubing: 2″x3″ rectangular; Aluminum: 6061 alloy |
| Decking | Plywood, Pressure-treated lumber | 3/4″ plywood or 2″x6″ lumber |
| Axle | Straight or drop axle | Axle rated for at least 3,500 lbs |
| Wheels/Tires | Standard trailer wheels | 14″ or 15″ wheels with a load capacity of at least 1,500 lbs per wheel |
| Ramp | Steel or aluminum | 3’ wide, foldable with 1” tubing support |
| Dumper Mechanism | Hydraulic lift kit | 12V electric or manual hydraulic system |
| Paint | Rust-Resistant Paint | High-quality outdoor paint or powder coating |

Step-by-Step Guide to Building Your ATV Dump Trailer
Step 1: Design Your Trailer
- Sketch the Design: Use graph paper or CAD software to create a blueprint, ensuring that it meets the required dimensions for two ATVs along with a dumping mechanism.
- Weight Distribution: Consider where the axles will be positioned for optimal weight distribution to prevent swaying while towing.
Step 2: Fabricate the Frame
- Cut the Steel Tubing: Using a metal saw, cut the steel tubing to size per your design.
- Weld the Frame: Use a MIG welder to assemble the trailer frame, ensuring all joints are securely welded for safety and durability.
- Incorporate Mounting Points: Create specific areas on the frame for mounting the axle and dumping mechanism.

Step 3: Construct the Deck
- Prepare the Lumber or Plywood: Depending on your choice of decking material, cut it to size.
- Secure the Decking: Fasten the decking to the trailer frame with bolts or screws, ensuring stability during transport.
Step 4: Install the Axle and Wheels
- Position the Axle: Measure the correct placement of the axle according to your design for proper weight balance.
- Attach the Wheels: Install the wheels on both sides of the axle, securing them tightly.
Step 5: Create the Ramp
- Cut the Ramp Material: Use steel or aluminum sheets to craft a ramp that is wide enough to accommodate both ATVs.
- Attach Hinges: Secure the ramp to the rear of the trailer using heavy-duty hinges for foldability.

Step 6: Integrate the Dump Mechanism
- Install Hydraulic System: Following the manufacturer’s instructions, install a hydraulic lift kit. Ensure the hydraulic cylinders are securely positioned to allow for adequate dumping angle.
- Connect to Power: If using an electric system, ensure that wiring is neatly harnessed and secured to prevent wear during use.
Step 7: Safety Features
- Tie-down Points: Install multiple tie-down locations around the trailer to secure ATVs during transit.
- Reflective Markings: Add reflective tape or lights for visibility, particularly important if it will be used during low light conditions.
Step 8: Paint and Protect
- Surface Preparation: Clean and remove any rust or debris from the trailer.
- Apply Rust-Resistant Coating: Paint or powder coat the trailer to protect against the elements.

Testing Your Trailer
Weight Testing
Before using your trailer, ensure it can handle the expected load. Use weighted test materials to simulate carrying two ATVs.
Road Test
Conduct a thorough road test at different speeds and terrain. Adjust the weight distribution and tie-down placements as necessary.

Maintenance Tips for Your Dump Trailer
To extend the life of your dump trailer and ensure safe operation, follow these maintenance tips:
- Regular Inspections: Check welds, bolts, and connections for wear and tear.
- Tire Pressure: Regularly monitor tire pressure; under-inflated tires can lead to handling issues.
- Cleaning: Clean the chassis and remove debris that could cause rust over time.
- Hydraulic Maintenance: Regularly check the hydraulic fluid levels and inspect for leaks.
Conclusion: Maximizing Efficiency with Your Custom ATV Dump Trailer
Building a trailer for transporting two ATVs may seem daunting, but with the proper guidance and attention to detail, it can become a rewarding project. The ability to easily haul your recreational vehicles not only augments your adventures but also enhances operational efficiency for any related tasks.
By understanding the intricacies of design, materials, and maintenance, you can ensure that your dump trailer is tailored perfectly to your needs, providing both reliability and safety for years to come. Whether you’re an ATV enthusiast or a professional requiring versatile transport solutions, having this custom-built trailer will make every journey smoother and more enjoyable.
With this guide, you’re equipped with the knowledge necessary to embark on your trailer-building journey. Now it’s time to get started!


