
Building a small dump trailer can be a rewarding project that offers convenience for hauling materials such as mulch, gravel, and debris. This guide outlines each step of the process, from gathering materials to final assembly, ensuring you achieve a sturdy and functional trailer that meets your needs.
Table of Contents
- Understanding Your Needs
- Gathering Your Materials
- Designing Your Dump Trailer
- Constructing the Trailer Frame
- Building the Dump Bed
- Adding the Hydraulic System
- Wiring and Lighting
- Finishing Touches and Maintenance
- Common Issues and Solutions
- Conclusion
Understanding Your Needs
Before diving into the project, it is essential to assess your requirements. Ask yourself:
- What is the primary use of the dump trailer?
- What weight capacity do you need?
- Are there specific dimensions required for storage or transport?
- Will the trailer be used on heavy-duty terrain or mainly smooth surfaces?
By clarifying these questions, you can customize your trailer design to fit your unique requirements.
Gathering Your Materials
The next step is compiling all the necessary materials and tools. Here’s a comprehensive list of what you typically need:
| Category | Item | Description |
|---|---|---|
| Frame | Steel tubing | Heavy-duty steel tubing for the frame construction. |
| Dump Bed | Plywood or metal sheets | Suitable material for your dump bed, preferably treated plywood or steel. |
| Axles and Wheels | Trailer axle with wheels | Rated for the weight you plan to haul; typically includes brakes. |
| Hydraulic System | Hydraulic cylinder and pump | System to control the dumping action of the trailer. |
| Hardware | Bolts, nuts, and brackets | High-strength fasteners compatible with your frame. |
| Finishing Touches | Paint and welding materials | For aesthetics and protecting against corrosion. |
Make sure to buy quality materials, as they directly impact the longevity and safety of your dump trailer.
Designing Your Dump Trailer
Design plays a crucial role in the overall functionality and durability of your trailer.
Dimensions and Architecture
Choose Dimensions: Typically, small dump trailers have dimensions ranging from 4 to 6 feet wide and 8 feet long. The height of the sides usually ranges from 16 to 24 inches.
Sketch the Design: Create a rough sketch including the frame, axle placement, dump bed, and hydraulic system. This will serve as a blueprint during construction.
Weight Distribution: Consider the placement of heavier components like the hydraulic system and axle. Ensure that they are centrally located to avoid instability.

Constructing the Trailer Frame
Step-by-Step Guide to Building the Frame
Cut the Steel Tubing: Based on your design dimensions, cut the steel tubing for the frame and cross members. Precision is critical; err on the side of caution.
Welding the Frame: Use a MIG welder to join the frame pieces. Make sure all joints are securely welded to ensure durability and strength.
Adding Reinforcement: Insert horizontal and vertical reinforcements, particularly in areas where the dump bed will pivot, to enhance structural integrity.
Install the Axle: Securely attach the axle to the frame’s underside. Make sure it is aligned properly, as this serves as the base for your trailer’s mobility.
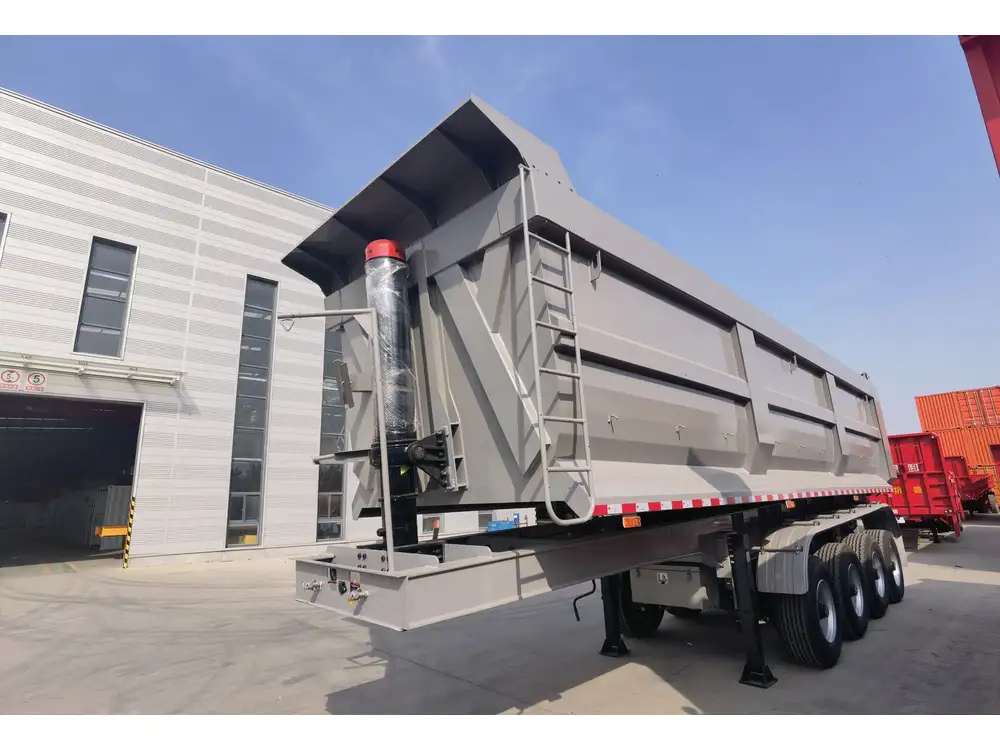
Building the Dump Bed
Constructing the dump bed involves several stages focused on usability and strength.

Choosing Materials
Select between plywood for a lighter weight or metal for maximum durability.
Assembly Process
Build the Bed Base: Cut the base material to fit securely onto the frame. If using plywood, consider using thicker sheets for added durability.
Constructing Sides: Attach vertical sides to the base to contain your materials during transport. Ensure they are securely fastened.
Installing Hinges: Use heavy-duty hinges to attach the bed to the rear of the trailer. These will facilitate the dumping action.
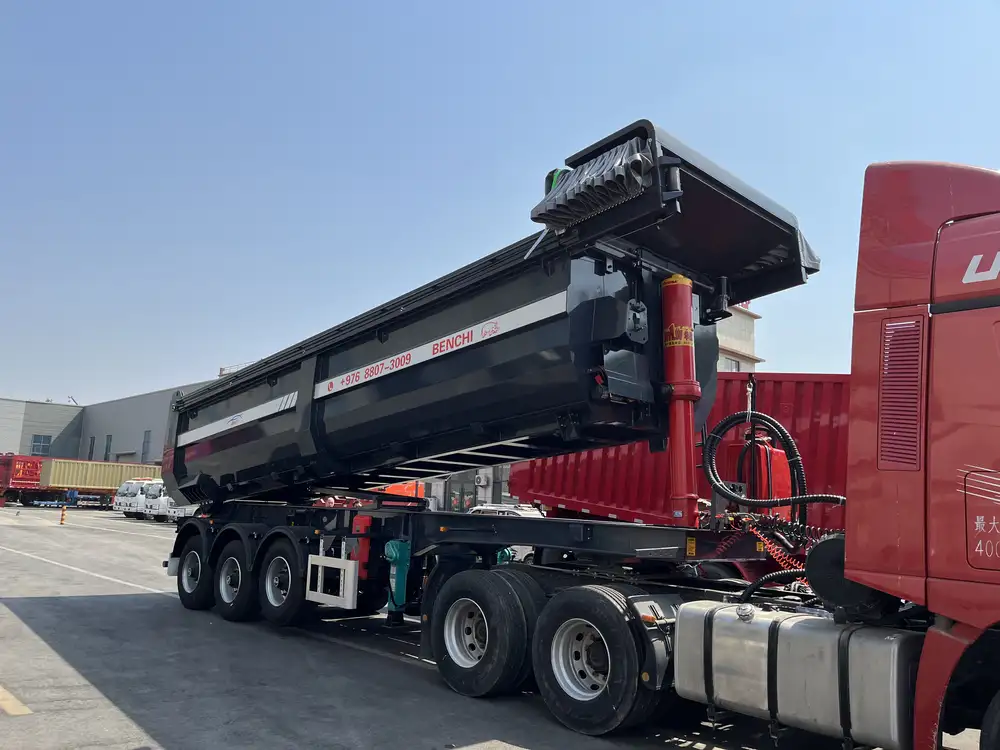
Adding the Hydraulic System
The hydraulic system is the heart of the dump trailer, enabling efficient unloading.
Selection of Components
Hydraulic Cylinder: Choose one that matches your trailer’s dimensions and weight capacity.
Hydraulic Pump: Select a reliable pump that can produce the necessary pressure for the cylinder to lift the trailer bed.
Installation Procedure
Position the Cylinder: Install the hydraulic cylinder vertically on a reinforced area of the trailer frame.
Connect the Pump: Securely connect the hydraulic pump to the cylinder following the manufacturer’s specifications.
Check for Leaks: Once assembled, it’s crucial to test the hydraulic system for leaks to ensure safety and reliability.
Wiring and Lighting
Proper wiring is essential for safety and compliance with road regulations.

Electrical Configuration
Wiring the Trailer: Use weather-resistant wiring to connect the trailer’s lights, ensuring visibility during transport.
Install Lights: Mount tail lights, brake lights, and turn signals at appropriate locations. Make sure they adhere to your local regulations.
Test the Setup: Before hitting the road, conduct a thorough check of the lights and wiring connectivity.
Finishing Touches and Maintenance
Now that the main structure is complete, it’s time for some final enhancements.
Painting and Protection
Paint the Frame: Apply a rust-inhibitive primer followed by your choice of color to protect the steel from corrosion.
Seal the Wood (if applicable): If you used wood for the dump bed, seal it with a protective varnish or stain to extend its lifespan.

Regular Maintenance Tips
Inspect Components: Regularly check the structure, hydraulic components, and electrical system for any signs of wear or damage.
Routine Cleaning: Clean the trailer after each use to prevent material buildup, especially on hydraulic components.
Common Issues and Solutions
Understanding potential issues that may arise can help you tackle them effectively.
| Issue | Possible Cause | Solution |
|---|---|---|
| Hydraulic System Not Working | Low hydraulic fluid or leaks | Check fluid levels and examine hoses for leaks. |
| Uneven Dumping | Off-center load or hydraulic pressure issues | Ensure load is balanced; check hydraulic connections. |
| Electrical Failures | Broken wires or faulty lights | Inspect wiring and replace any damaged components. |
| Stability Problems | Misaligned axle or improper weight distribution | Reassess axle positioning and adjust weight distribution. |
Conclusion
Building a small dump trailer is an ambitious yet achievable project. By following the structured steps outlined in this guide, you will not only enhance your DIY skills but also create a valuable tool for a variety of hauling needs. Investing time in proper design and material selection will ensure your trailer is robust, efficient, and ultimately serves its purpose for years to come. Whether you’re a contractor, landscaper, or simply a general DIY enthusiast, a well-constructed dump trailer can significantly ease your unloading tasks. Embrace the journey, and enjoy the fruits of your labor!

