
Building a hydraulic dump trailer can seem like a daunting task fraught with complexity, let alone the various components that require precise assembly and engineering. However, the right information, tools, and step-by-step guidance can make this project manageable and rewarding. This article serves as a detailed reference, outlining everything you need to know about building your hydraulic dump trailer—from selecting materials to the final assembly.
Understanding the Basics of Hydraulic Dump Trailers
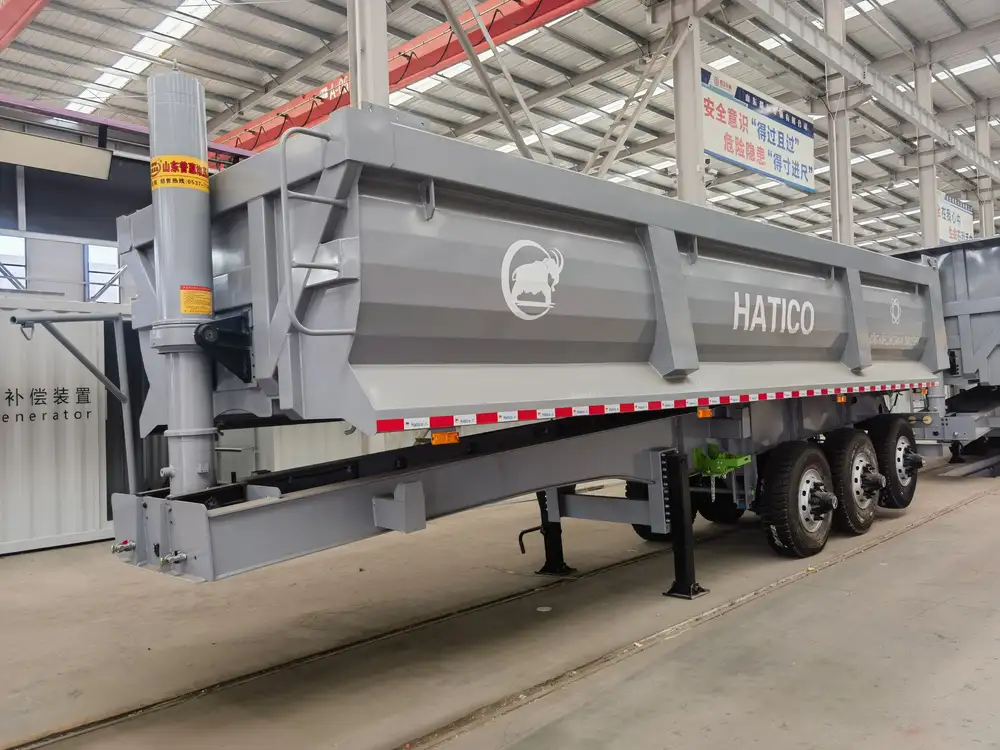
Hydraulic dump trailers are essential in various industries, primarily in construction and agriculture, where they play a critical role in transporting materials like dirt, gravel, and debris. The key features that make hydraulic dump trailers so valuable include:
- Hydraulic Mechanism: This allows for the efficient and effective dumping of materials with minimal physical effort.
- Sturdy Build: Robust construction ensures durability and longevity, able to withstand heavy loads.
- Versatility: These trailers can be used for a variety of tasks, making them a preferred choice for many operators.
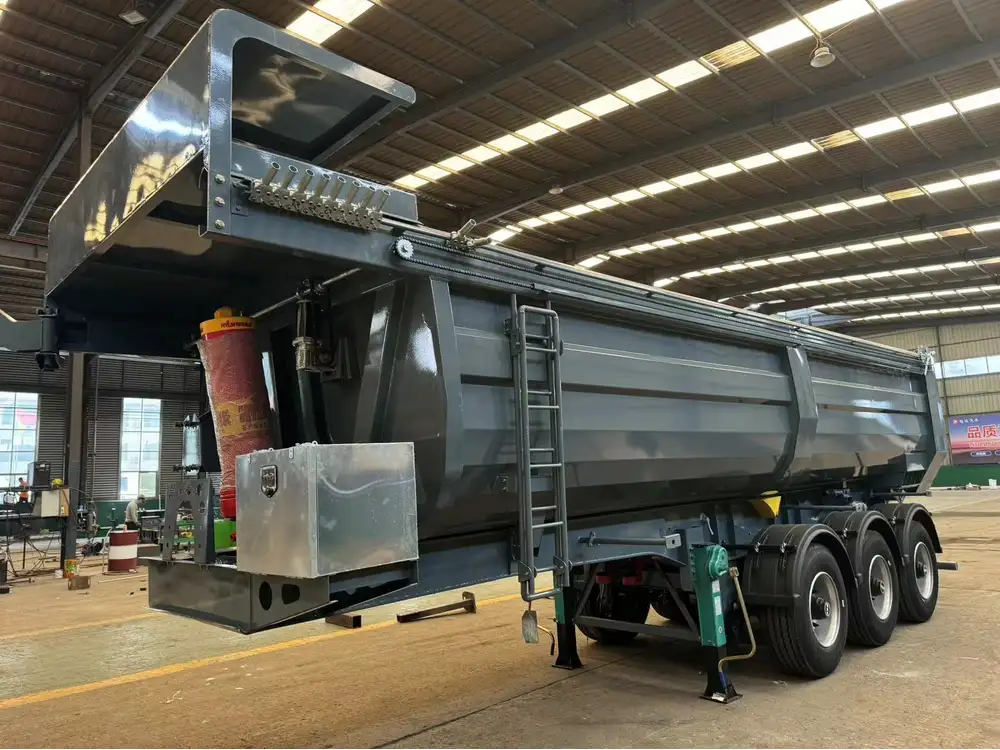
Key Components of a Hydraulic Dump Trailer
Before we dive into the building process, it’s essential to understand the various components that make up a hydraulic dump trailer. Here’s a high-level breakdown:
| Component | Description |
|---|---|
| Frame | The structural backbone of the trailer, typically made from strong steel or aluminum. |
| Hydraulic Cylinder | Responsible for lifting and lowering the dump bed. |
| Dump Bed | The container where materials are loaded before being dumped. |
| Piston and Pump System | The hydraulic pump supplies fluid to the cylinder, allowing for lift. |
| Tires and Axles | Provide mobility and bear the trailer’s load during transportation. |
| Electrical System | Controls the hydraulic system, usually via a remote or a toggle switch. |
| Hitch | Connects the trailer to the towing vehicle. |
Tools and Materials Needed for Construction
Building your hydraulic dump trailer requires careful selection of tools and materials. Below is a comprehensive list of what you’ll need:
Tools
- Wrenches and Socket Set: For assembling various parts.
- Cutting Torch or Plasma Cutter: For cutting metal components.
- Welding Machine: Essential for joining metal pieces together.
- Drill Press: For drilling precise holes.
- Measuring Tape and Square: To ensure accuracy in dimensions.
- Hydraulic Fluid: Necessary for the hydraulic system.
Materials
- Steel Tubing: For the frame; choose a thickness that matches your design requirements.
- Sheet Metal: For the dump bed.
- Hydraulic Cylinder: Select the appropriate size based on the trailer’s weight capacity.
- Piston and Pump Kit: Ensure it is compatible with the hydraulic cylinder.
- Wheels: Rated for the weight of the trailer you plan to build.
- Miscellaneous Fasteners: Bolts, nuts, and washers to secure components.
Step-by-Step Guide to Building a Hydraulic Dump Trailer
With a clear understanding of your tools, materials, and components, it’s time to get into the nitty-gritty of construction. We will detail each phase of the building process, providing insights that will help in avoiding common pitfalls.
1. Designing Your Trailer
Planning and Measurements: The first step is to sketch a design based on your needs, considering the intended use and weight requirements. Key aspects to determine:
- Dimensions of the Trailer: Length, width, and height are critical for efficiency.
- Load Capacity: Calculate how much weight the trailer will carry.
- Hydraulic Cylinder Placement: Ensure that it is positioned logically for optimal lift.
Sample Design Considerations
| Design Element | Description |
|---|---|
| Length | Commonly ranges from 10 to 20 feet. |
| Width | Typically around 5 to 8 feet. |
| Height | Should allow for material clearance, usually 2-4 feet. |
| Hydraulic Cylinder | Choose based on the height and weight capacity. |

2. Constructing the Frame
Cutting Steel Tubing: Measure and mark your steel tubing according to your design. Using a cutting torch or plasma cutter, cut the metal accurately.
Welding the Frame: Utilizing your welding machine, start by assembling the frame. It is advisable to tack weld first, ensuring everything is squared off before completing the welds.
Key Tips:
- Wear safety gear to protect against sparks.
- Keep the work area well-ventilated.
- Regularly check for squareness using your square tool.
3. Creating the Dump Bed
Building the Deck: Cut sheet metal to size for the dump bed. This should be firmly attached to the frame. Employing welds at crucial joints will provide added strength.
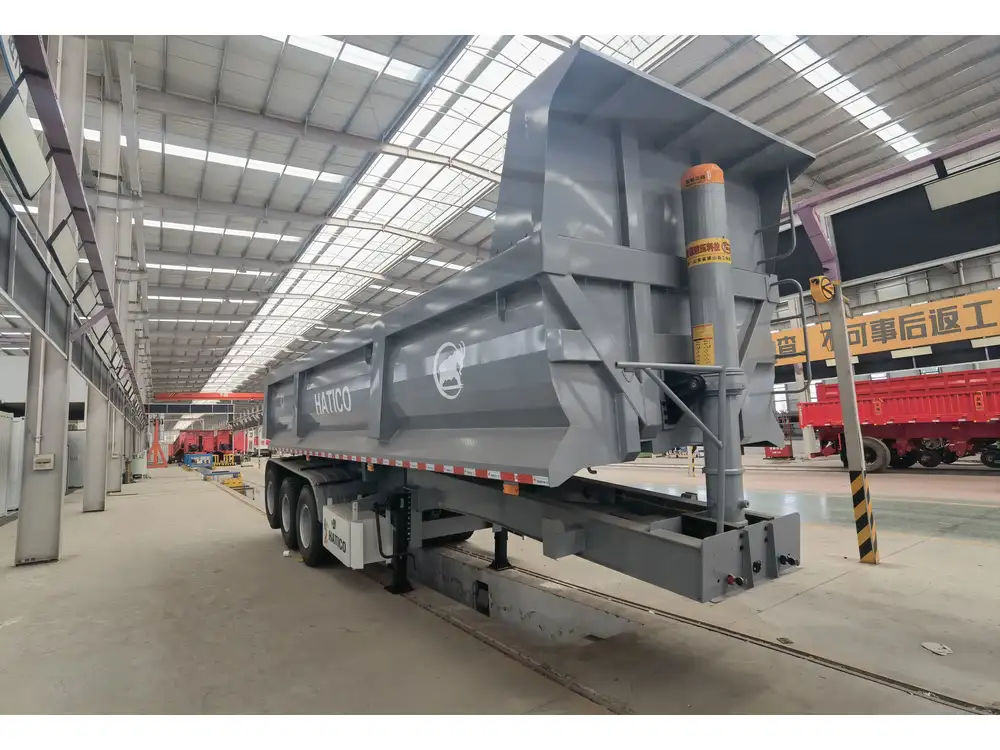
Hydraulic Cylinder Installation: Ensure that the hydraulic cylinder’s base is securely fastened to the frame and aligned with the dump bed hinge.
4. Installing the Hydraulic System
The hydraulic system is the heart of the dump trailer. Follow these steps for installation:
Connect the Hydraulic Lines: Use specialized hydraulic fittings to connect the pump to the cylinder. Ensure that all fittings are tight and leak-free.
Install the Hydraulic Pump: Secure the pump to the frame, making sure it’s easily accessible for maintenance.
Fill Hydraulic Fluid: Fill the hydraulic reservoir with the recommended hydraulic fluid.

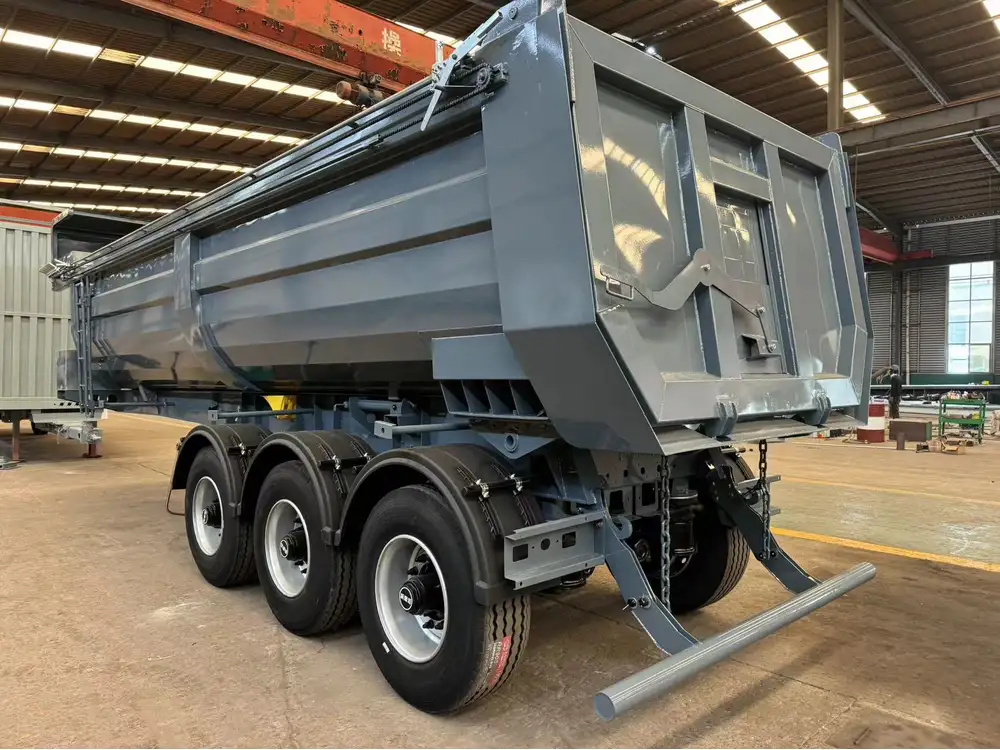
5. Adding Wheels and Axles
After the hydraulic system is installed, it’s time to add the wheels and axles.
Installing the Axles: Attach the axles to the frame and ensure that they are properly aligned.
Mounting the Wheels: Once the axles are in place, mount the wheels. Always check for snug fit on the hub.
6. Wiring the Electrical System
Electrical components control the hydraulic operation, thus it’s crucial to have them wired correctly:
Install the Control Box: Position the control switch where it is easily accessible from the back of the trailer.
Connect the Wiring: Use a wiring diagram to ensure correct connections.
Test the System: Before closing everything up, perform a test of the hydraulic lift to ensure functionality.
7. Final Checks and Testing
With the assembly complete, it’s time for a thorough review:
- Inspect all Welds and Joints: Look for any undetected flaws or weak points.
- Conduct Weight Tests: Load your trailer with the intended capacity and test the hydraulic lift to confirm proper operation.
- Safety Checks: Ensure that all components are secure and functioning as intended.
Maintaining Your Hydraulic Dump Trailer
Once your trailer is operational, ongoing maintenance is crucial to ensure longevity and reliability. Remember the following key aspects:
Regular Inspections
Check for Leaks: Make it a habit to regularly inspect hydraulic lines for leaks. Minor issues can turn into major problems if left unattended.
Wheel and Tire Maintenance: Examine tires for wear and monitor tire pressure regularly.
Fluid Replacement
Hydraulic fluid degrades over time. It is recommended to perform fluid change every 6 to 12 months, depending on usage.
Lubrication
Lubricate any moving parts to prevent rust and ensure smooth operation, particularly pivot points on the dump bed.
Troubleshooting Common Issues
Even with diligent construction and maintenance, issues may arise. Here are common problems and simple troubleshooting tips:
| Issue | Potential Cause | Solution |
|---|---|---|
| Hydraulic Fluid Leak | Damaged lines or loose fittings | Tighten fittings or replace damaged lines |
| Slow or Weak Lift | Low hydraulic fluid or faulty pump | Check fluid levels; replace the pump if necessary |
| Uneven Dump Bed Movement | Misaligned hydraulic cylinder or frame | Realign components and retest |
Conclusion
Building a hydraulic dump trailer not only enhances your operational capabilities but also fosters a deeper understanding of mechanical systems. By following this comprehensive guide, you can construct a reliable, efficient trailer tailored to your specific needs. The advantages of having a custom-built hydraulic dump trailer will no doubt provide value that extends beyond the construction phase, ultimately optimizing your workflow for years to come.
Engage with your project meticulously, apply each step thoughtfully, and enjoy the satisfaction that accompanies the successful creation of essential equipment fundamental to your industrial or agricultural endeavors.

