
Building a hydraulic dump trailer can be an invaluable addition for businesses involved in construction, landscaping, or any industry requiring heavy hauling. The efficiency and versatility of a hydraulic dump trailer make it an essential tool for transporting and unloading materials swiftly and effectively. In this article, we will walk you through every step of the process to ensure you create a functional, durable, and high-quality hydraulic dump trailer.
Understanding Hydraulic Dump Trailers
Before getting into the steps of building a hydraulic dump trailer, it’s crucial to understand what components make up this machinery. A hydraulic dump trailer consists of:
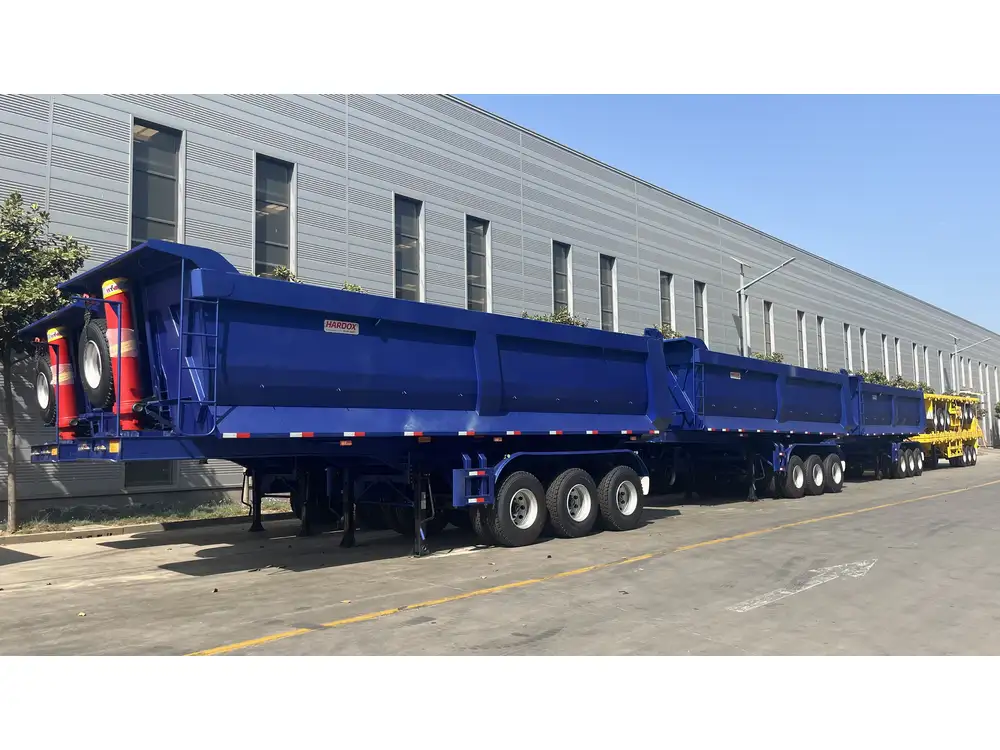
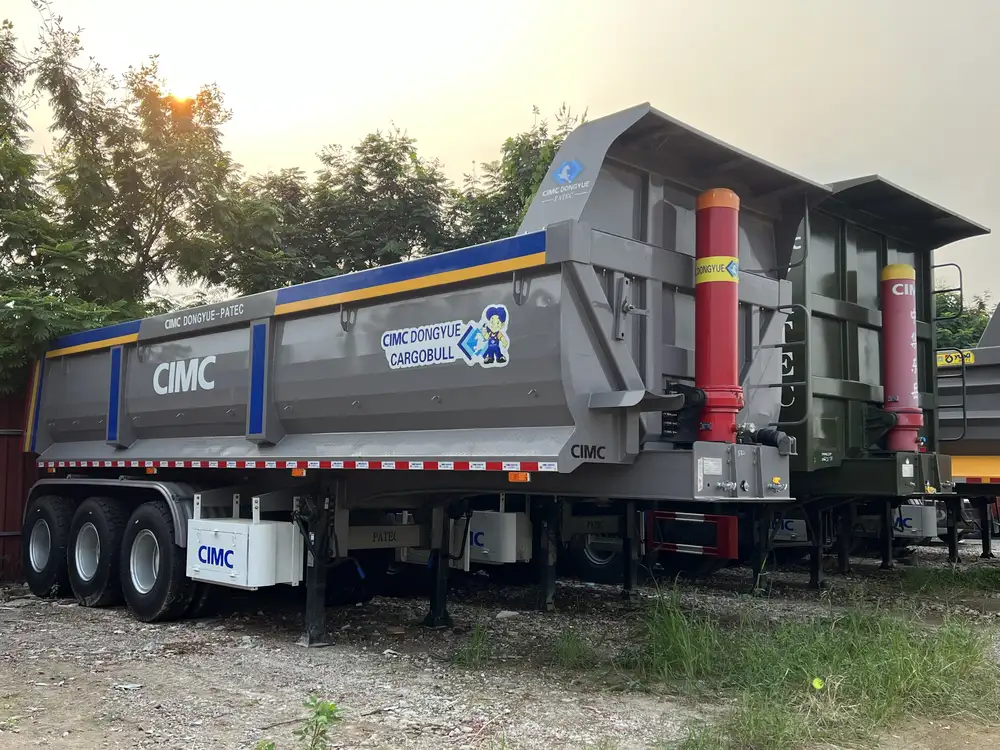
- Trailer Frame: The structure that supports the weight of the load and the hydraulic system.
- Hydraulic Cylinder: This component lifts and tilts the trailer bed to unload materials.
- Pump and Reservoir: Supplies hydraulic fluid to the cylinder.
- Axles and Wheels: Allow for transportation of the trailer.
- Bed: The area where the materials are loaded.
- Hitch: Connects the trailer to the towing vehicle.
Step-by-Step Instructions to Build a Hydraulic Dump Trailer
Step 1: Define Your Specifications
Before diving into construction, it’s essential to define your trailer’s specifications. Consider the following:
- Load Capacity: Determine how much weight you intend to haul (typically ranges from 3,000 to 14,000 lbs).
- Trailer Dimensions: Decide on the length, width, and height based on your specific needs.
- Material Selection: Choose between steel or aluminum based on durability and budget.
Step 2: Gather Required Materials and Tools
Here’s a list of materials you’ll need to build a hydraulic dump trailer:
| Component | Description |
|---|---|
| Trailer Frame Material | Steel channels or tubing, typically 4×4 or 3×3 |
| Hydraulics Kit | Hydraulic cylinder, hose, pump, and reservoir |
| Bed Material | Steel plate or aluminum sheet |
| Axles and Wheels | Based on the load capacity requirement |
| Hitch | Adjustable or fixed hitch compatible with your vehicle |
| Paint | Weather-resistant paint for durability |
Tools Required:
- Welder
- Angle grinder
- Drill
- Saw (cutting torch or metal saw)
- Wrenches and sockets
- Measuring tape
- Safety equipment (gloves, goggles)
Step 3: Construct the Trailer Frame
Cut the Frame Material: Using the saw, cut steel channels or tubing according to your defined dimensions. Ensure the cuts are clean and accurate.
Assemble the Frame: Weld the frame together, creating a rectangle that will serve as the base for your trailer. Ensure all angles are squared for structural integrity.
Add Reinforcement: Weld additional support beams across the frame to withstand the weight when the trailer is loaded.
Step 4: Install Axles and Wheels
Position the Axles: Depending on your trailer’s design, attach the axles to the frame. Use bolts for a secure fit. Ensure they are evenly spaced to maintain balance.
Mount the Wheels: Install the wheels onto the axles, tightening to the manufacturer’s specifications.
Step 5: Build the Dump Bed
Cut the Bed Material: Depending on your design, cut the steel plate or aluminum sheet to fit the dimensions of the trailer frame.
Weld the Bed to the Frame: Ensure that the bed is firmly welded to the frame for utmost stability. Double-check that it is level and secure before moving forward.
Install the Sides: Cut and weld the side panels to the bed to contain materials during transport.
Step 6: Setting Up the Hydraulic System
Install the Hydraulic Cylinder: The cylinder will be mounted at the front of the trailer, connected to the bed. Capable of lifting heavy loads, it must be securely bolted in place.
Connect the Pump: Mount the hydraulic pump in a location easily accessible for maintenance. Connect the pump to the reservoir filled with hydraulic fluid.
Plumb the Hydraulic Lines: Connect the hydraulic lines from the pump to the cylinder, ensuring there are no leaks and that the connections are tight.
Step 7: Wiring the Electrical System
Install the Battery: Choose a secure location on the trailer for the battery, ensuring it is protected from external factors.
Connect the Power Wires: Wire the pump to the battery, ensuring correct polarity to avoid any malfunctions.
Add a Switch: Integrate a switch into the towing vehicle’s cab, allowing you to control the hydraulic function conveniently.
Step 8: Testing the Trailer
Check All Connections: Verify all bolts, welds, and hydraulic connections before performing the first test.
Perform Functionality Tests: Empty the trailer and test the hydraulic lift function. Ensure it raises smoothly to the desired height without any hesitations or leaking fluid.
Load Test: Gradually add weight to the trailer and test the lifting mechanism to confirm it can handle the intended load capacity.
Step 9: Painting and Finishing Touches
Sand and Clean: Before painting, sand the exterior to ensure the paint adheres effectively.
Apply Weather-Resistant Paint: Choose a durable paint that can withstand the elements. This will prolong the life of the trailer and prevent rust.
Safety Markings: Adorn the trailer with necessary safety markings and lights to increase visibility on the road.
Tips for Maintaining Your Hydraulic Dump Trailer
To maintain the integrity and functionality of your hydraulic dump trailer, consider the following maintenance tips:
- Regular Inspections: Check the hydraulic fluid levels, ensuring the pump and cylinders are in good working condition.
- Wheel and Tire Care: Inspect tires for wear and maintain proper tire pressure to enhance safety during transport.
- Lubrication: Lubricate moving parts regularly to reduce friction and wear, ensuring smoother operations.
- Rust Prevention: Store the trailer indoors or use a cover to prevent moisture build-up that can lead to rust.
Conclusion
Constructing your hydraulic dump trailer not only enhances your operational capabilities but also empowers you to tailor the design according to your specific needs. By following the detailed steps outlined above, you effectively position yourself to create a robust and reliable trailer that meets the demands of your heavy-duty hauling tasks. Remember, safety comes first—ensure all components are installed correctly and undergo regular inspections. As your business grows, this hydraulic dump trailer will undoubtedly prove itself as a reliable and indispensable asset for your transportation needs.

