Building a flatbed utility trailer is not only an invaluable skill for manufacturers but also offers unparalleled practicality for transportation professionals and DIY enthusiasts alike. This extensive guide will dissect the construction of a flatbed utility trailer, addressing each phase with meticulous detail, practical tips, and expert insights. In doing so, we will ensure that the information is not only informative but also leads to actionable outcomes.
Understanding the Basic Components of a Flatbed Utility Trailer
Before embarking on the construction journey, it is essential to familiarize yourself with the primary components that constitute a flatbed utility trailer. Here’s a breakdown:
| Component | Description |
|---|---|
| Frame | The structural backbone, usually constructed from steel or aluminum. This provides strength and rigidity. |
| Deck | The surface where cargo is loaded; typically made from wood or metal. |
| Axle | A rotating shaft that serves as the wheel support, determining load capacity and trailer stability. |
| Wheels & Tires | The rolling components that ensure mobility across various terrains. |
| Coupler | The connector that attaches the trailer to the towing vehicle. |
| Lights & Wiring | Essential for safety and compliance, allowing visibility during travel. |
| Fenders | Protective covers for the wheels, shielding them from debris while enhancing the trailer’s aesthetics. |
Understanding these components is crucial as we delve into the building process, ensuring each step is performed with precision and care.
Essential Tools and Materials
To construct a flatbed utility trailer, certain tools and materials will be indispensable. Below is a comprehensive list to prepare adequately:
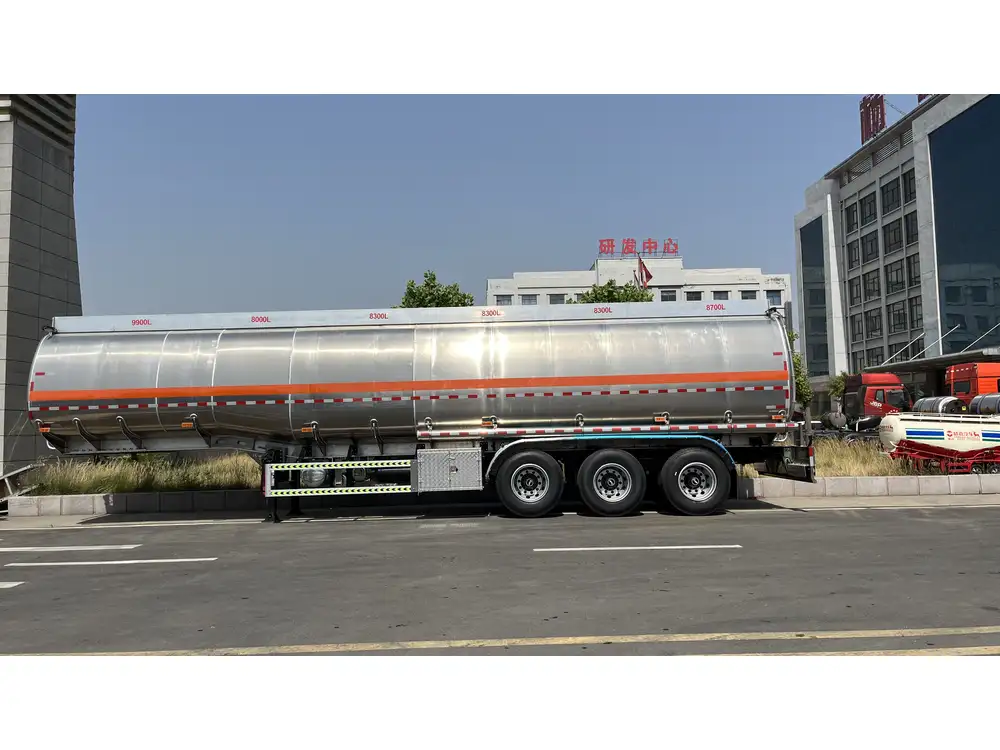
Tools
- Welding Machine: For joining metal parts securely.
- Cutting Torch or Plasma Cutter: For precise cuts on metal components.
- Angle Grinder: Useful for smoothing metal edges.
- Drill and Drill Bits: For creating necessary holes.
- Measuring Tape: Ensures accurate dimensions.
- Level: Guarantees the trailer is even and stable.
- Socket Set: For bolts and other fasteners.
Materials
- Steel Tubing: For the frame’s structural integrity. Common sizes include 2×3 or 2×4-inch options.
- Wood Planks: Typically treated lumber for the deck, which resists rot.
- Axles and Wheel Assemblies: Select based on the expected load carrying capacity.
- Couplers and Safety Chains: Ensure secure attachment to the towing vehicle.
- Trailer Lights: LED options are vibrant, energy-efficient, and durable.
- Paint or Rust Inhibitor: To protect metal components from corrosion and wear.
Equipping yourself with the right tools and materials is fundamental to efficient construction.
Step-by-Step Guide to Building a Flatbed Utility Trailer
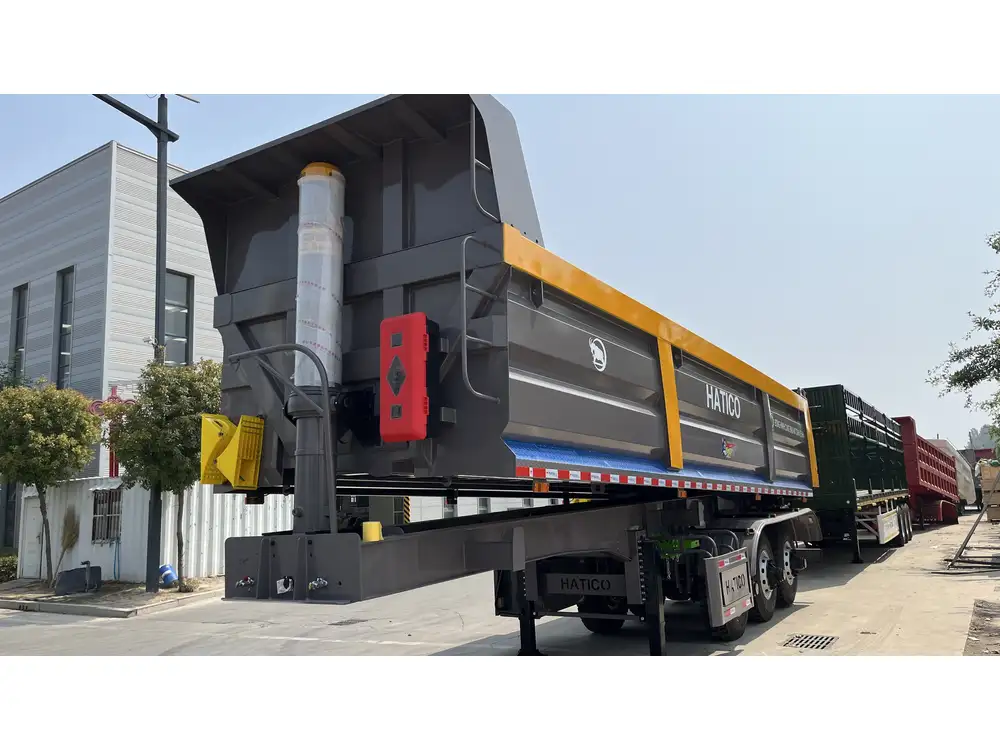
Step 1: Design Your Trailer
Start by creating a detailed design of your flatbed utility trailer. Consider the size, load capacity, and specific features required. A well-thought-out design helps identify material requirements and informs the build process.
- Dimensions: Typically, utility trailers range from 4×8 feet to 6×12 feet, but custom dimensions can be created based on specific needs.
- Load Capacity: Determine the maximum load weight to select appropriate materials and components.
Step 2: Construct the Frame
The trailer frame provides strength and rigidity. Follow these guidelines for a successful frame construction:
- Cut Frame Components: Utilize the cutting torch or plasma cutter to cut the steel tubing to the designated lengths according to your design.
- Weld the Frame: Start by forming the rectangular base. Ensure that corners are square (90 degrees) before welding. Secure the connections with appropriate welds.
- Add Cross Members: For added support, install cross members every 24 inches along the frame. This prevents bending and ensures integrity when loaded.
Step 3: Install the Axle
The axle supports the weight of the trailer and allows for transportation. Here’s how:
- Mounting Points: Determine the correct placement based on your trailer’s balance and design. Denote marks where the axles will be installed.
- Weld Mounting Brackets: Securely attach brackets for the axles using a welding machine.
- Install the Axle: Position the axle into the brackets and tighten the hardware according to specifications.
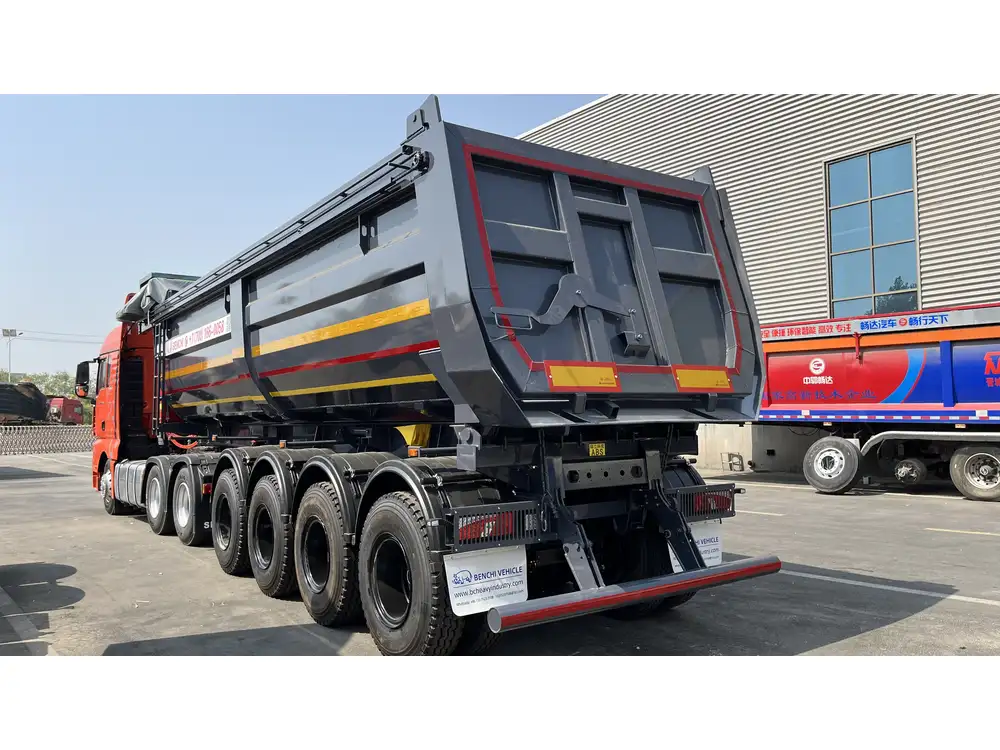
Step 4: Build the Deck
The deck is where cargo is handled, and constructing it efficiently is paramount.
- Lay Down the Decking Material: Place wood planks or metal sheets along the frame’s surface.
- Secure the Deck: Use screws or bolts to attach the flooring material firmly to the frame. Ensure that no boards are protruding, leading to safety hazards.
Step 5: Install Wheels and Tires
Wheels and tires are critical for the functionality of your trailer. Here’s the installation process:
- Wheel Installation: Slide the wheel assemblies onto the axle and secure with lug nuts.
- Check Alignment: It’s vital to ensure that wheels are aligned properly for a smooth ride.
- Inflate Tires: Ensure that tires are inflated according to the manufacturer’s specifications.
Step 6: Attach the Coupler
Attaching the coupler is necessary for towing the trailer.
- Weld the Coupler: Based on your design, weld the coupler to the front of the frame, ensuring it’s properly aligned.
- Safety Chains: Attach safety chains to the trailer to provide extra security while towing.

Step 7: Add Lights and Wiring
Visibility is crucial for road safety.
- Install Lights: Attach tail lights and side marker lights according to legal standards. Use bear mounts for the lights.
- Wiring: Connect the trailer lights to the 4-pin connector, ensuring that each connection is secure and water-resistant.
Step 8: Finish and Paint
Finishing touches elevate the durability and appeal of your trailer.
- Clean: Remove any debris or grease from the trailer surface.
- Apply Paint or Rust Inhibitor: Once the surface is clean, apply metal paint or rust inhibitor, allowing it to dry fully before use.
Maintaining Your Flatbed Utility Trailer
Constructing a flatbed utility trailer is merely the first phase; ongoing maintenance is vital for ensuring safety and longevity. Here are crucial tips:
- Regular Inspections: Frequently check for rust, wear, and fatigue in the metal components.
- Tire Health: Inspect tires for proper inflation and tread wear.
- Mechanical Checks: Regularly assess the axle and wheel assembly for any misalignment or loosening.
- Cleanliness: Maintain cleanliness by washing off debris and storing it in a safe environment when not in use.
Common Issues and How to Address Them
1. Overloading the Trailer
Problem: Overloading can lead to structural damage and increase the risk of accidents.
Solution: Always adhere to the manufacturer’s load specifications. Regularly assess the weight of the cargo, and utilize a scale if needed.
2. Deterioration of Wood Decking
Problem: Wooden decks can rot, especially when exposed to the elements.
Solution: Use treated wood and apply a sealant to enhance durability. Regular inspection will allow for early detection of potential rot.
3. Uneven Wear on Tires
Problem: Unevenly worn tires can result from misalignment and lead to instability.
Solution: Check and adjust the alignment regularly. Rotate tires occasionally to promote even wear.
Conclusion: Crafting a Reliable Flatbed Utility Trailer
Creating a flatbed utility trailer is a multifaceted project that demands precision, knowledge, and a commitment to safety. By thoroughly understanding the essential components, adhering to step-by-step construction methods, and implementing diligent maintenance practices, you can create a utility trailer that offers exceptional performance and reliability.
Investing in this versatile piece of equipment not only elevates operational capacity but also provides a sense of accomplishment and pride in craftsmanship. Your newly built flatbed utility trailer will serve you faithfully for years, facilitating transport, enhancing your business capabilities, and maximizing utility in various applications.


