Introduction
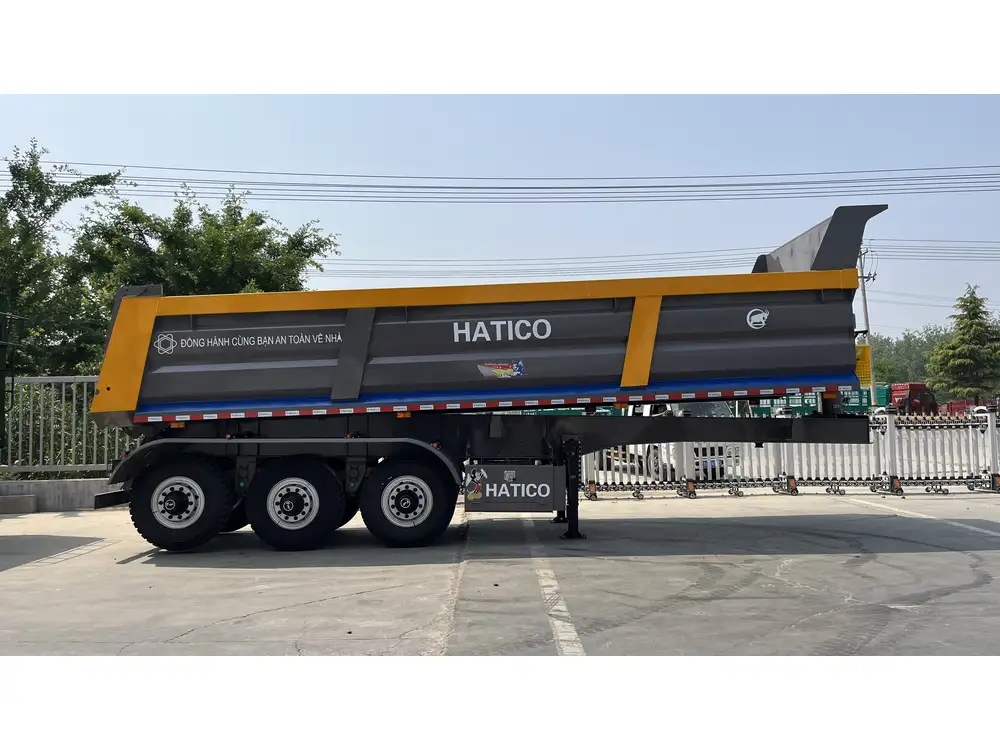
Creating a dump bed for a 16 ft trailer is a project that can significantly enhance the functionality of your equipment, particularly for those engaged in landscaping, construction, or waste management. This guide aims to walk you through each step of the process with precision, offering insights into materials, tools, and techniques needed to successfully complete the project.
Understanding the Basics of a Dump Bed
Before delving into the construction process, it’s essential to clarify what a dump bed is and the advantages it provides. A dump bed allows for efficient unloading of materials, saving both time and labor. The importance of a robust design cannot be overstated; a poorly constructed dump bed can affect safety and usability.

Advantages of a Dump Bed
| Advantage | Description |
|---|---|
| Increased Efficiency | Allows for quick unloading of materials. |
| Versatile Usage | Ideal for various applications: landscaping, construction, etc. |
| Cost-Effective | Saves labor costs by minimizing unloading time. |
| Customizable | Can be designed to fit specific needs and preferences. |
Essential Tools and Materials Needed
To build a dump bed for a 16 ft trailer, you’ll need to assemble various tools and materials. The following section lists these items categorically.
Tools
| Tool | Purpose |
|---|---|
| Wrench Set | For securing bolts and nuts. |
| Power Drill | For drilling holes in metal and lumber. |
| Cutting Torch / Plasma Cutter | For precise metal cutting. |
| Welder | For joining metal pieces together. |
| Measuring Tape | For accurate measurements. |
| Safety Gear | Includes gloves, goggles, and ear protection. |

Materials
| Material | Purpose |
|---|---|
| Steel Frame | Provides the structural support of the dump bed. |
| Hydraulic Lift Kit | Enables the dumping mechanism. |
| Wood or Steel Sides | Creates the dumping enclosure. |
| Hinges and Latches | Facilitates the dumping action. |
| Paint or Rustproof Sealant | Protects against corrosion and wear. |
Step-by-Step Process to Build Your Dump Bed
Step 1: Planning and Measurements
To ensure accuracy, commence with a detailed plan:
- Measure the Trailer: Confirm the dimensions of your 16 ft trailer.
- Design Your Dump Bed Layout: Sketch a simple layout, including height, width, and depth.

Step 2: Fabrication of the Frame
Cut the Steel Frames: Utilize your plasma cutter to cut the steel into specified lengths for the base and sides. A typical frame type involves several rectangular pieces arranged into a box style.
Welding the Frame: Position the cut steel in a rectangular shape, then weld the corners effectively, ensuring stability.
Step 3: Building the Dump Bed Sides
Wood vs. Steel
- Wood: Generally more cost-effective and easier to work with, yet susceptible to rot and weather damage.
- Steel: Offers durability and longevity at a potentially higher upfront cost.
Cut the Side Panels: If using wood, cut it into planks measuring the height determined in the planning phase.
Attach the Sides: Using bolts or welding (for steel), secure the side panels to the frame.

Step 4: Installing the Hydraulic Mechanism
- Select the Hydraulic Lift Kit: Choose a kit robust enough to support the anticipated load.
- Position Hydraulic Rams: Align them at the rear of the dump bed frame.
- Weld Mounting Bracket: Using your welder, attach the bracket for the hydraulic pump.
Step 5: Adding the Hinges
- Hinge Positioning: Install heavy-duty hinges at the rear of the dump bed, allowing for controlled dumping.
- Attach Latches for Security: Once the dump bed is in position, add latches ensuring it remains locked when not in use.
Step 6: Finish and Seal
- Paint or Seal: Apply a rustproof sealant or paint to protect the dump bed from environmental elements.
- Test the Mechanism: Verify that the hydraulic lift and dump mechanics function smoothly.

Tips for Optimization and Safety
- Routine Maintenance: Regularly inspect and maintain the hydraulic system.
- Weight Considerations: Don’t exceed the load limits of your 16 ft trailer.
- Secure Loads: Always secure your materials before transport to prevent accidents.
Checklist for Building a Dump Bed
| Task | Status |
|---|---|
| Measure Trailer Dimensions | [ ] |
| Create Dump Bed Design | [ ] |
| Cut and Weld Frame | [ ] |
| Attach Sides | [ ] |
| Install Hydraulic System | [ ] |
| Add Hinges and Latches | [ ] |
| Paint/Seal Finish | [ ] |
| Test Dumping Mechanism | [ ] |
Common Issues and Solutions

Hydraulic System Failures
- Symptoms: Slow or no movement in the dumping mechanism.
- Possible Causes: Low hydraulic fluid or leaks.
- Solution: Check fluid levels and inspect hoses for damages.
Structural Weakness
- Symptoms: Frame distortion or bending under load.
- Possible Causes: Inadequate welding or poor material choice.
- Solution: Reinforce stress points and check the quality of materials used.
Conclusion
Building a dump bed for a 16 ft trailer is an in-depth project that requires careful planning, attention to detail, and technical skills. With the right tools, materials, and a thorough approach, not only will you enhance your trailer’s functionality, but you will also enjoy greater efficiency in your hauling tasks. This guide has laid out explicit steps to follow, common pitfalls to avoid, and optimization strategies to ensure success. Whether you are a seasoned DIY enthusiast or venturing into this craft for the first time, the satisfaction of constructing a functional and durable dump bed is immensely rewarding. With diligence and proper execution, you’ll be well on your way to completing your project seamlessly.


