When it comes to enhancing the versatility and functionality of your semi-trailer, constructing a cost-effective dump box is a prudent investment. A dump box can simplify the process of transporting materials, enhance operational efficiency, and minimize manual labor. This comprehensive guide will navigate you through each stage of building a cheap dump box for your trailer, providing valuable insights, techniques, and tips that cater especially to DIY enthusiasts and budget-conscious individuals.
Understanding the Basics of a Dump Box
What is a Dump Box?
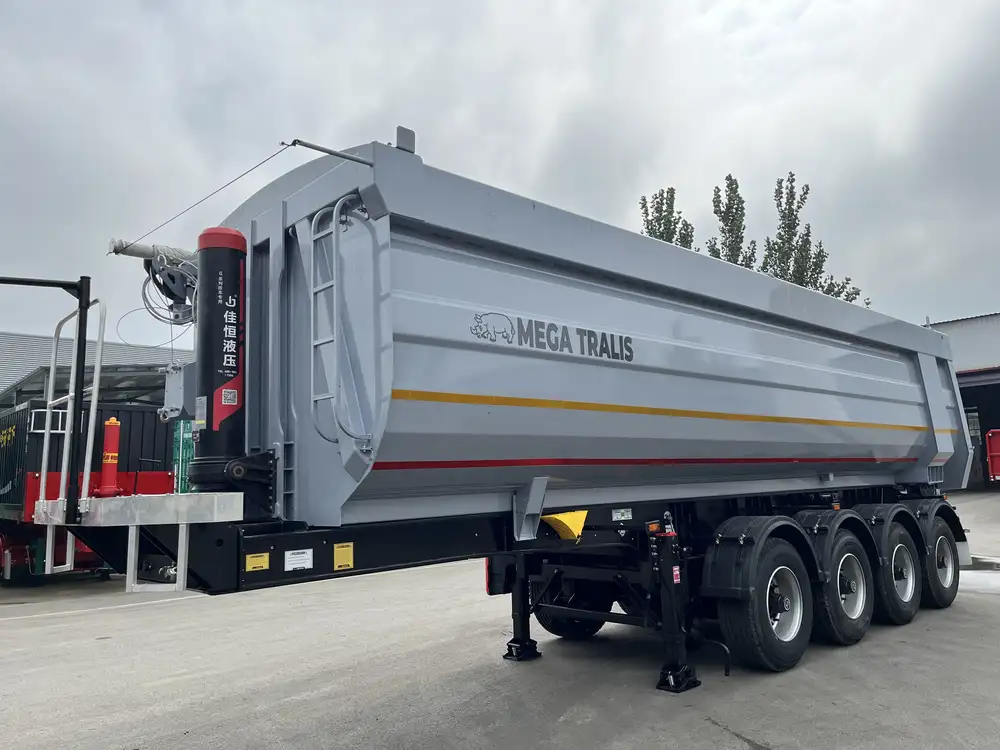
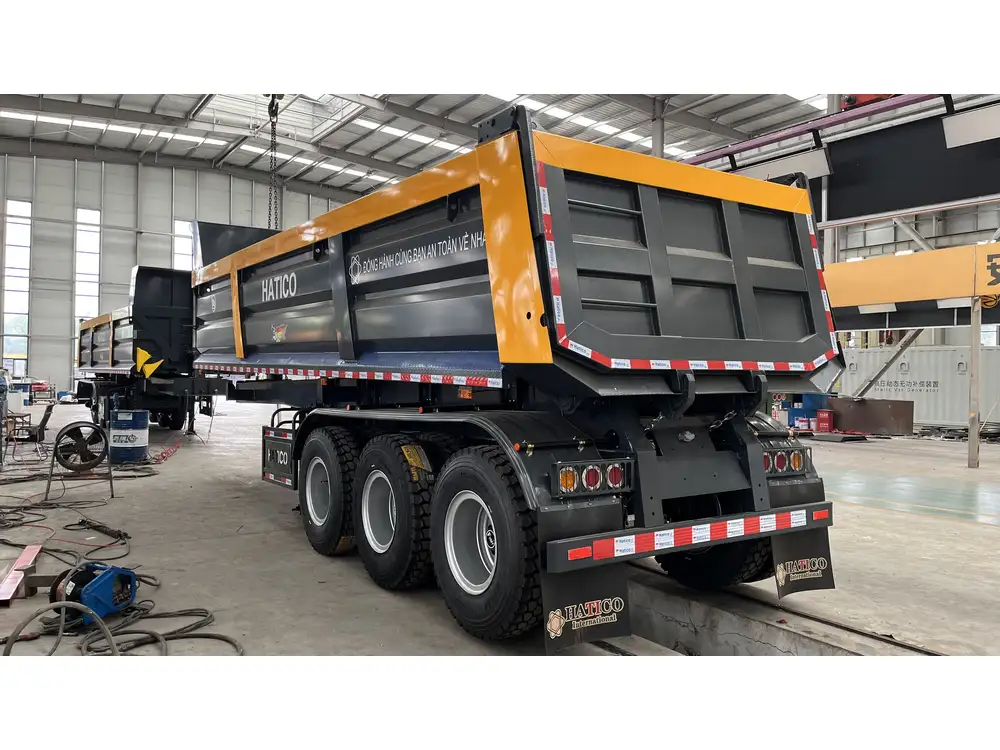
A dump box, also known as a dump trailer, is a specialized attachment that can be added to a trailer’s chassis, transforming it into a mobile dumping solution. These boxes are designed to carry bulk materials, such as dirt, gravel, and debris, with a hydraulic system that raises the box at an angle to facilitate easy unloading.

Why Build Your Own Dump Box?
Creating a dump box yourself offers several advantages:
- Cost Savings: Reduce the expense associated with purchasing a pre-manufactured unit.
- Customization: Tailor the size and features according to your specific needs.
- Satisfaction: Experience the fulfillment that comes from building your own equipment.
Planning Your Dump Box
1. Define Your Requirements
Before diving into construction, identify the primary use cases for your dump box:
- Size and Capacity: Determine how much weight and material you plan to transport.
- Weight Class of the Trailer: Ensure that the dump box complements the trailer’s design and specifications.

2. Gather Required Materials
To keep costs low while ensuring durability, the following materials are typically recommended:
| Material | Purpose |
|---|---|
| Steel or Aluminum Sheets | To create the box structure |
| Hydraulic System | For lifting the box |
| Axles and Wheels | To ensure mobility |
| Fasteners (Bolts, Screws) | To assemble the unit |
| Angle Iron | For additional structural support |
| Paint or Rust Preventative | To protect against weather and corrosion |
3. Required Tools
Prepare a workspace equipped with:
- Arc or MIG Welder
- Cutting Torch or Plasma Cutter
- Drill and Drill Bits
- Wrenches and Sockets
- Measuring Tape and Level
- Angle Grinder
Step-by-Step Construction Process

Step 1: Designing Your Dump Box
Start with a sketch of the desired dump box dimensions. A common size is 6 feet long by 5 feet wide with height adjustable based on the material being transported. Here’s a quick comparison chart to help guide your dimensions based on use case:
| Use Case | Length (FT) | Width (FT) | Height (FT) | Capacity (lbs) |
|---|---|---|---|---|
| Landscaping | 6 | 5 | 2.5 | 3000 |
| Construction | 8 | 6 | 3 | 5000 |
| General Use | 7 | 5 | 2 | 4000 |
Step 2: Cutting the Materials
Use your plasma cutter or cutting torch to slice the steel or aluminum sheets according to your design’s specifications. Ensure you wear appropriate protective gear during this stage.
Step 3: Assembling the Frame
Base Construction:
- Lay down an angle iron as the frame’s foundation.
- Attach the lower sections of the side walls using bolts for easier adjustments.
- Ensure that everything is square by measuring diagonally across corners.
Side and Front Panels:
- Attach side panels to the frame.
- Ensure they are flush with the base and secure with bolts.
Back Panel Installation:
- Install the back panel at an angle if intended for easier dumping of materials.

Step 4: Installing the Hydraulic System
Choose Your Hydraulic Kit:
- Select a hydraulic lift kit compatible with the weight you expect to load.
Mounting the Hydraulic Cylinder:
- Attach the cylinder to the frame and the dump box following the provided manufacturer’s instructions.
- Ensure all hydraulic lines are securely fastened and clear from obstructions.
Step 5: Adding Wheels and Axles
Wheel Assembly:
- Attach the axles and wheels to the dump box frame.
- Ensure alignment is checked with a measuring tape to prevent wobbling.
Consider Weight Distribution:
- Position wheels strategically to accommodate the load’s weight and promote stability.
Step 6: Painting and Protection
Use paint or rust prevention solution to coat your dump box exterior. This step not only enhances the appearance but also extends the lifespan of the metal components in harsh environments.

Ensuring Safety and Compliance
Weight Limits
It’s crucial to adhere to the weight restrictions of both your trailer and the dump box. Overloading can lead to structural failure, safety hazards, and potential legal liabilities. Document your maximum load for reference.
Hydraulic Safety
Proper maintenance and inspection of the hydraulic system will prevent malfunctions. Regularly check for leaks, test the lift function, and keep hydraulic fluid topped off.

Maintenance Tips for Longevity
Regular Inspections:
- Routinely examine the structural integrity and wear and tear on metal sheets.
- Check hydraulic lines for any signs of damage or leakage.
Cleaning:
- Clean the dump box after each use, especially after hauling corrosive materials.
Refresh Paint:
- Repaint areas that show signs of wear to prevent corrosion, especially in areas exposed to harsh weather.
Cost Breakdown of Your DIY Dump Box
To ensure that you remain within budget and achieve maximum efficiency, here’s a breakdown of potential costs that should be considered in your project:
| Item | Estimated Cost ($) |
|---|---|
| Steel Sheets (4×4) | 150 |
| Hydraulic System Kit | 300 |
| Axles and Wheels | 200 |
| Fasteners and Hardware | 50 |
| Paint and Protection | 40 |
| Tools (if needed) | 150 |
| Total Estimated Cost | $990 |
Alternatives to Building Your Own Dump Box
If you determine that building your own dump box may not be feasible, consider the following alternatives:
- Purchase a Second-hand Dump Trailer: This can be a cost-effective solution, saving you both time and money.
- Rent a Dump Trailer: Ideal for infrequent needs, renting allows you to avoid the responsibilities of ownership.
- Hire a Custom Builder: If custom needs are beyond your expertise, enlisting a professional could provide you exactly what you need without the hassle.

Conclusion
Constructing a cheap dump box for your trailer not only enhances its functionality but also caters to personalizing your hauling solution. By implementing the strategies outlined in this guide—from planning and building to maintaining—you can achieve a fully operational dump box. Whether as a weekend project or as a longer-term goal, the effort you invest will yield dividends in efficiency, satisfaction, and cost savings. Each step of this process aims to empower you to take control and cater to your specific transportation needs effectively.
Remember, safe practices and regular maintenance are keys to ensuring that your DIY dump box serves you well for years to come.


